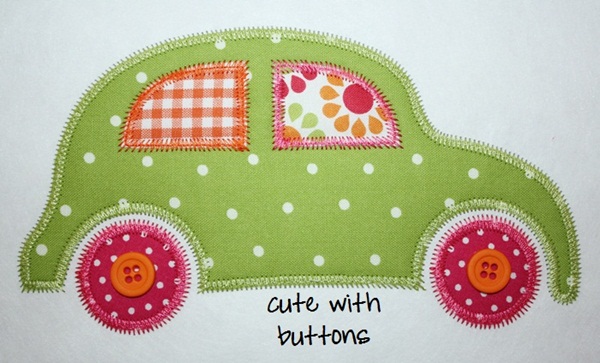
I took these pictures the other day as I sampled the Applique Cafe (not listed yet) zig zag VW car. I did a post once before on layering fabrics in an applique, but this is a better post on what to do when your applique has *layers*. It’s not NECESSARY for you to do yours this way, but it’s the way I do it so I wanted to share!
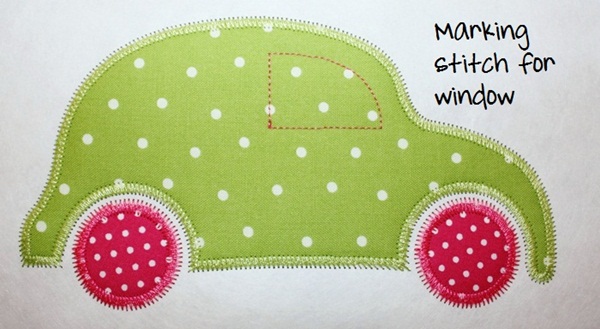
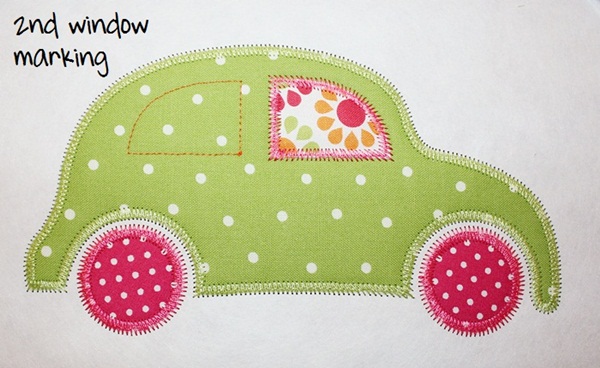
First… as you can see I’ve already sewn the marking, tackdown & zig zag stitches for the body of the car (step 1, 2 and 3) and for the tires (step 4, 5 and 6). This would be step 7 in my applique process for this design. It sewed the marking stitch for the right window.
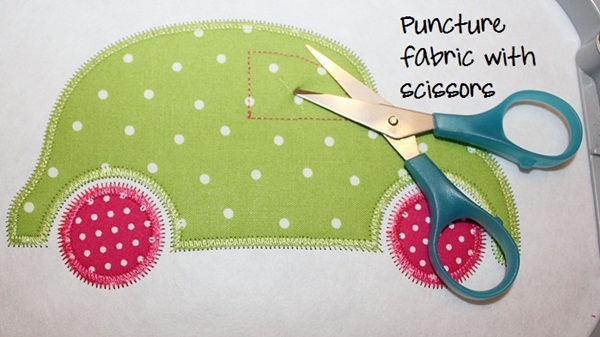
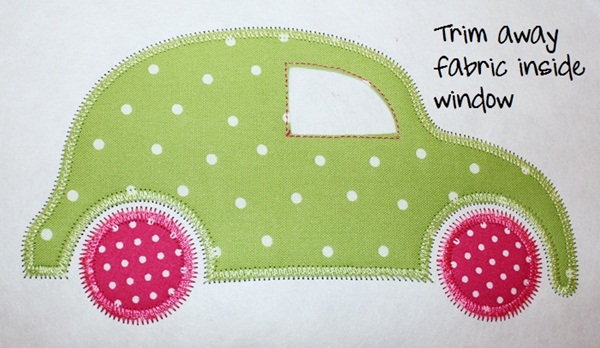
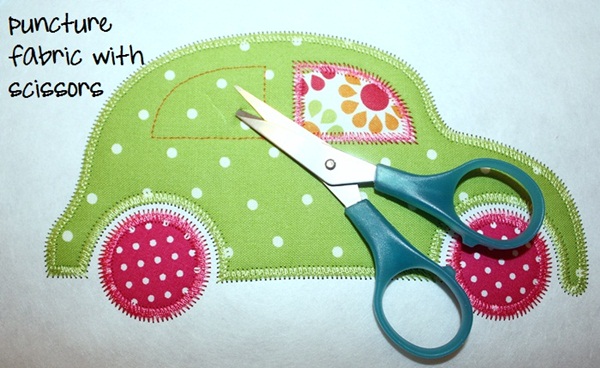
As you can see below, I’m using some blue handled embroidery scissors that came with my machine. They are dull as can be, but I still use them for steps such as this! With the scissors at an angle I just puncture through the fabric, then trim inside that marking stitch. I usually use my 4″ curved Gingher embroidery scissors for trimming.
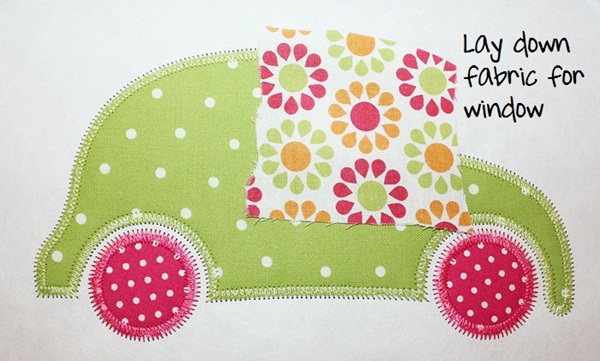
I’m now ready to lay my window fabric down (which has Heat N Bond Lite on it) for the right window tackdown stitch (step 8). The whole reason for this post… you COULD layer the floral fabric on top of the green polka dot car fabric, which is totally fine if that’s what you want to do. However, if your bottom fabric is darker than your top fabric, and you think the bottom fabric might show through, then follow these steps so that now the only fabric under your floral window is white shirt! Are you following me?
Skip ahead… I did not take pictures of every single step. Sorry! It did the tackdown for window 1 (step 8), I trimmed around the tackdown and it sewed the zig zag stitching around the right window (step 9). Below, marking stitch for left window is sewn (step 10 for this design).
Again, I punctured through the window fabric with my blue scissors (at an angle) and trimmed inside the marking stitch, leaving only the white garment underneath. In this case I used 2 layers of stabilizer (sample) but it would be the shirt in most cases. (I do a lot of my website samples on stabilizer) NOTE: You do have to be careful as to not poke a hole in the shirt. That’s why I go in at an angle!
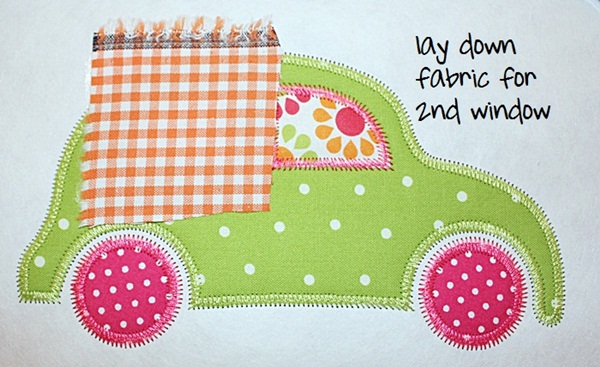
As you can see below I put down my orange gingham fabric for the left window. It’s now ready for the tackdown stitch for this window (step 11).
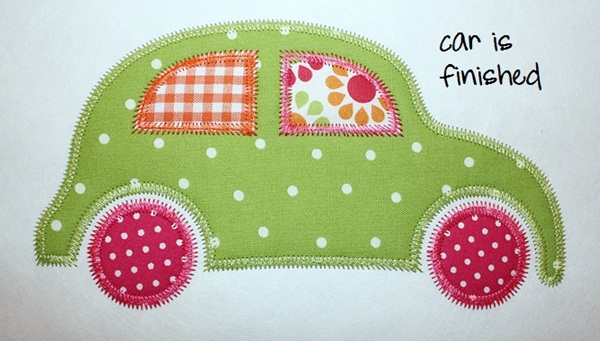
Again, I didn’t photo every step. I trimmed around the window and it finished up with the zig zag stitching around the left window (step 12). The car is now complete!!
My kids had so much fun with my bag-o-buttons! Here I laid down 2 orange buttons in the tires and it adds a ton to the design! I would have sewn the buttons on by hand had this been an actual sample shirt.
So there you go! Here is one way to do an applique where fabrics are to be layered on top of one another. Like I said, it’s not necessary but this is what I do. It works especially well when your bottom fabric is much darker and liable to show through the top fabric.
YEAH! My first *REAL* applique post! I’m still getting the hang of WordPress so bare with me! I hope this post was helpful!

Recent Comments