Organization, Part 3

Did you think I forgot about ORGANIZATION?? Here is my next (and last) installment of organization posts! Hopefully you caught my previous 2 blog posts on some cool videos I found – Stabilizer Savvy and How to Start an Embroidery Machine Business. Now back to Organization and Part 1 & Part 2 are on the blog…

Tips & Timesavers for doing monograms and appliques

Beth’s answer to this – if she has 10-15 minutes before school, carpool or a sports event, she will sit down and design monograms (in her software) so they are ready when she is ready to sew them. She also may cut fabric and iron on the backing (Heat N Bond Lite) so she’s ready!

This is also where having extra hoops comes in handy! When I first started, my PE700 came with 1 5×7 hoop. Of course I ordered the 4×4 and 2×3, but also eventually ordered extra 4×4 and 5×7 hoops. That way I could work on hooping the next item while stitching another. I now have 3 4×4 hoops, 2 5×7 and a variety of other hoops – Durkee 9×9 and 6×6. I also have a variety of Fast Frames so I have plenty of hoops/frames to get the next item ready!

hoops blog post

INSTEAD of cruising Facebook (or Instagram, or Pinterest…) while that 46 minute monogram stitches, see what else you have to work on and start preparing. Iron, mark your center, go ahead and hoop it or attach it to the fast frame, cut your fabric for appliques, iron them and apply Heat N Bond Lite. Go ahead and set aside thread colors for the next project! There are lots of ways to maximize your time while sewing. Try not to get distracted! 

I think I posted this photo before, but while the burp cloth was stitching, I went ahead and ironed the bib, marked the center and ironed tearaway stabilizer on the back. I knew I was doing a small patch applique, so I went ahead and cut that fabric, ironed it and applied my Heat N Bond Lite. It’s ready to hoop and stitch!

photo (22)

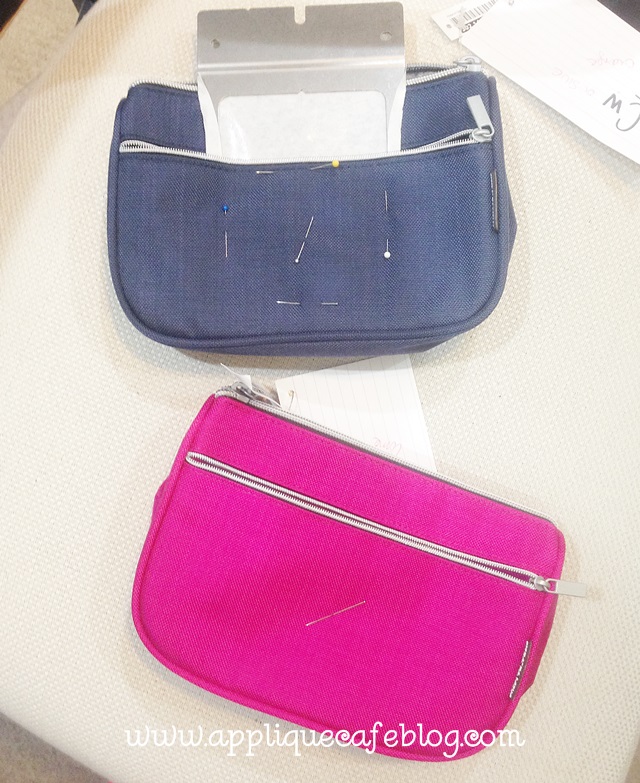
I was doing a few of these cute bags the other day from Ikea. While 1 was stitching, I went ahead and got the next one ready – center marked and attached to the fast frame! I didn’t have another frame to get the 3rd one ready, but I went ahead and marked my center. IMG_5574
Easiest Way to Pick out Fabric & Thread Colors

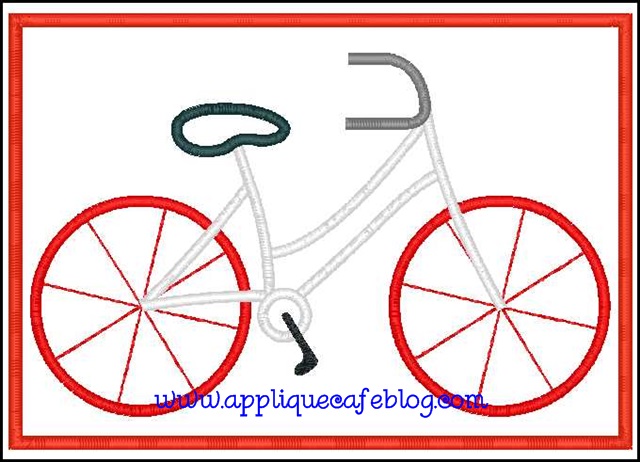
This can be hard sometimes and easy sometimes! For me, Sew What-Pro saves me A LOT of time in this department. When I am getting ready to sample or sew a NEW design, I always open it up in SWP first and change the colors around to get an idea of what colors I want to use. This gives me a head start in choosing fabrics. Here’s an example:

This is what the design looked like fresh out of being digitized, ready for me to sample. As most of you know, my husband Jeff does the digitizing and he makes each step a different color, but there’s no rhyme or reason to which colors he chooses.

Bicycle Patch5x7

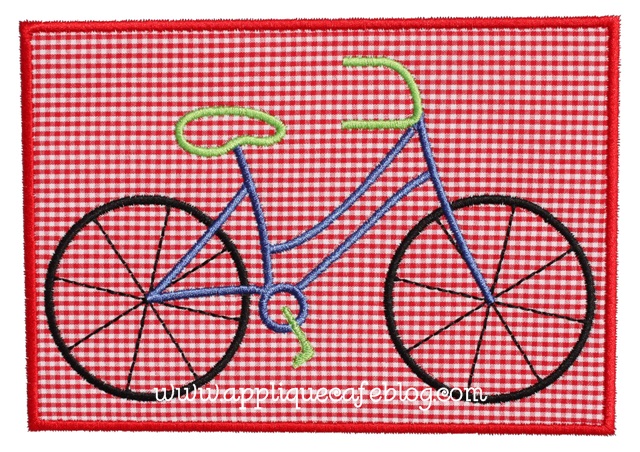
The first thing I do is change the colors to help me visualize what color fabric and threads I plan to use. For boy designs I usually start with primary colors, or my favorites like turquoise, lime, orange, etc. For girls, I usually start with hot pink and then go from there – turquoise, lime green, orange. This is just a starting place!

Bicycle Patch5x7colors

This is one of our single fabric patch designs, so I typically use simple fabrics like ginghams, stripes & polka dots. As you can see, setting the colors I want to use before I sew it really helps!

bicycle patch

Sometimes you might be matching a pair of shorts, or matching a monogram to some trim on a bag. Those projects are easy! Sometimes I am sampling new designs and I will sort through every piece of floral fabric I own trying to find the perfect fabric. This is where organized fabric comes in handy! I have mine organized by design – polka dots, ginghams, florals, boy fabrics, textured fabrics (minky & chenille), etc.  Keeping your fabric & thread organized is a good start!

If your applique is several fabrics, start by nailing down the main fabric. If it’s a floral, see what goes with it – polka dots, ginghams, stripes, solids, etc. Most of our designs at Applique Cafe are very SIMPLE. Other than Turkey designs and a hand full of others, most of our designs aren’t more than a few fabrics which makes your job easier!

When do you not work or when is it OK to take the day off?

Beth tries really hard not to work when her kids are around! See my last post! 🙂 If her kids are playing outside, she might throw something easy and “safe” on the machine. If she is not in the mood to embroider, she tries to stay away from the machine. I agree! That’s when you make the most mistakes, or your machine will act up FOR SURE. Personally, I try not to work on the weekends. There are some Saturdays when we have nothing going on and the kids are down the street playing, so I might sit down and get some work done. I often have people call and want to come over at all times of the day, including when we are eating dinner. I try to avoid that! You need to keep family time sacred, and as much as you think you need to work for 12 hours a day, you need to pace yourself, be more organized and set a reasonable work schedule!

Another tip or suggestions that I got:

At the end of the day, put everything back in it’s place! Put your hoops away. Make sure your fabric is all back in the right basket. Throw away the scraps and things that need to be thrown away. Finish up the day by leaving your work space organized and clean, then you are ready for the next day!

If you have any other suggestions or tips, do share! Leave us a comment and I will be sure to share!
Organization, Part 1

A couple of months ago, I did a blog post soliciting help, tips, shortcuts, whatever… on being organized and efficient. Just to show you how efficient I am, 2 months later I am finally back to share what I learned! I have to give a special SHOUT OUT to Beth S. who took the time to answer my plea for help in this area. Her answers were organized by questions by the way, so 2 thumbs up!

To give you a little background on Beth, she works full time and got her first embroidery machine 5 years ago. She upgraded to a Brother PR650 6-needle after 2 years, uses Monogram Wizard Plus and also has several extra hoops (I will touch on that later). Her biggest business is logos on baseball stuff (bags, pullovers, etc.) She’s an accountant by trade, so she is super efficient and doesn’t like to have inventory sitting around the house. Her goal is to create a sizable business so she can retire from her “real job” and still have income for vacations! I think that’s how a lot of us start out… embroidery “on the side” until we can see if we can really do it full time and still contribute to the family income or make a decent living. On the side, making extra money, is always good too!

Here is the first question on organizing orders! I will continue to answer the questions from THIS POST in future posts. I don’t want to overwhelm anyone! 🙂 A lot of the answers came from Beth, some from my own experience and a few others from emails and comments on the post.

How do you organize orders?

Beth has a to-do list on her computer that she keeps open at all times. It includes to dos for her house, real job & embroidery and she updates it throughout the day. She organizes her orders in the order in which they were received, but will sometimes switch between customers based on which hoop she is using on her machine. Beth’s turnaround time is a standard “2 weeks” but she often finishes early! Personally, I get overwhelmed with big orders! If I have a big order staring at me, and a couple of onesie twosie items on my to do list, I sometimes knock out the 1 or 2 items and then work on the big order. As long as I’m getting my orders done in a timely manner, it doesn’t really matter and it feels good to mark items off the to do list!!

to do list

I sometimes carry a little notepad or notebook around with me where I keep all of my to dos! I am 40-something years old, so if it ain’t written down, it ain’t going to happen. I can have someone bring over a bib to monogram and tell me they want bubblegum pink thread and a Master Circle monogram. Fast forward a few hours, and I cannot tell you what color or what font they want if it’s not written down. Truth.

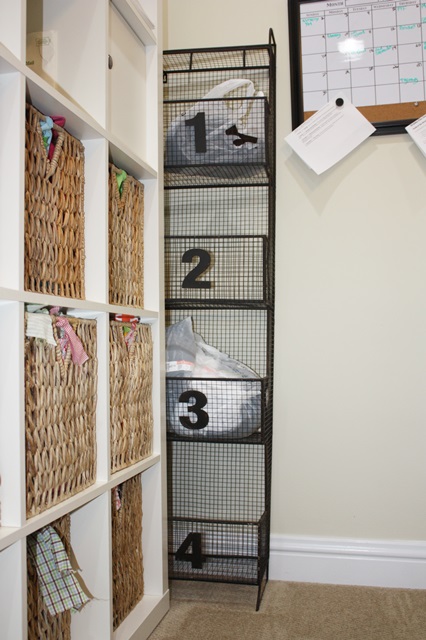
As far as organizing orders, you need to have a system for writing stuff down. Whether it be a notepad where you write down the date and what the customer wants, or something more sophisticated like a typed up order form with the date and all the important details included on it. I believe you also need a PLACE to PUT your orders and a way to keep them organized. I got this nifty thing at Hobby Lobby on clearance a couple of years ago… The numbers come in handy!

order organizer

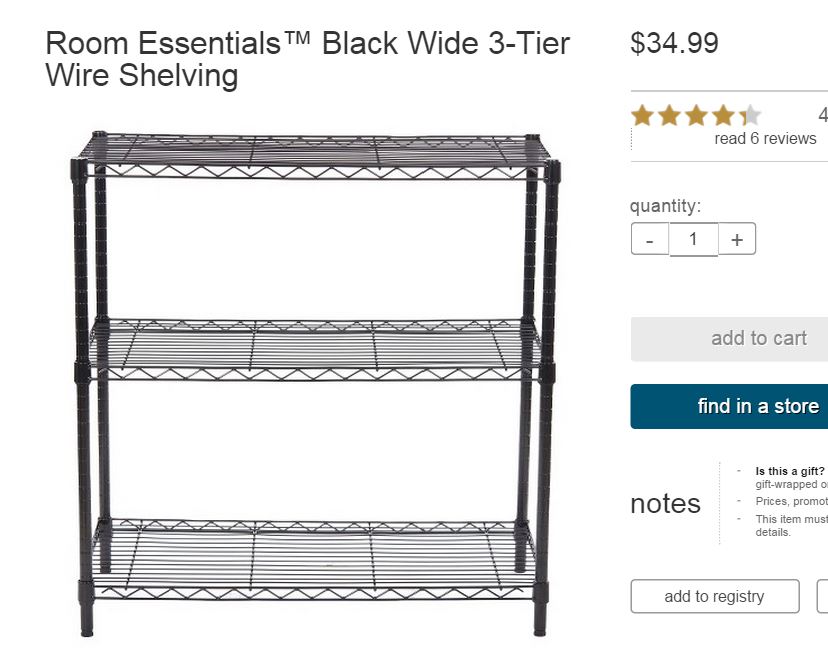
It helps that I have a dedicated sewing room now, but years ago I worked in our dining room and I had a wire industrial shelf from Target (see photo below) and baskets from Walmart where I kept all of my orders. That’s when I was doing customer work full time, and Jeff would sometimes hide stuff from me because I would become overwhelmed at my to do pile on the shelf. I think the key is to be organized as best you can! Put a date on everything. Keep a spreadsheet with important order info on it. Print emails if people email orders to you. Develop some type of system that works for you depending on where you do your embroidery, where you keep your to do orders, when you find time to work, etc.

wire shelf

If you aren’t organized, find a friend who is and ask for help! I have a friend who is super successful in the embroidery business. Her sister is super organized so she came in and helped her develop a system to keep track of all of her orders!

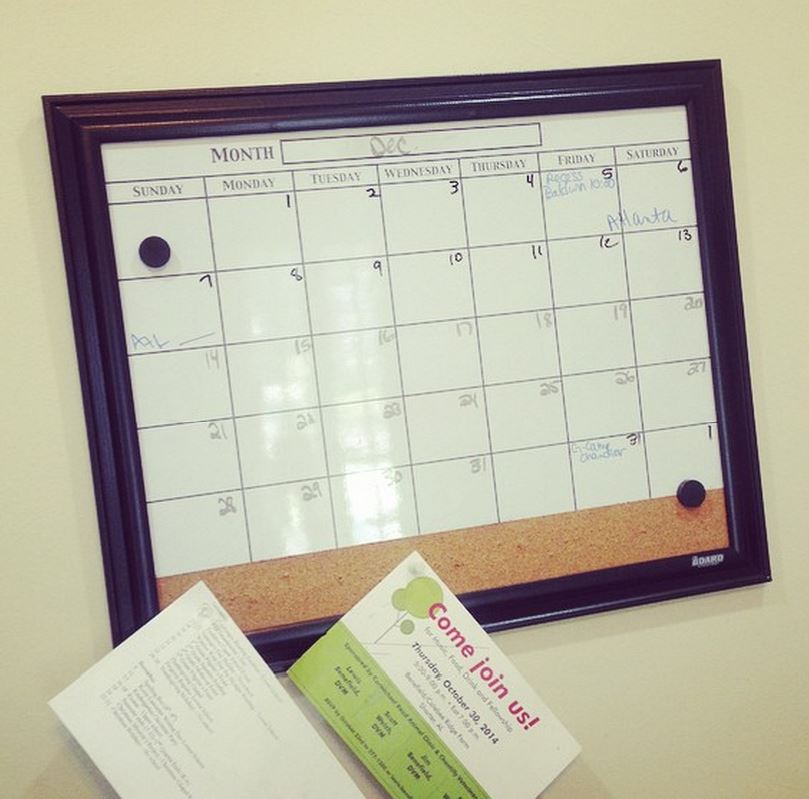
Keeping a good calendar is great too! Jeff and I have have 2 of these dry erase calendars on our wall in our office. We have 2 months going at a time. I know smart phones can do all that for us, but we like things written down.

calendar blog post

Chime in by commenting if you have any more specific ideas! Next I will cover the best time to work and juggling the computer stuff – email, social media, etc.

Sewing Room Update # 879

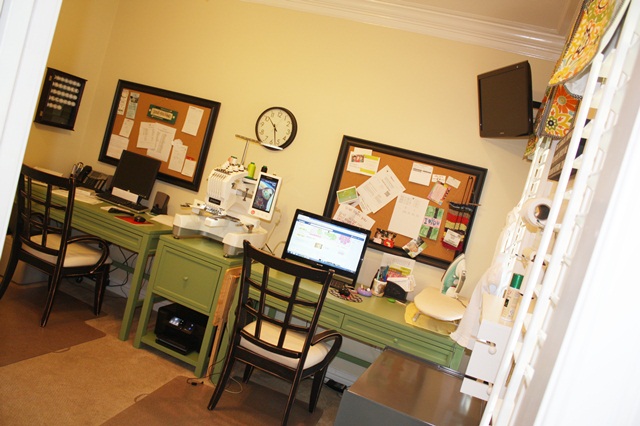
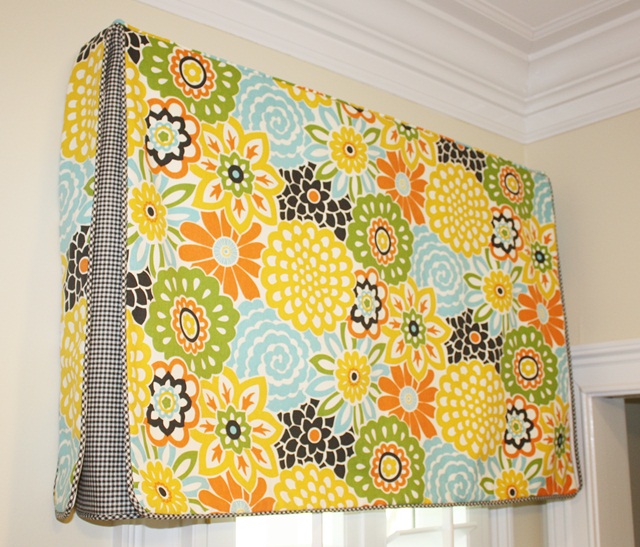
I hope everyone had a good Easter! It was such a beautiful weekend here in Montgomery! On Friday I got my valances back that I had made for our office/sewing room. YAY!! Since we hosted the family Easter lunch and egg hunt yesterday (32 folks), I was so glad they were ready in time and we hung them Saturday afternoon. These pictures are not great. While our office/sewing room has these 2 windows (see below), I can’t take a decent picture in here for the life of me. Outside of these windows is our (covered) front porch, so I don’t get great sunlight (and I am not a professional photographer!!) Trust me – it looks a TON better than white walls and no window treatments! I love the new wall color and the bright valances tie in the green desks. And you’ll see below, the black gingham-ish trim and pleats tie in all the black (chairs, bulletin boards, etc). This is Jeff’s office too, hence the TV mounted on the wall obstructing partial view of my pretty valances. 😉

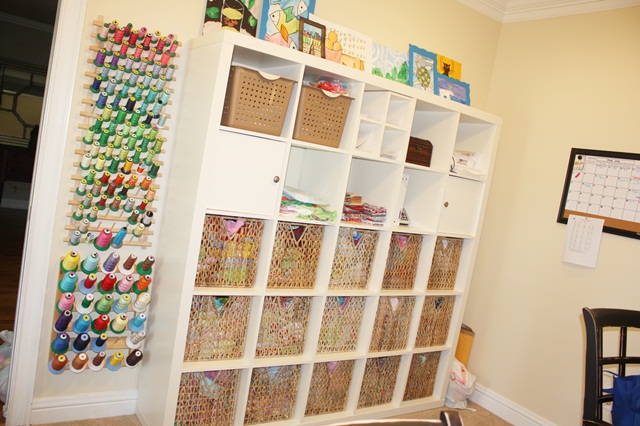
 I still have my thread stands and Expedit cubbies. Those are several of Browder’s paintings and such from his art classes on top. 2 calendars on the other wall – we keep 2 months pretty full. Side note: I recently asked Steve (Sewingmachine.com) about my thread and the threat of dust. He told me that dust CAN accumulate on your thread if it’s stored out in the open. Such dust CAN get in to your machine too. But, if your thread is not directly under an air vent you should be fine. He saw my set-up and seemed to think mine was OK. I have started dusting mine off before I use it just in case. If you are like me and use your thread daily, it’s not reasonable to keep it stored covered up somewhere. If you store your thread on stands like me, just check to be sure it’s not directly under an air vent. If you see dust on the thread or the spool, wipe it off before using it!

Same setup w/ desks and machine. I had several people suggest me moving things around, but the way it is now I can sit at my desk and everything is within reach (except for fabric and thread). I have my iron, machine, hoops, etc. all within reach, so this is the best possible setup of our furniture. I do share this space w/ Jeff, so it’s not like I can completely take over! 😉

Closeup of the valances. This is Waverly Modern Essentials from Joann.com. The black gingham I got at King Cotton here in town. I love the colors!

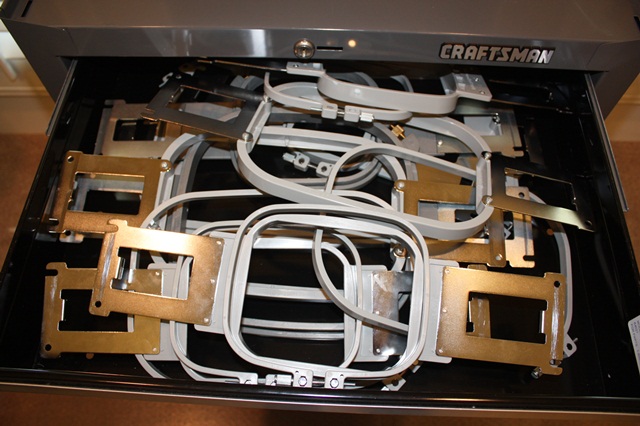
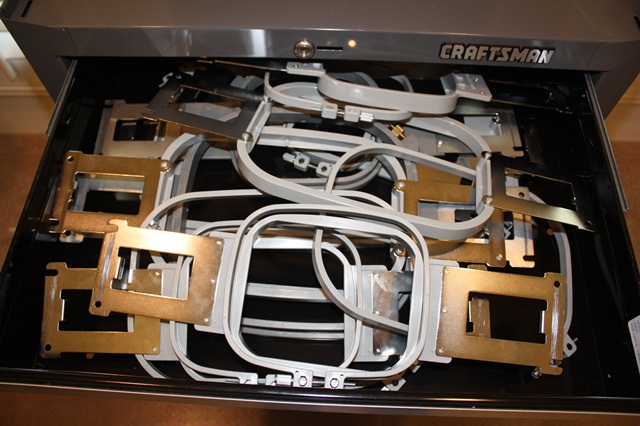
 I have posted before that my machine used to be on a Craftsman tool chest from Sears. My machine is now on a file cabinet “desk” from Home Decorators, but I still use (and love) my tool chest. It’s where I store all of my hoops, stabilizers and “junk”. The top is a GREAT surface for hooping as well! I would recommend either of these pieces as a machine stand. Both are sturdy and I have never had my machine vibrate or move AT ALL. p.s. The “real” machine stands are great too!

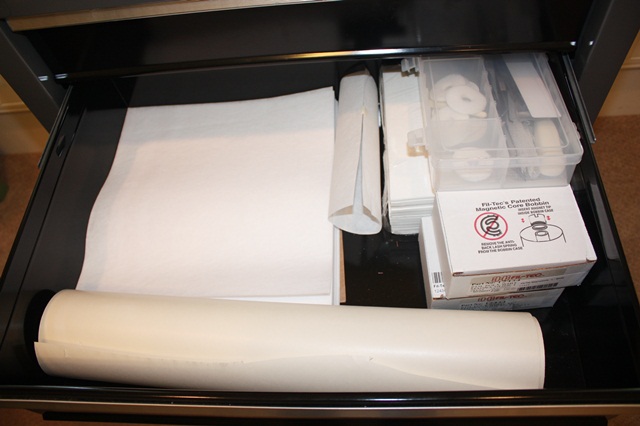
 Precut 12″ squares from sewingmachine.com on the left, 8″ squares on the right under my machine toolbox. Fil-Tec Magna bobbins and my big roll of sticky stabilizer. All of this is from www.sewingmachine.com! The other 2 drawers were too messy to show you! 🙂

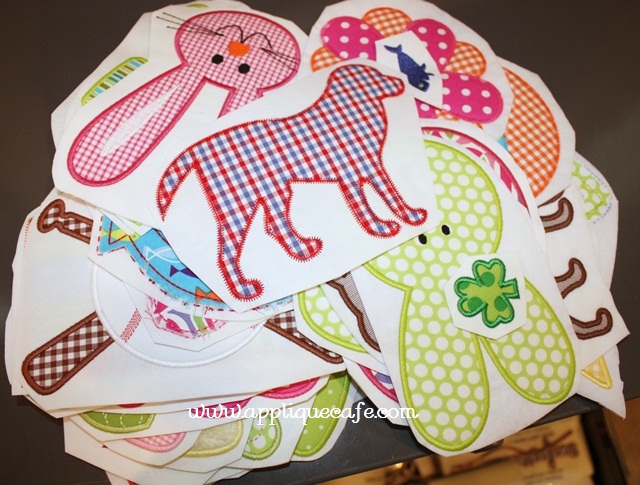
And… I posted a while back about throwing away my samples. Several of you got on to me 😉 for throwing them away, so since then I’ve kept them. They are done usually on stabilizer if I don’t have a t-shirt to do them on. OK folks… here is my pile of samples. What am I supposed to do with them? Any ideas??

Reminder: Our current 35% off sale at www.appliquecafe.com ends this Wednesday, April 11th! We are also gearing up for the upcoming Everything Applique Conference in Birmingham, AL on April 28th! There is still time to register ~ the deadline is Monday, April 16th at midnight. Check out the EAC link to register or for more info! As of right now there are over 600 folks signed up to attend! I’m really looking forward to a fun time and getting to meet so many people I *know* on Facebook and through my blog. SIGN UP!!