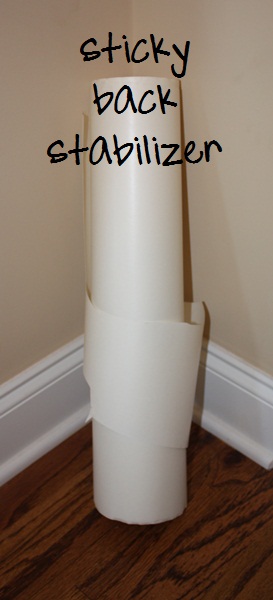
If you have a multi needle machine, chances are you have heard about FAST FRAMES! You may have them and use them for everything, or you may not have them and are not quite sure what they are used for. If this is you, this is your post! I have them, but I have to admit I don’t use them very often. But, they are nice to have for those things you “can’t hoop” or are hard to hoop (i.e., big bags, tiny bibs, etc.) Some people use them for EVERYTHING, including shirts. I am a “hooper“, so I hoop everything that I can and pull out the fast frames when I need them for those things that I can’t hoop, or that are hard to hoop. If you have fast frames, then you must have Sticky Back Stabilizer. I got mine from Sewingmachine.com and it’s great! There are sticky stabilizers that are just that ~ sticky (too sticky). I find this sticky stabilizer easy to use and not too sticky, meaning it will easily pull off the back of whatever it is you’re working with, and it will pull off of the fast frames with ease. I’ve had this roll forever!
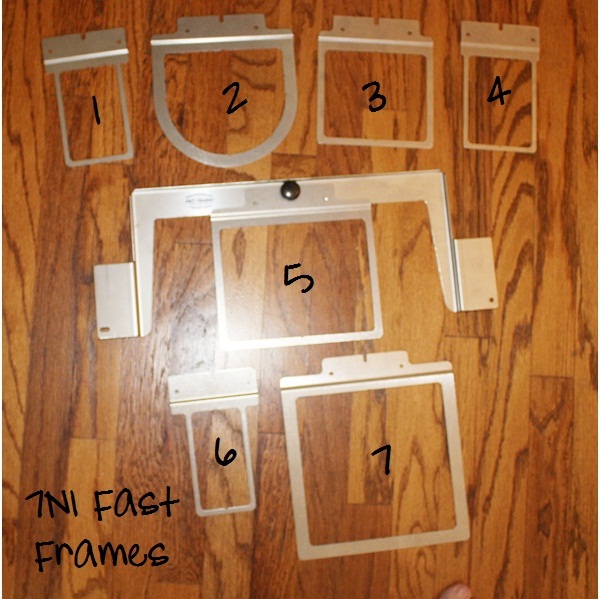
Here are my fast frames, called the 7N1 Fast Frames Hooping System. Again, I got mine at Sewingmachine.com. As you can see the set comes in a variety of sizes and there are larger sizes available to purchase separate from this 7N1 system.
I also have this deep bag frame for those large items you might need to monogram or applique. As you can see the frames come with written instructions!
So today I am monogramming a simple “H” on this dainty little white linen bib. I COULD hoop this bib with my 4×4 hoop (and I would use an iron on tearaway stabilizer had I hooped it), but I’d hate to mess it up and this was the perfect illustration for my fast frames! I picked out the frame that would best fit the bib and the size of the “H”.
I cut a piece of my sticky back stabilizer a little larger than my frame.
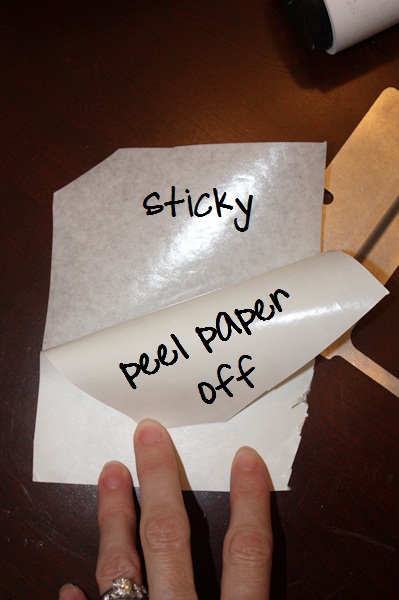
I peel away the paper leaving the sticky back to stick to my frame.
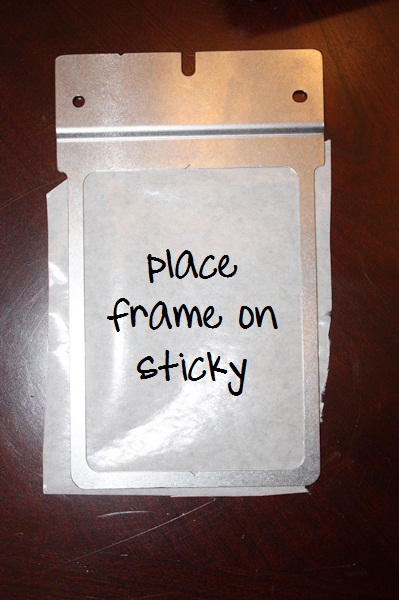
The frames come with instructions and you may be able to see that there is a bend in the frame which will be sloped down. I place the sticky back under the frame sticky side up and stick the frame to it.
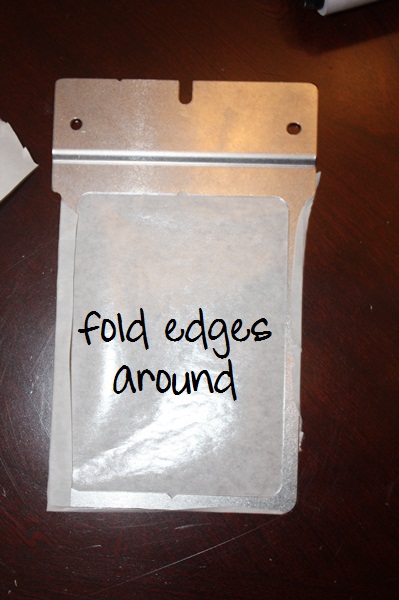
I wrap the edges of the sticky around the frame for added security. As you can see it’s not perfect and doesn’t wrap around on all sides. This is fine! The bib is not going anywhere.
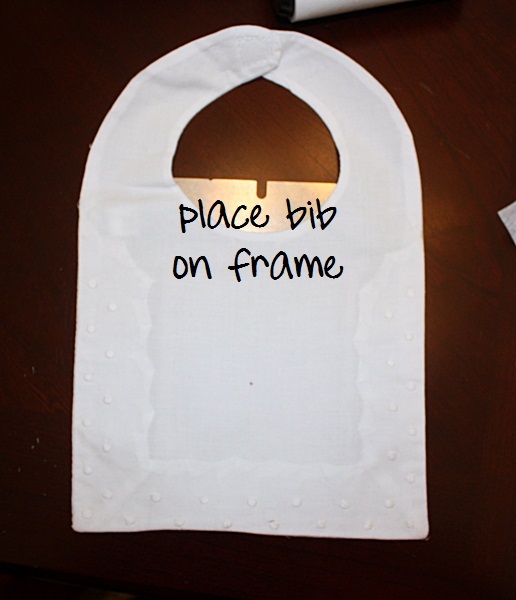
I place the bib on the sticky back on the frame and it’s “stuck” in place. I eyeball it for centered-ness (I think I made up a new word?).
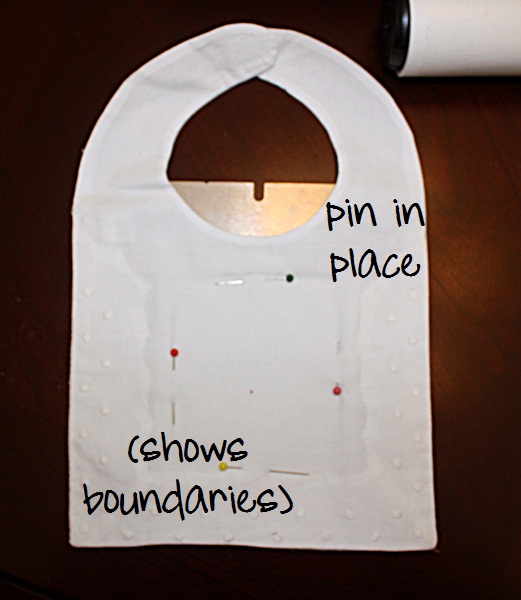
I also pin the bib to the sticky stabilizer. This serves 2 purposes. 1) the bib is definitely not moving or going anywhere and 2) I now know where my borders are. Your machine does not recognize fast frames, so it is up to you to make sure you know where your borders are and that the needle is not going to knick or hit one of the sides of the frame (VERY IMPORTANT!!). I pinned just inside the frame so I know my needle can’t go further than my pins!
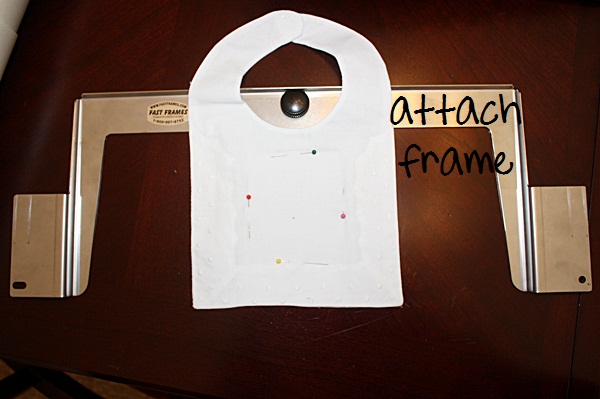
I now attach my frame to my big frame. It’s ready to go on my machine.
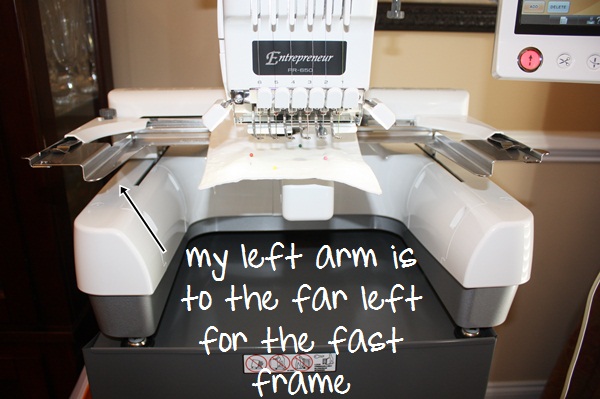
On my machine (Brother PR650), the left arm is adjustable and it will go almost all the way to the left for my fast frames and I tighten the screws so that the frame is secure and not going to move. My machine now thinks I have my largest hoop on, so it’s up to me to make sure the needle is not going to hit any part of the fast frame. I know that sounds confusing but you will get used to it!
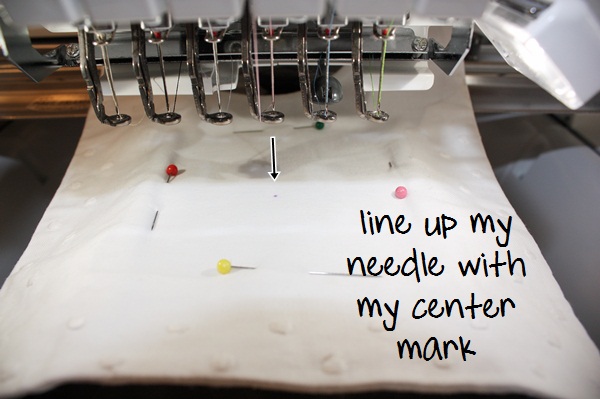
I now line up my lead needle with my center mark on the bib. You can pull the needle shaft down to make sure it’s lined up if you don’t trust your eyeballs!
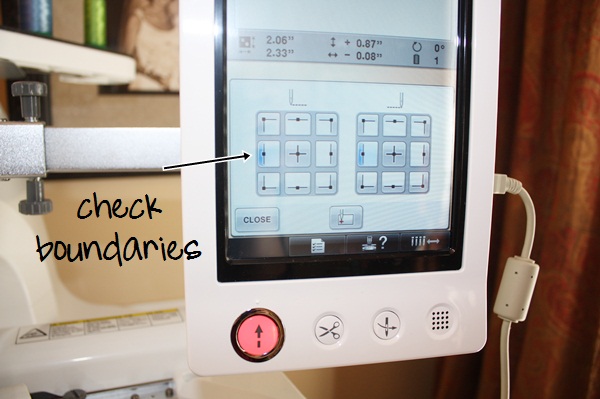
Here is where I check my borders. On my machine you can check your parameters and it will move the needle to any position you tell it to. So I go left, right, top, bottom and make sure my needle is within my pin borders and is not going to hit any part of the frame! If you are working on a big fast frame, then this is not as crucial if you have plenty of room. I’m working on a pretty small frame so I need to be sure my H is going to fit!
Ready, set, go!
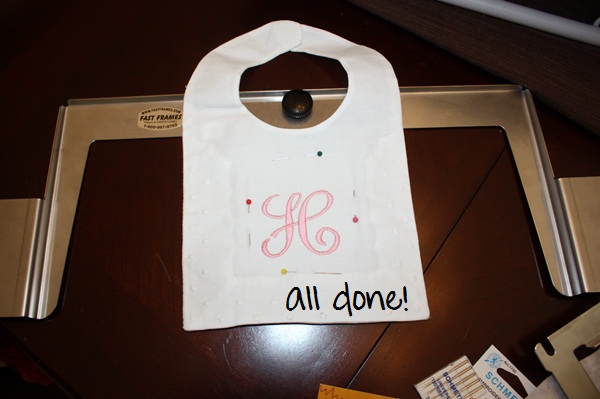
I’m now all done and as you can see, the H fit nicely within my pins.
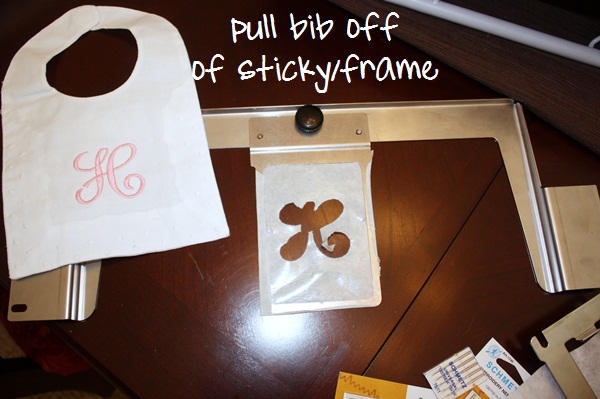
I pull the bib off the sticky, then peel the sticky off my fast frame and pull any little pieces off the back of my bib.
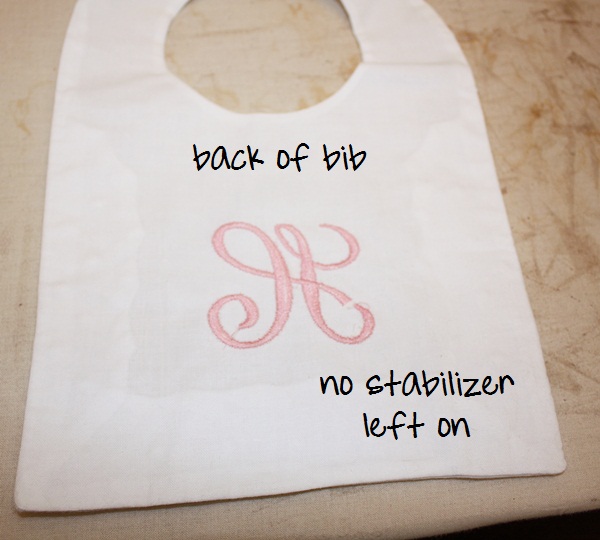
As you can see there is no stabilizer left on the bib. This is the case with all STICKY and TEARAWAY stabilizers. A cutaway stabilizer would be left on and you’d trim around it, but that’s another post!
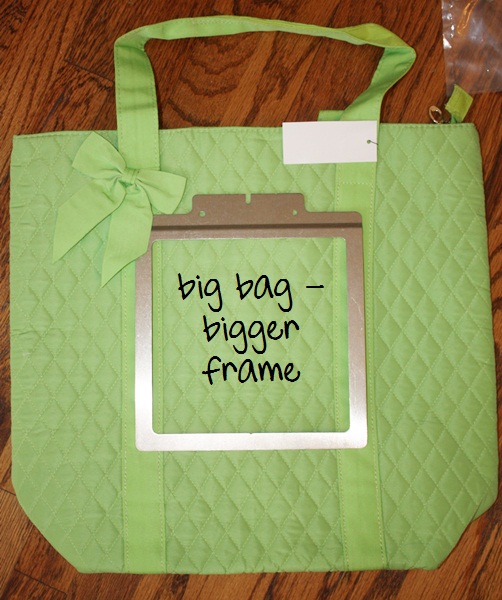
Here is an example of when I would use a larger fast frame ~ this lime green duffle bag (also from Sewingmachine.com). It would be very hard to hoop this bag because, a) it’s big and bulky and b) the thick ribbon would make it almost impossible to hoop and stay hooped! I would put sticky back stabilizer on this frame, stick the bag to it and pin it in place and monogram away!
For those of you who use fast frames for everything, then this is elementary to you! But, there are those of you who are contemplating a multi needle machine and wondering “do I need fast frames?”. I hope this helps!




Recent Comments