Archives for August 2012

Friday Fabric

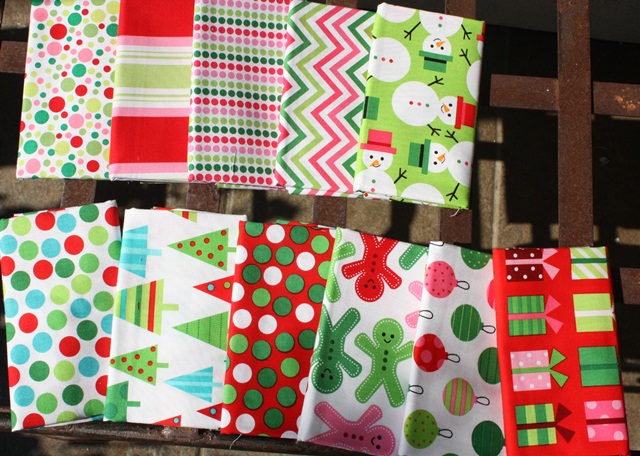
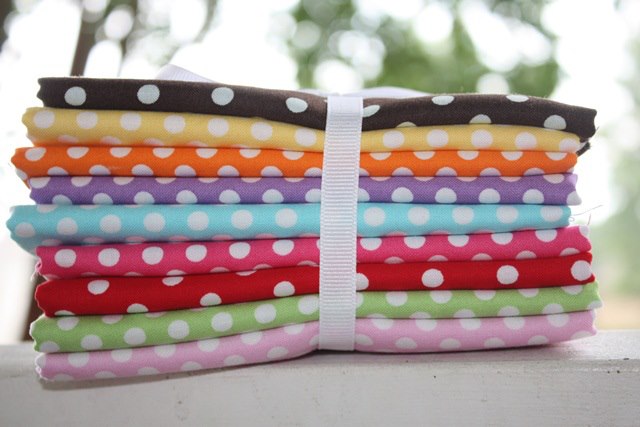
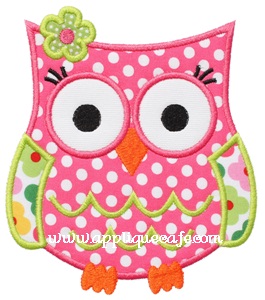
Happy Friday! I have been meaning to do a post on all the new fabulous fabrics I’ve gotten recently. Here it is! I posted this photo already on Facebook. The dot fabrics below are all from TJs Fabric (Opp, AL). Most of these are Michael Miller “Kiss Dots” and I think the brown and red are “Dumb Dots”. If you go to TJ’s website and click on Online Store, then Newest Editions, you’ll find most of these. I LOVE any and all polka dot fabrics and use them in almost all of my designs, especially the girly ones! I used the hot pink in our latest Owl 5 (MUST SEE) design listed this morning. 
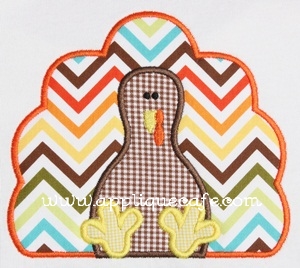
These are Robert Kaufman fabrics. LOVE LOVE LOVE the Chevrons which are SO popular right now! Top row 4th over Chevron is the one I used last year in our Turkey 4 design! Again, all from TJs and these can be found under Newest Additions as well!

More Robert Kaufman (Jingle Holly). Top left dot is Michael Miller (Santa Play Dot) which has been very popular over the past couple of years!

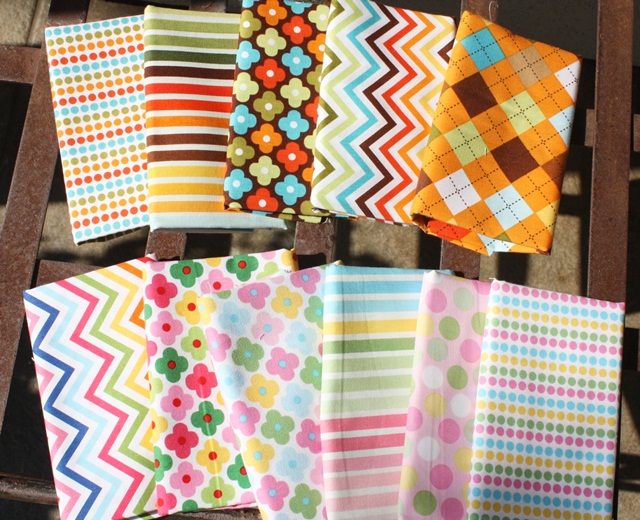
 These top swirly fabrics are Riley Blake ~ great for fall! Bottom middle dots are Moda as well as the right plaid. Bottom left dot is Riley Blake ~ super cute colors! Again, all TJs and all should be listed under Newest Editions!

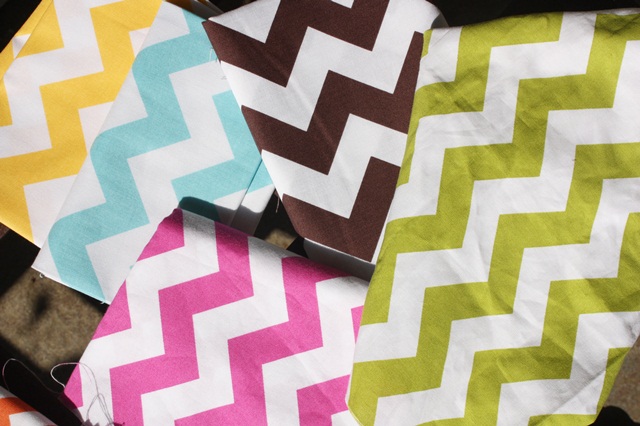
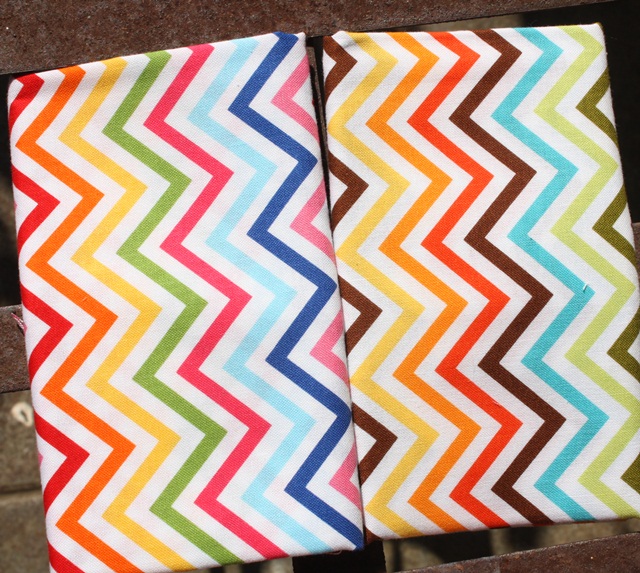
 CHEVRONS!!!!!!!!!! They are THE hot fabric right now! Hot pink and green I’ve had for a while (I think I got them at InTown Quilters in Decatur, GA) and are Michael Miller. The Brown, aqua, yellow are all Riley Blake. You can find Chevrons at both TJs Fabric and Whimsical Designs. You can get 5% off at Whimsical Designs with my special code: ACe6ecea7394 through September 30th! The discount can be stacked on other sales too!

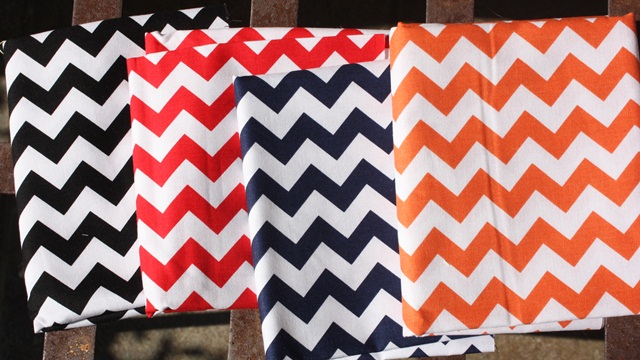
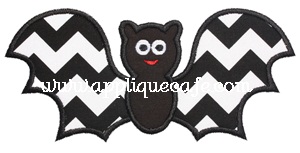
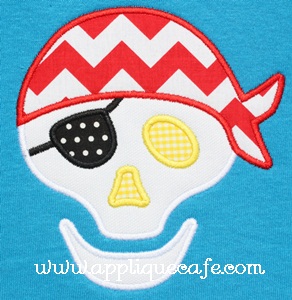
 These Chevrons are smaller than the above ~ all Riley Blake! I don’t know if we can all thank Isaac Mizrahi (2011 Target craze) for the chevron phase or what? Thank you whoever! I love them! I used the black on our new Bat design and the red on our new Pirate Skeleton design, both listed today!


These are Robert Kaufman (says Ann Kelle for Robert Kaufman). LOVE these!!

 Again, check out TJs Fabric or Whimsical Designs for these great fabrics for FALL and CHRISTMAS! Really makes me want to start on Christmas designs!

Have a great weekend! I have been working all week on a large baby order (be on the lookout for my next post) and sampled 5 new Applique Cafe designs yesterday and this morning. I just turned my machine OFF and am going to try to leave it off all weekend! It’s time for consigning the kids clothes (NEXT WEEK) and I haven’t even started…..
Back to School

My boys started back to school this morning! Browder is now in 3rd grade and Garrison is in Kindergarten! They were both giddy this morning and were still giddy when they got in the car after school. That’ll wear off in about a week when I have to lock Browder in the kids’ “office” to do his homework (in tears because it’s SOOOOOO hard). Overall I think they are excited and I think Browder is a little pumped that Garrison is now “in the trenches” with him! Mallory still has a couple of weeks before she goes back to preschool. Anywho it’s been a super busy week or two getting ready for school. It’ll take another week or two for reality to hit that we are BACK IN SCHOOL! 

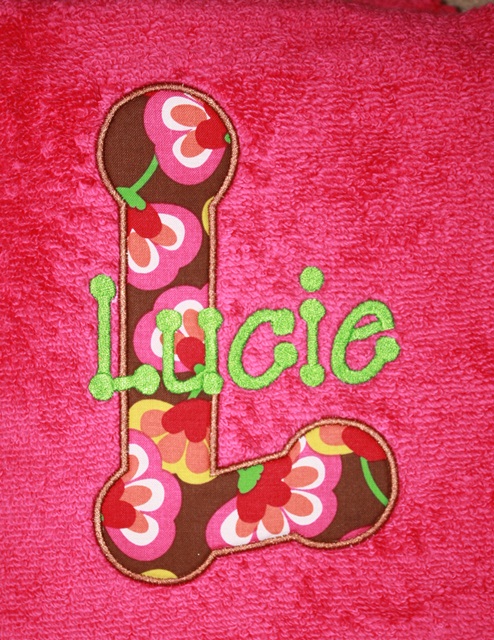
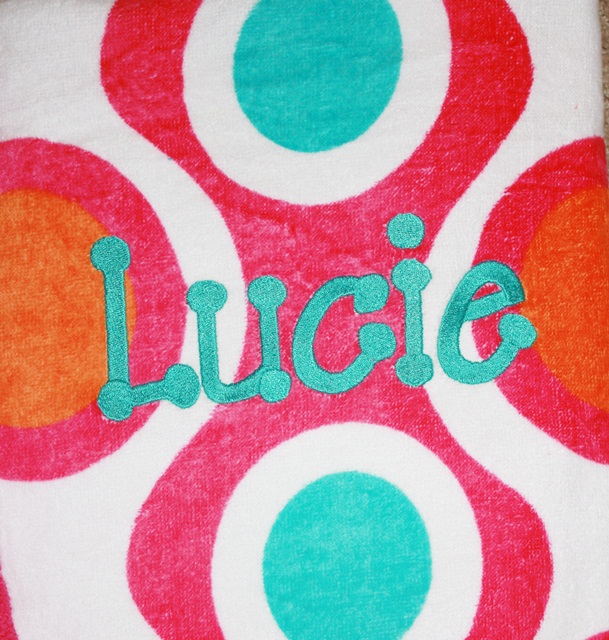
Once again, I’m loving the Monogram Wizard Plus Facebook Group. I’ve learned so many tips and tricks! One thing I read was in regards to monogramming towels. Here are a couple of towels I did last week and they turned out great (better than usual)! I adjusted the BOLDNESS to 120, selected FILL and UNDERLAY for the font. This is Embroidery-Boutique’s Dotty font. Applique Cafe doesn’t sell ANY fonts BTW. I use this one a lot because it shows a lot of fabric. It also matches my Monogram Wizard Plus Kim Single font. With towels, I use iron on tearaway stabilizer on the back and solvy on top and I hoop it all together. Fabric for the L ~ Windam Fabrics Shadow Flower.

 Here’s another towel with MWP Kim Single font. It looks thicker and better to me with the increased boldness and underlay! I like to use “fill stitch” on towels versus “satin stitch”. It lays the pile of the towel down and won’t “pick” like satin stitch might. I also use fill stitch on most bags and backpacks. Speaking of backpacks, I have gotten my moneys worth out of my Fast Frames in the past couple of weeks. I’ve monogrammed A TON of bags and backpacks!

 I had a few people ask me (and I see it asked all the time) what MWP fonts are good to buy. Here’s a list of the ones I’ve bought and I’ll put a * by the ones I use A LOT. Some of these I got on the website store and some are from Alpha Pak disks that you used to have to buy before the downloadable fonts were available. This list may or may not be 100% accurate as some of the fonts I’ve had forever and can’t remember if they came w/ the software or if I bought them. Arabesque, Cotillion (dressy boy font), *Kim Multi/Single*, *Library*, *Master Circle* (my go-to girl scripty font), MC Center, Party Time (aka Curlz), Playground, Rascal, Recess, *Specs*, Stretch, Worms, Tipsy, Sunny, Penpal. I used to use Tipsy a lot for boys but now I use Library the most. Check out the store to find all of these “extra” alphabets. Some of these came as a set (disks) and I think you can buy them all individually now. There are a few more I’d love to have and will look out for the next Needleheads sale ~ Camp is cute (cowboy-ish), Empire is a great one similar to Master Circle, Silly is cute, Blackboard, Pendant is pretty, and Techie. These fonts are a little pricier than other fonts you buy and merge, but, they are totally scalable and adjustable in MWP and if it’s a font you’ll use a lot (like I use Library and Master Circle every other day), it’s well worth a few extra bucks!

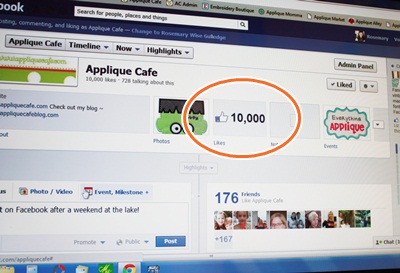
We went to the lake this past weekend with 4 other couples and their families. We had 10 adults and 12 kids and this was our 7th year. We always have fun! Anyway, I came home Sunday and checked Facebook Sunday night. I was going to remind everyone about our sale ending today. Low and behold, I looked and we had an even 10,000 Facebook fans! I was taken aback a little. I try not to take too much stock in that number because of course not all 10,000 fans have embroidery machines. There are other embroidery sites who have 15,000 or even double what we have. HOWEVER, it’s fun and thrilling that 10,000 people *like* our page! That’s a lot of people! We’re already at 10,059 and the number grows every single day! Thanks to all of you who support our little business!

Our 50% off sale ends today, which means it’ll be taken down first thing in the morning! You still have plenty of time ~ www.appliquecafe.com!


Monogram Wizard Plus and Sew What Pro

mwp

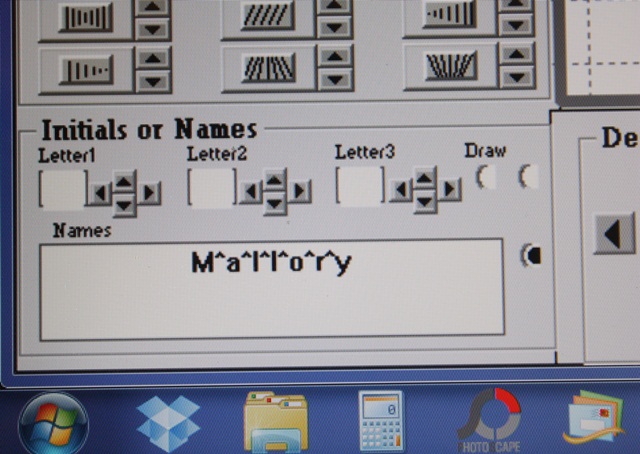
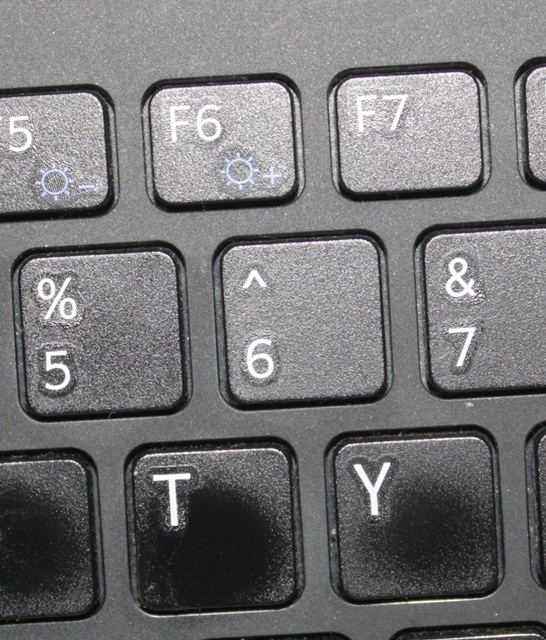
As promised, I have another trick I learned on the Monogram Wizard Plus Facebook Page. This is great in 2 instances that I can think of off the top of my head. 1) You’re doing a name in Monogram Wizard Plus and you or your customer wants each letter a different color thread. You can do one of a few things ~ if it’s a name with 5 letters or less, you can do it in layers in MWP. You could also manually stop your machine as it’s sewing in between each letter and change your thread color (if you are using a single needle machine). OR….. here is a neat trick! Between each letter, type in the “^” symbol, which is located on your 6 key. Another instance where this comes in handy is 2) You’re using “Specs” font (MWP) and if you have Specs, you know it is spaced all crazy so your name may or may not line up the way you want it too. I LOVE Specs and it’s great for monograms (3 letter monograms). Names are another story. Anyway, you can use this trick to rearrange the letters IF you have Sew What Pro or other editing software. First you will save it this way (there are more pictures below) and then you would bring it up in SWP to edit. 

 Here is the key!

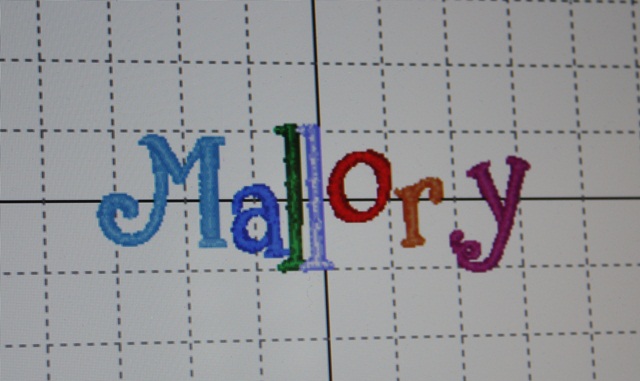
 Here is my name with the ^’s in between each letter and this is Specs font. As you can see it’s all crazy! But, when you put the ^ in between each letter, it makes each letter a different thread color. Normally in MWP your name or initials are all the same color UNLESS you layer. So I’m going to save this on my computer in a folder where I can find it in a minute to edit in SWP.

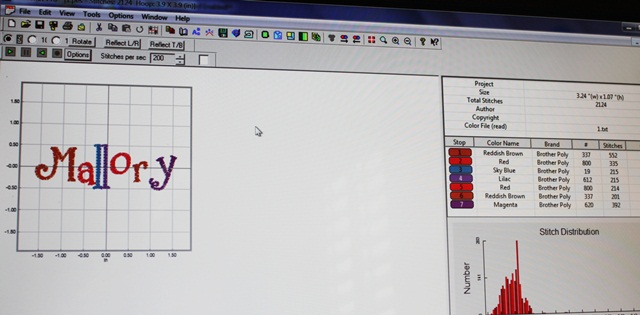
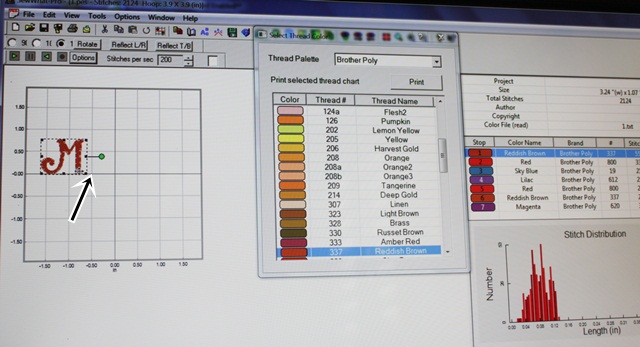
 Here it is in Sew What Pro. If you look at the thread chart on the right you can see all 7 letters are a different color and a different step. If you click on each thread color, you can then move the letter around. It’s a little tricky since when you select a letter it only shows you that letter to move, but I was able to line the letters all up on the middle line pretty easily. There may be another way to do this, but I’m not sure what it is. If you know, comment and let us all know!

 As you can see here I clicked on thread color 1 on the thread chart which shows me my “M”. If you click on the name on the left part of your screen, it will select the whole name, so you have to click on each thread color to select each letter. What I did was line up the M on the middle horizontal line on my grid. I then clicked on step 2, the “a”, and lined it up on the middle line next to the M, then 3, 4, 5 and so on until all the letters were sitting on the line. I did have to go back and adjust them a little to the left and right, but it didn’t take me long at all.

 Here is the name after I’m done and I’ve clicked the “CENTER” button to center the name in my hoop. I will then save the name to my machine and it’s ready to sew. Again, since each letter is a different color it’ll stop in between each letter if you want to sew the name with different color threads. If you don’t, you can change each letter to the same thread color and JOIN THREADS to have the name sew all the same color. Or, you could just keep sewing after each stop using the same color thread. I did not take pictures of the joining threads part but will try to do so later. I didn’t want to get too confusing!

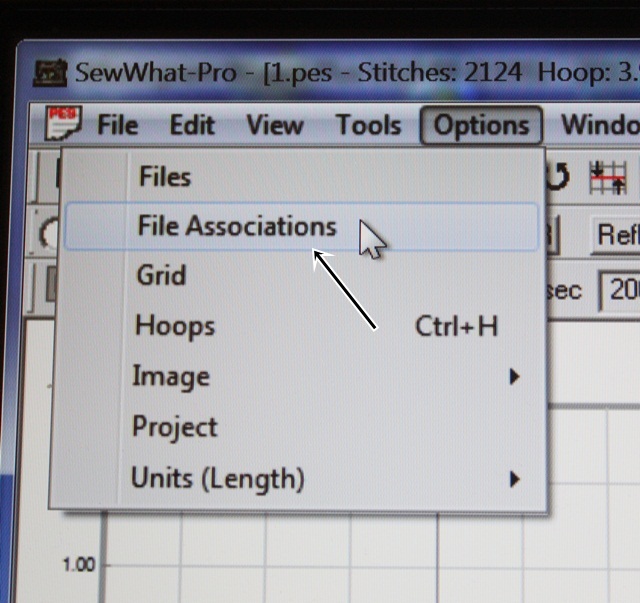
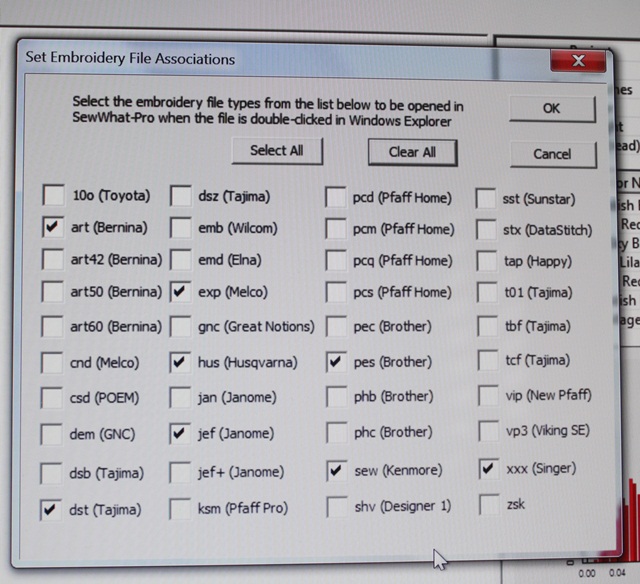
 I also found a couple of neat features in Sew What Pro that I don’t really use but I thought I’d share. If you click Options, then File Associations, you can select all the different type of embroidery files you might open on your computer. That will allow you to double click on those embroidery files and Sew What Pro will automatically open them. Otherwise, your computer might ask you what to use to open the file.

 I clicked most of the embroidery file types we offer, so now I can open any of those files in SWP automatically! I like to SEE what I’m working on, so I use SWP whether I am merging or editing or not. My machine uses PES and DST, but we often have to look at other file types so this is great! It’s also a great little cheat sheet as to what formats the different brands of machines use!

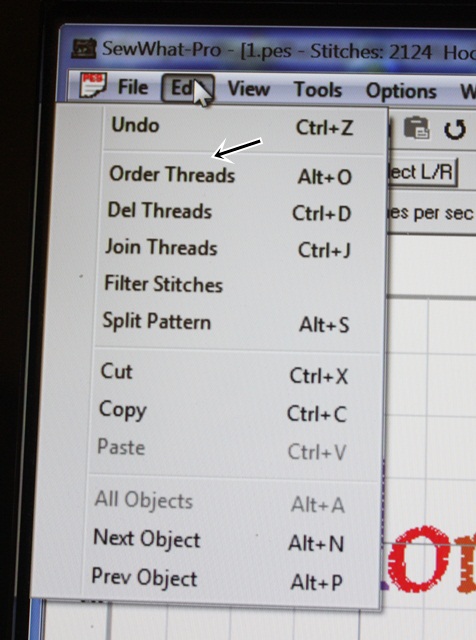
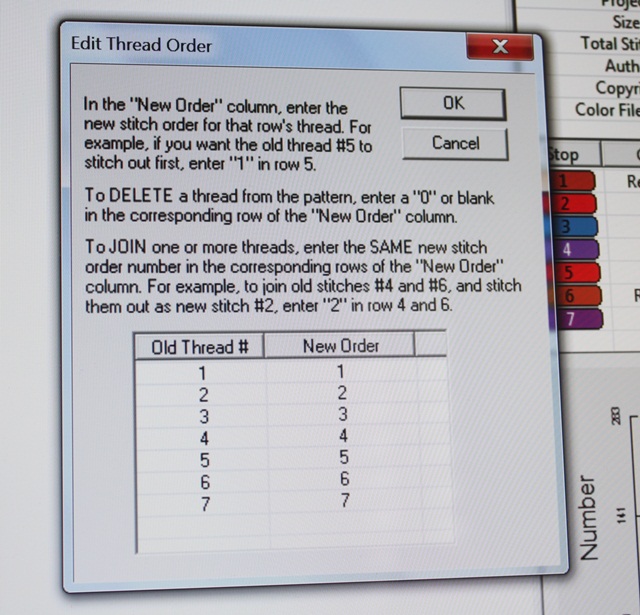
 Another feature I have never used is Edit, Order Threads. (And you can see Join Threads down below that). You can switch around the order of whatever you are sewing with this feature. I would be careful in doing this, but it may be you have a design with a name and maybe you want to sew the name (underneath?) first and maybe the way you saved it it was at the end.

 Again, I’ve never used this feature but it might come in handy one day! We like to order our designs in a logical order, but sometimes on single needle machines you can switch the steps around to make sewing it easier if you are using the same thread colors. Again, I’d be careful with this since most designs are ordered in a logical manner!

I get emails a lot asking “how do you do this?” in MWP and SWP. My suggestions is to open them up and just play around! When I started there was no Facebook Group (or Facebook for that matter) so I learned through the manuals and just experimenting and TRIAL AND ERROR! See Helpful Posts for more posts on MWP and SWP.

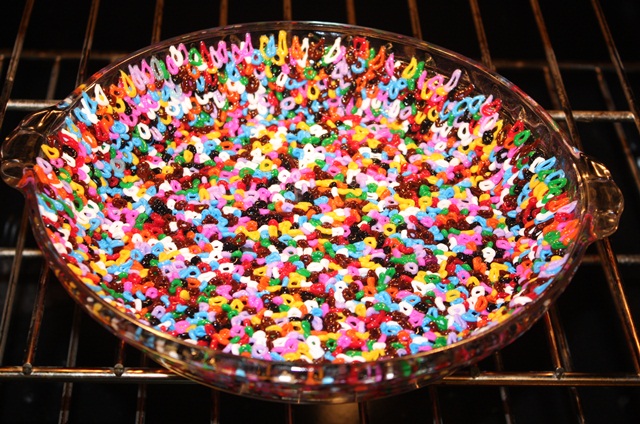
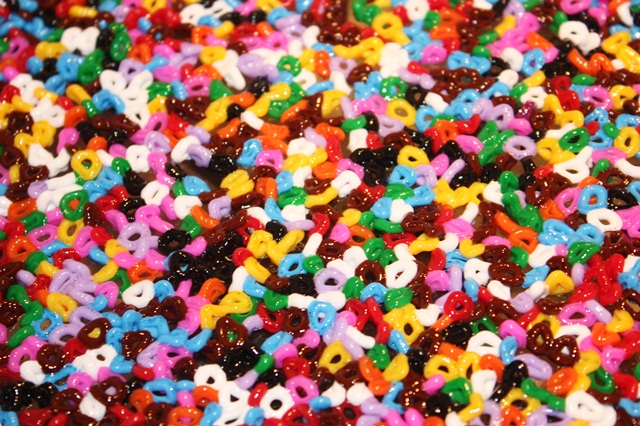
 Now on to the craft section of my post thank-you-Pinterest! My kids have a vat of Perler Beads I got at Ikea. We usually keep them hidden because they get them all over the floor and Jeff gets all crazy. I saw this on Pinterest last night so we had to try it out! This is an oven proof Pyrex pie dish. First I sprayed it with Pam (oil would work) and then wiped most of it off with a paper towel. We then layered the Perler beads on the bottom and on the sides in the best single layer we could come up with. They actually stacked on the sides pretty well thanks to the light grease! We put it in the oven at 350 degrees first for 10 minutes, then another 5 minutes. This is what it looked like after it cooked.Pretty cool!


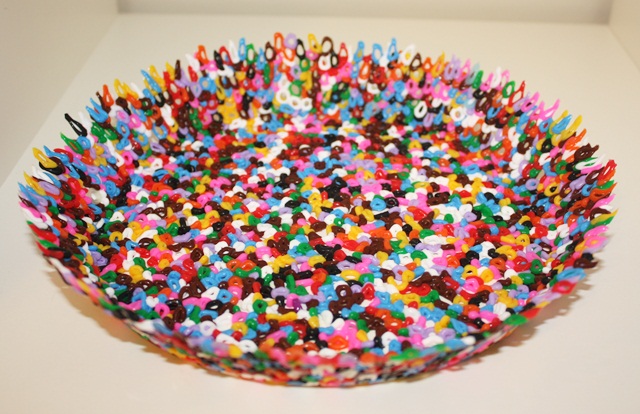
 I then took it out of the oven and let it cool. I’d say 10-20 minutes. On this first one we put it in the freezer for 5 minutes or so and then the “bowl” came right out of the dish. We did 2 more later and skipped the freezer step and they came right out.

Pretty neat! I’ve also seen metal cookie cutters (put the beads inside and cook) and muffin tins. I’m sure we’ll be doing this again with every oven safe dish we can find!!

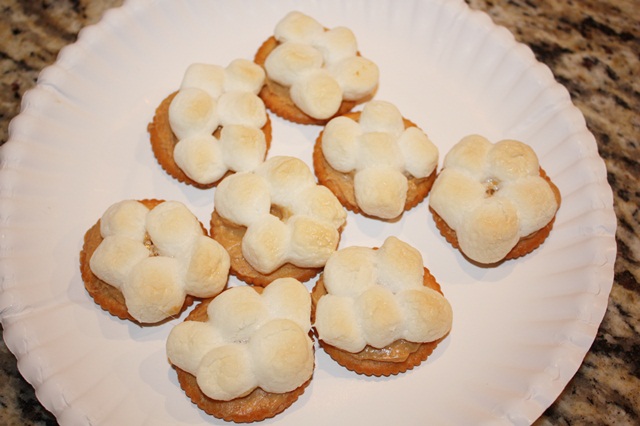
 Now on to a snack my grandmother used to make when I was little. It came to mind this week so I made some last night. You might think this looks funny but I promise it’s good! These are Ritz crackers with peanut butter (thin layer) and mini marshmallows on top.

I bake/toast them in the toaster oven until the marshmallows begin to brown.

Let them cool and then eat up!! Try them! They are really good!! I will always remember my grandmother when I make these!

The sale continues at Applique Cafe, and we’ll be listing 6 new designs probably in the morning!