Archives for October 2014

Widening Satin Stitches!!

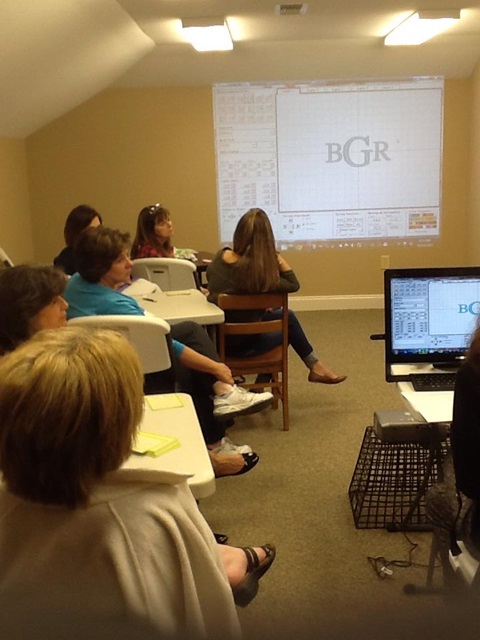
I taught a class last Thursday night at Beth’s Heirloom Sewing in Wetumpka, AL. I’ve taught a couple of “intro to embroidery & applique” classes before but this time she asked me to teach Embroidery Software. Since I use Monogram Wizard Plus and Sew What Pro, those were the 2 I chose to teach. I took 3 pages of notes (front and back) and ended up spending a good hour on Monogram Wizard Plus and the last hour on Sew What Pro. We didn’t even take a break! People really ARE interested in software!! Check out Beth’s website ~ they are now selling fabric online and she said they were still in the process of adding all of it! If you are in the area, you can also sign up for their newsletter and hear about upcoming classes. I need to take my notes and put them in a good outline form ~ I will work on that in my spare time!

beths

photo (10)

One of the most impressive features of Sew What Pro is that you can adjust PULL COMPENSATION, or in other words, you can WIDEN YOUR SATIN STITCHES on your appliques and fonts! Say what???? I posted a picture of a demo I did on Facebook last week and got a huge response!

I will walk you through the process, and also include a link to a video from the Sands Computing website so you can also watch the process. It’s SUPER easy to do!

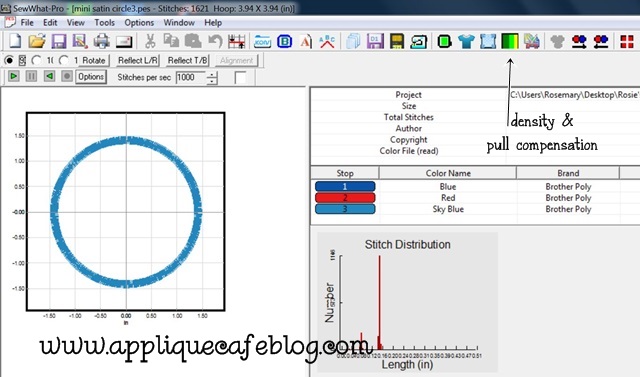
Here is your Sew What Pro workspace screen and I did my demo using our Mini Satin Circle Applique Design. There is an icon up top for adjusting your density and PULL COMPENSATION. Click on that button (which says “Adjust Density”). I don’t mess with density by the way. I found this when googling Embroidery Density ~ “Density is the distance between individual stitches in a satin column or rows of stitches in a fill. The closer the rows are to each other, the more dense an area of stitches is.” You can read more about density here. Again, I typically don’t mess with density!

pull comp


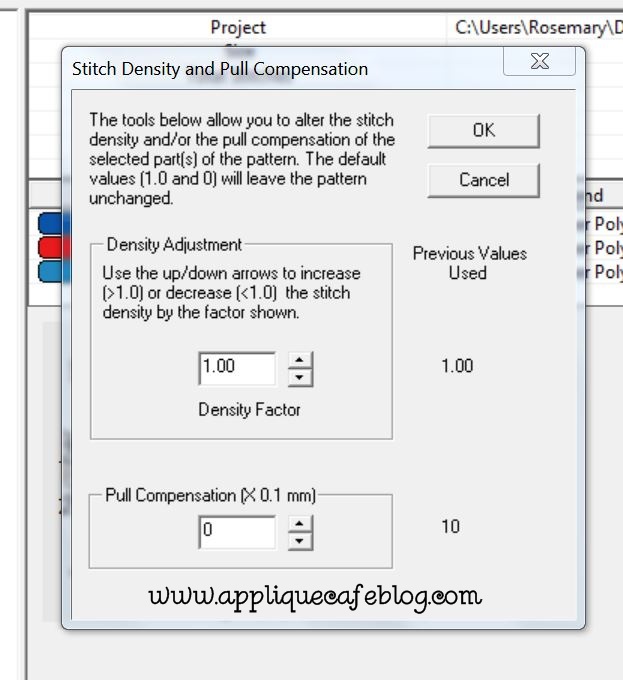
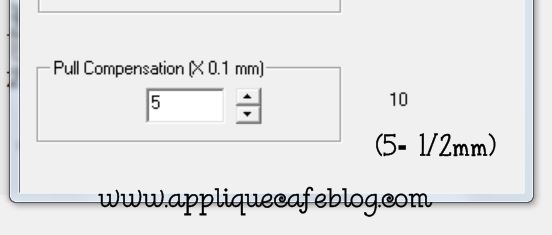
On the bottom you will see Pull Compensation and X.1mm. You can adjust your PC up to 20, which would be 2mm. You can also go -20 which would make your satin stitch 2mm thinner. Basically, 5= 1/2 mm, 10=1 mm, 15 = 1.5 mm, and 20 would be 2 mm. You will see my examples down below.

pull comp 2

pull comp 3

pull comp 4

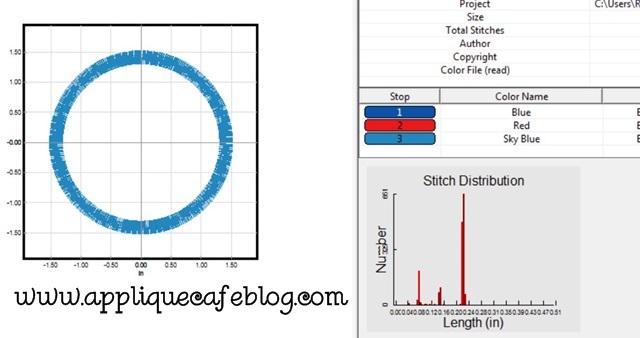
This is what my adjusted design looks like after changing my PC to 10. This, I thought, was a good increase for PC and it didn’t make it too thick.

pull comp 5

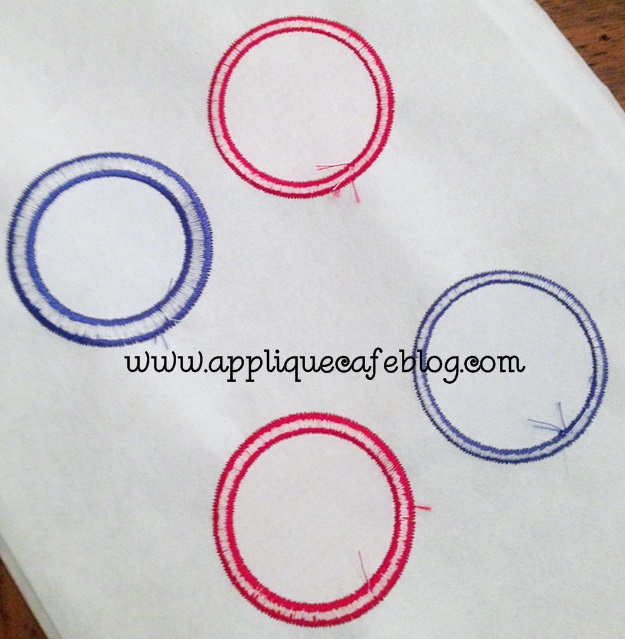
Here is the demo I did! As you can see, 20 is almost too thick unless you just like super duper thick satin stitches!

IMG_9108

Here is a shot of the back of each applique. As you can see the bobbin distribution looks great (about 1/3, 1/3, 1/3)  so adjusting Pull Compensation does not mess up how the design stitches.

photo (28)

And now, here is the video you can watch from the Sands Computing website: http://sandscomputing.com/sitebuildercontent/sitebuilderfiles/PullComp/PullCompensation.swf

There are also other helpful videos on their website! Let me know if you have any questions! This is just one of the cool features of Sew What Pro, which you can find at Applique Cafe! There is a 30 day free trial if you are interested in trying it out, and it’s only $65 to purchase. Well worth every penny!!

Check out our new Digitizer’s Pick for Christmas. This is a great design for the BOYS and it’s $1.50 for a limited time!
appcafeframe1loopy cmas tree 2

Sewing Room Organization

Hello AC Blog readers!! A while back (like in July) I solicited blog post suggestions on Facebook (or maybe it was on a blog post?) and I got some great suggestions. Sorry it has taken me 3 months to address some of them! I thought I would share a few pictures from my sewing room and show you how I (try really hard to) stay organized!! I think organization is a good thing or else your work space may feel chaotic and stressful. Luckily I have my own sewing room (that I share with my husband – he gets a corner and a shelf or two!). Before this house, my dining room was my sewing room and we all know how crazy that can be.

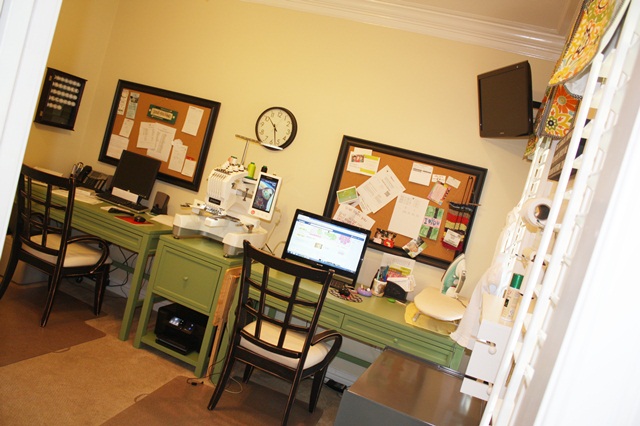
This is an old photo, but you get the idea. The furniture is from Home Decorators – Martha Stewart Living Craft Space Furniture.  It comes in a few colors and bunch of different options and has really held up well. My desk is dinged up from hitting it with hoops and such, but overall it is sturdy and we like it!

sewing room

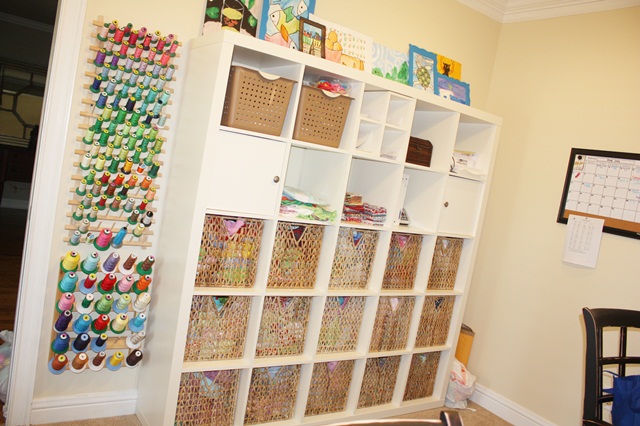
This is an old photo as well. This is my Expedit cubby system from Ikea, which I LOVE!!!! This thing is heavy and sturdy and comes in a few other configuration options. I was told that Expedit has changes names to Kallax at Ikea, and I am not sure if this 25 cubby system is being offered, but I looked online and see the 16 cubby system and a few other options. There are also lots of basket options, doors, drawers, etc. All 15 of the bottom baskets are filled with fabric, and are organized by style. For example: fat ginghams, regular ginghams, microcheck fabrics, chevrons, polka dots, solids, floral prints, etc etc etc are in a basket together. They are wadded up and thrown in the baskets haphazardly, but they are organized!!

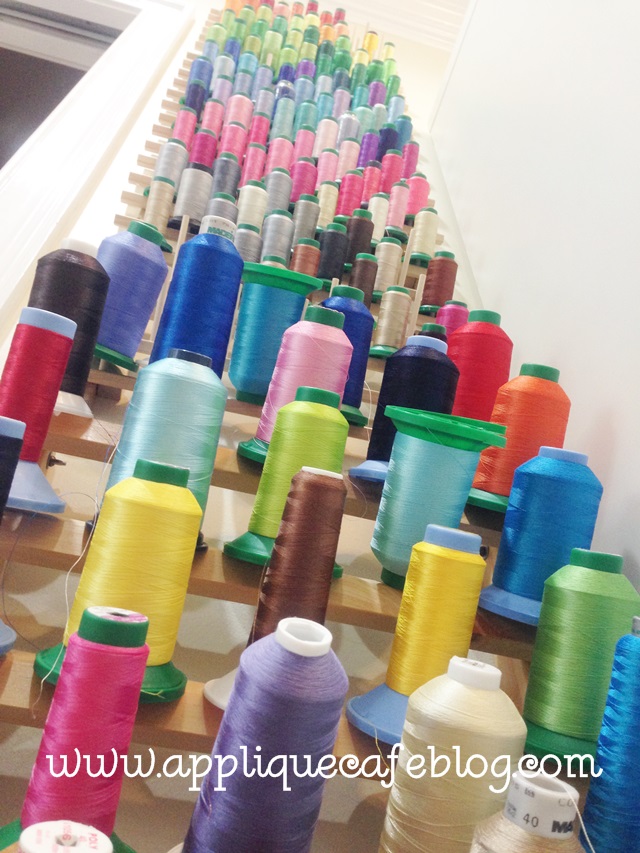
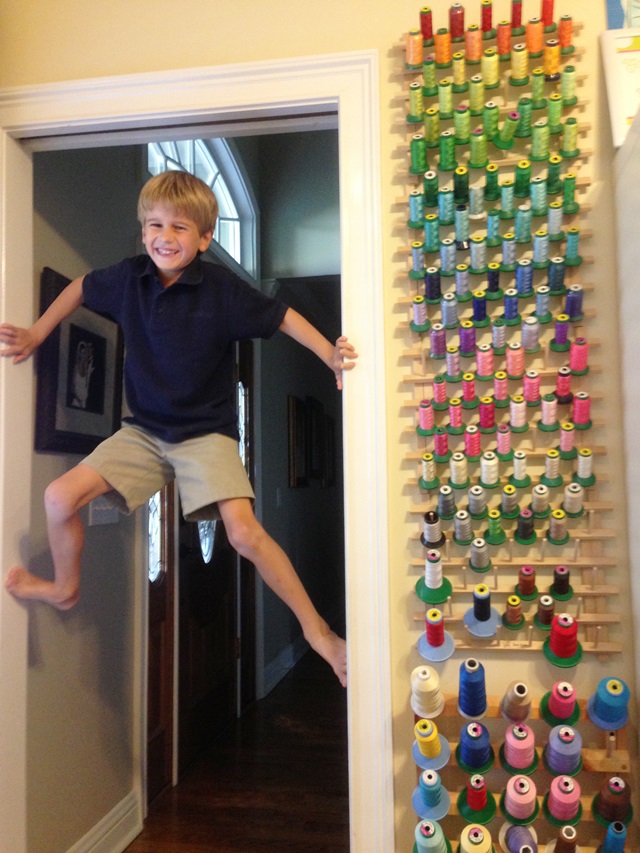
Thread — I have 4 standard sized thread racks hanging on the wall. You can buy them at Hobby Lobby, Joann, etc. I also have a large spool (5000M) rack that I bought at Sewingmachine.com at their West Point location. I think this is it — 30 Spool Thread Rack.

expedit

Here is more recent photo I took while laying on the floor doing hip exercises! Pretty cool huh (not the hip exercises…)? I use mostly Isacord and Exquisite thread. I get my Isacord from Sewingmachine.com and my Exquisite from Kenssewingcenter.com! I do have some random spools of other brands, but those are my 2 go-to brands for embroidery thread.

photo (7)

Another picture I posted on Facebook recently of my now-8 year old! He was peering over my shoulder the other day while I was doing a newsletter and asked me, as seriously as he could, “Do you have a website? Wait… do you own your own company?” WHERE HAVE YOU BEEN SON????? 🙂

garrison spider man

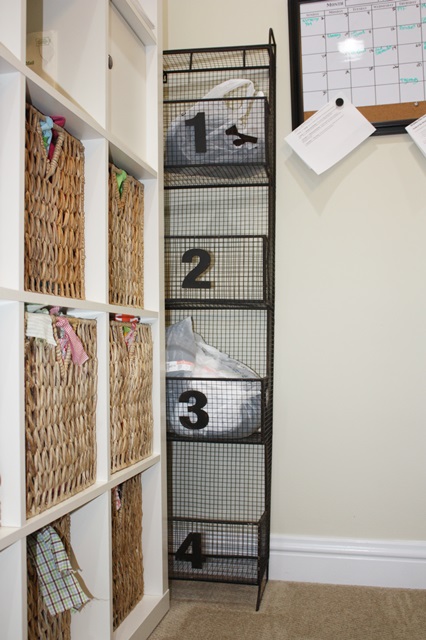
Another old photo! I bought this 1 2 3 4 wall cubby thing at Hobby Lobby a year or two ago. I believe it was on clearance and I thought it would be perfect for my TO DO stuff! Be on the lookout for things like this at Hobby Lobby, World Market, etc. when you are out shopping! They are great for getting organized!

photo (41)

This photo was today, and luckily my TO DO pile is small!

IMG_9102

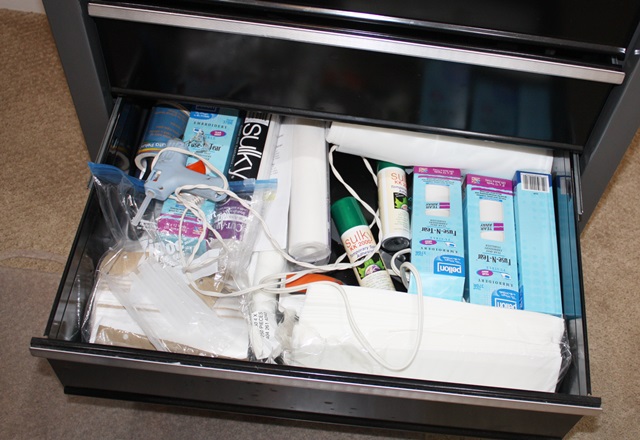
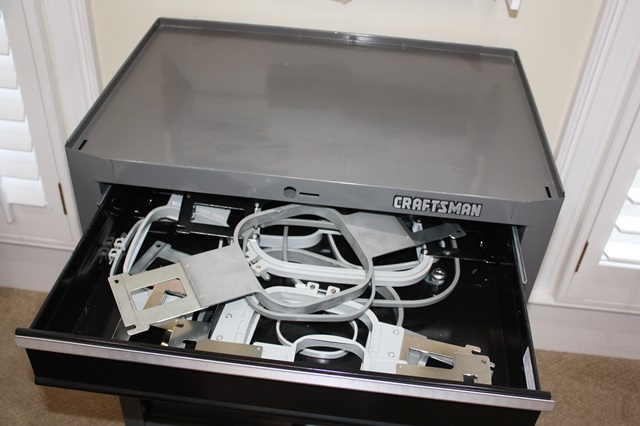
I have posted may times before that I used to use a Craftsman Tool Chest as a machine stand. It worked great! When we bought this house and I got a sewing room, I bought the 1-drawer piece of furniture seen in the first photo, but I kept the tool chest and I love it! I use it as my hooping station, and the drawers are great for all of my STUFF (hoops, extra stabilizer, etc.). As you can see below, when they have a sale at Joann I stock up!

IMG_9105

Drawers are great for all those hoop pieces! The top is great for hooping too. I bought this at Sears for less than $100 and it has 4 drawers.

IMG_9104

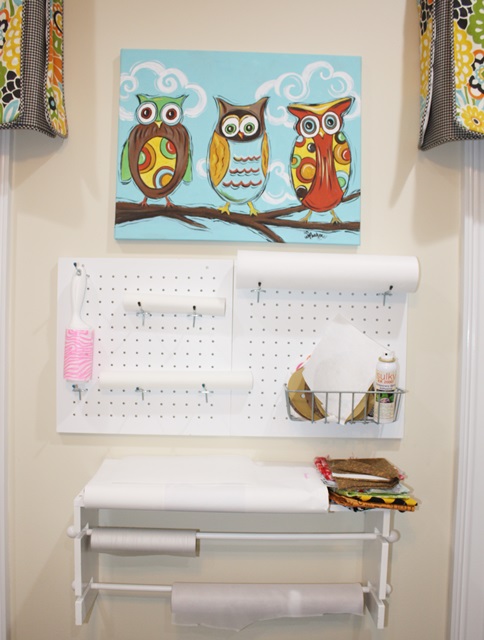
Above the tool chest I have a couple of peg boards I got at Michaels and a craft rack I also got at Michaels. It holds some of my stabilizer! This hangs above my tool chest so everything is handy when I’m hooping.

IMG_9103

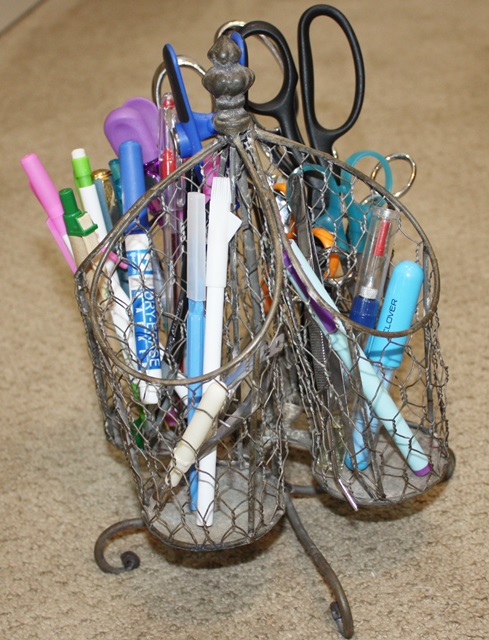
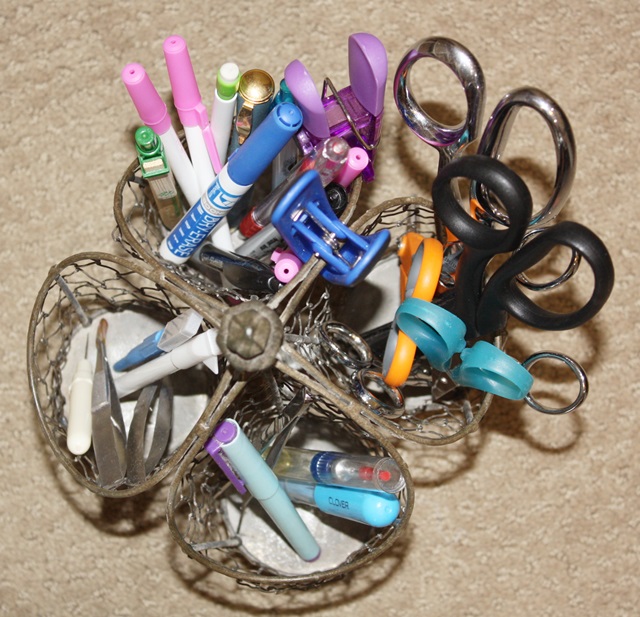
I bought this utensil caddy at Southern Homes & Gardens here in town. It spins around which comes in handy! My only complaint is that my stuff falls through the holes of the chicken wire and often gets stuck, but you get the idea! Any utensil caddy would be great for scissors, pens and all those other “things” you use (seam ripper, marking pens, etc.) in keeping them organized.

IMG_9101 IMG_9100

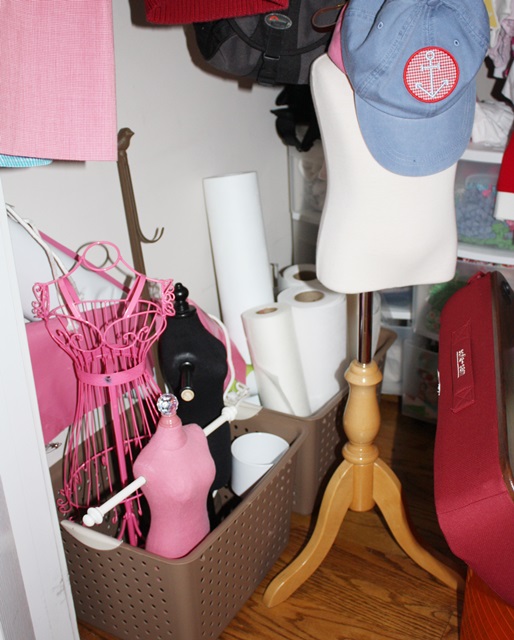
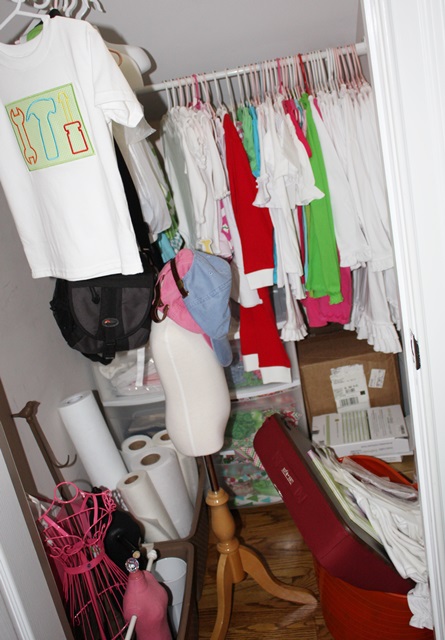
I am also lucky in our house to have a closet for all of my STUFF! My husband had some stuff in this closet and I kicked him out. It’s just a small closet under our stairs. As you can see below I have a dress form and some other smaller “props” which I use when doing classes or events. I bought the dress form from a local store that was closing, and the other smaller props all came from Hobby Lobby. You can find dress forms on Ebay also!

IMG_9107

I have tons of blanks and samples and I love that they are hung up and organized! I keep blank bibs and burp cloths in the plastic drawers underneath. It looks a little messy but it’s really organized!

IMG_9106

I hope that helps as you think about organization!!

Have you been on the website lately? Hopefully you’ve noticed our Digitizer’s Pick! We change it out randomly so be sure to grab it when you see it! Right now our Rudolph 3 is featured! Also, ALL DESIGNS ARE ON SALE THROUGH 10/14/14!

appcafeframe1loopy cmas tree 2

Lastly, I am teaching a class at Beth’s Heirloom in Wetumpka next Thursday night, October 16th from 6-8 pm. I will be showing you the software I use (Monogram Wizard Plus and Sew What Pro) and we will talk about using software in designing with embroidery and applique! Here is a LINK to the class!

logobg