Fix the Loop!

Don’t you hate when this happens? You are doing an embroidery design, or a monogram, or even an applique and your thread “loops” up on you. I’ve struggled forever with this and what causes it. There have been times where I’ve totally blamed the spool of thread. It was a bad spool or the thread was not twisting off the spool correctly. Recently I did some knit toboggan hats and my monogram looped on every.single.one.of.them. I emailed my sewing machine guy and he said it was a density issue. For example, knit hats + dense monogram = the thread/needle does not penetrate the knit properly and therefore loops. Sometimes I think my machine is dusty or dirty, so I change all my needles and clean the bobbin area to get rid of any dust or pieces of thread.

Below is a “Footprint” embroidery design I’ve recently sewn on 3 dozen burp cloths for a local ministry, Footprints Ministry. As you can see by my arrows on the photo below, the thread looped up on me in one spot. If this happens, don’t cut it! That may cause your design to unravel. What I USED to do was stick a regular needle or straight pin through and then try to pull the thread to the back by pulling on my bobbin thread in that area with a needle. It worked most of the time. Now if your monogram loops terribly and you’re looking at 15 places where the thread is loopy, then you might need to remove the monogram and back up and sew it again. But, if it’s just a loop here & there, I have a great tool for you.

photo

It even has a cute name ~ Dritz brand Snag Nab-It!! I got mine at Joann and it looks like this. It’s basically a needle (just shy of 2.5″ long) with 1 sharp end and the other end resembles an emery board. It’s jagged like sandpaper. They are $2.99 and are considered Notions, so catch them on sale or use a coupon. I also found some on Amazon.

photo (6)

So here’s how it works! You stick the Snag Nab-It in to your garment where the loop starts or finishes. You may notice the needle is pretty thick, so it can be a little tough to pull the needle all the way through (especially pulling the jagged end through). If it leaves a hole, then spritz a little water on your garment and it should be fine.

photo (1)

As you pull the needle through, the rough end grabs the loose thread and pulls it through to the back of your item (back there with the bobbin thread). You could then apply a little Fray Check on the back of the item or leave it as is. The thread would have to be pulled to come back through to the top which is unlikely.

photo (2)

Here’s a closeup of the end.

photo (21)

As you can see below, the loop is gone! I successfully pulled it through the burp cloth to the back of the design. Yay!

photo (5)

Here is another example! I monogrammed this bib today and the thread I was using is an off-brand thread that I never use. As you can see, it didn’t “loop” too terribly bad, but the monogram is not as tight as I would like.

photo (8)

Again, I stuck the Snag Nab-It through the bib where the loose thread was (on the very edge of the satin stitch) and pulled it through.

photo (9)

As you can see, it tightened that loose thread by pulling it through to the back side of the bib. Ironing also helps “set” the monogram. I keep my iron on medium heat, no steam. I have heard that rayon thread can melt, but I use 100% polyester embroidery thread so ironing it quickly only “sets” the monogram. I typically use Isacord (www.sewingmachine.com) or Exquisite thread (www.kenssewingcenter.com) which are almost identical.

photo (7)

Hopefully this helps with that frustrating looping problem! Do you have any other cool tools you use? If so comment and share!

Monogramming Nike Shorts

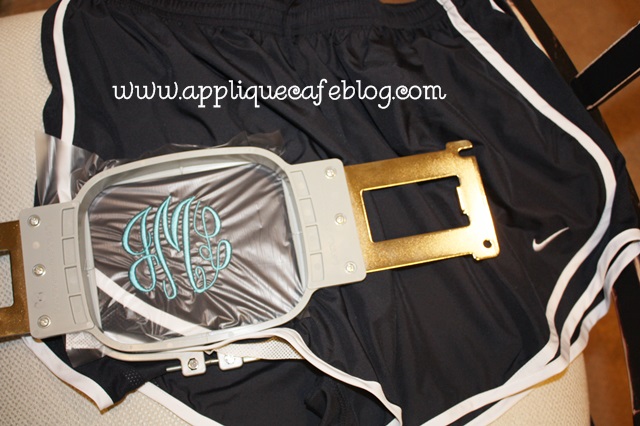
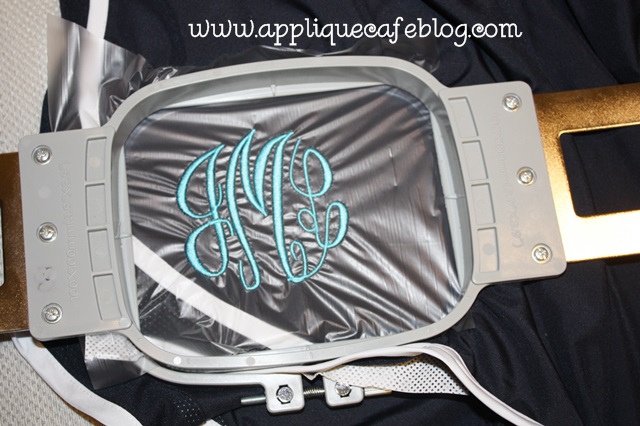
So…. it has been raining here for 2 solid days. All of the snow and ice is north of us, so all we have had is rain and cold and cold and rain all.day.long. yesterday and today. I’m over it and ready for SPRING! and Nike shorts! I had a customer bring me some Nike shorts to monogram this week, and after asking around to see if anyone had done them before, I “figured out” which stabilizer to use. After I was done, I realized it might be handy information for those of you out there who haven’t done any yet.

I used water soluble “solvy” on top. Yes, it’s water soluble, but I just pick and pull it off when I’m done.

IMG_8781 IMG_8782

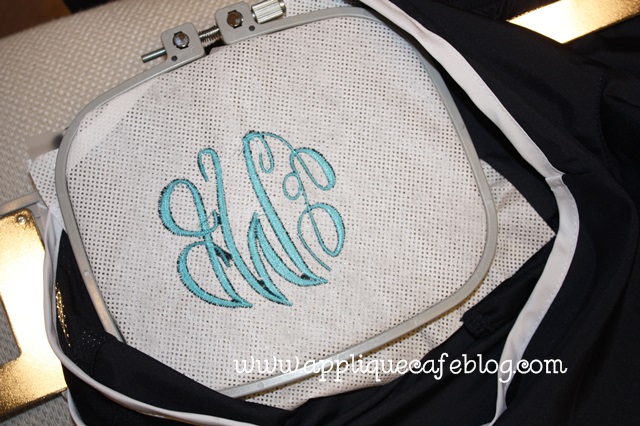
I used Waffle Tearaway on the bottom. As you can see, I hooped it all together and also used a little Sulky KK2000 spray adhesive to “stick” the tearaway to the underside of the shorts to keep it in place. This type of tearaway is a little thicker than the standard iron on tearaway, which is like paper, which I normally use on towels and bibs. Nike shorts are made of a thin polyester type material, and I wanted to avoid any puckering with the weight of a monogram. I considered using cutaway (medium) but went with the tearaway and it did fine.

Do you notice anything “off” on my monogram below? There is no bobbin thread showing, which means my tension is off. This doesn’t affect this particular monogram, but it might if you were working on another project. I will show you in a minute how to check your tension on a 6 needle machine.

IMG_8783

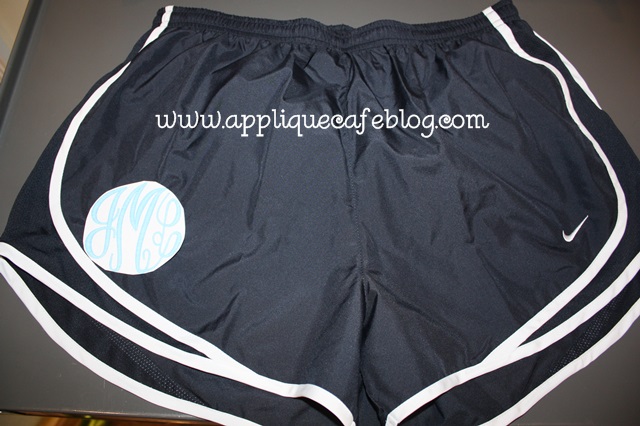
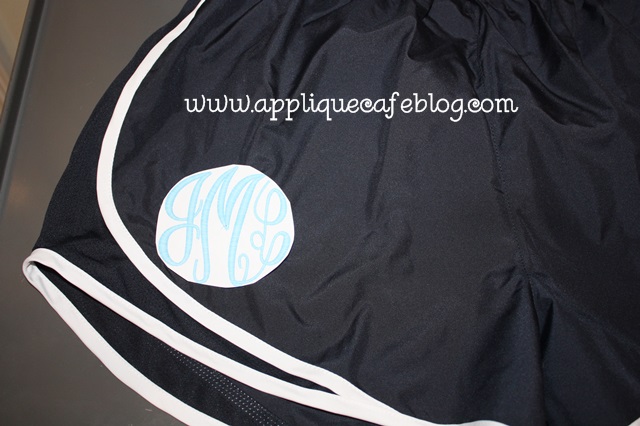
Before I actually did the monogram, I wasn’t sure what size I should do. I looked around on Pinterest and saw a bunch of monogrammed Nike shorts in a variety of fonts and size monograms. I was between a 2.5″ and a 3″ monogram, so I printed both and cut the monogram out to see which size looked best, and also it helped with placement. I used Monogram Wizard Plus “Master Circle” as my font. MWP has a print option which comes in handy when you are deciding size and placement.

IMG_8784

I went with the 3″ monogram after consulting with my customer!

IMG_8785

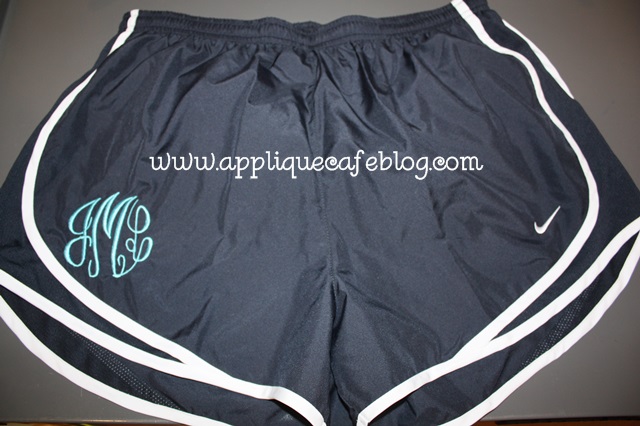
Here’s the finished product! As I mentioned, if you search “monogrammed Nike shorts” on Pinterest, you will see all kinds of fonts and placement. I love the way these turned out! These are navy with a turquoise monogram. Hot pink would have been cute too!

IMG_8786

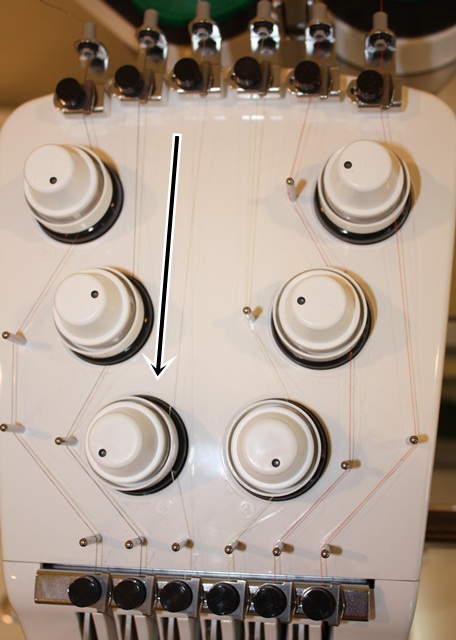
Now on to my tension issue. I have a Brother PR650 6 needle embroidery machine, which comes with a handy dandy tension test feature. On machines such as mine, your tension is controlled by knobs on top of the machine.

IMG_6970

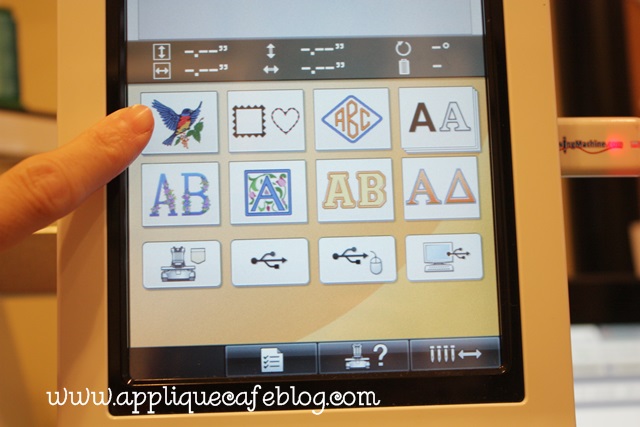
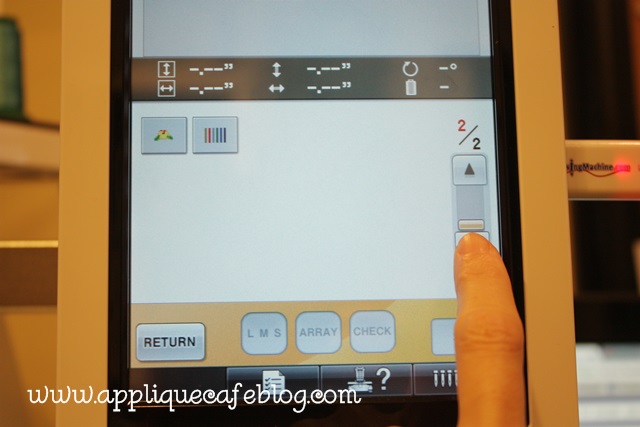
Looking at your Home screen, select the button with the bird on it.

IMG_8788

It will pull up some embroidery designs built in to your machine. Go to page 2 and you will see the tension test.

IMG_8789

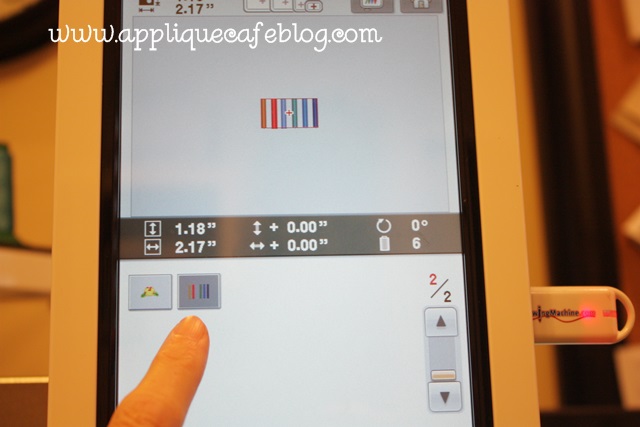
6 color bars or lines = 6 needles = 6 thread colors.

IMG_8790

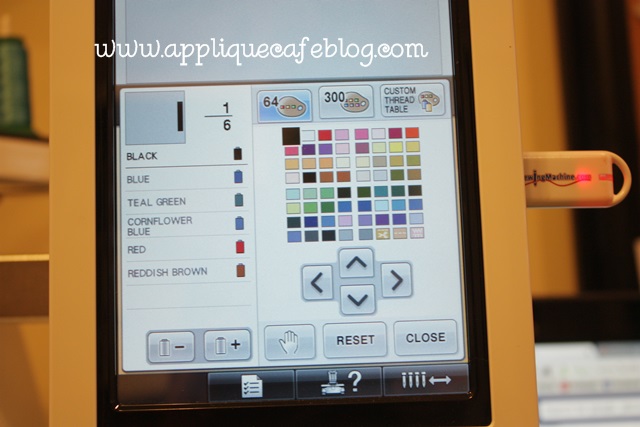
I go in and program each step according to the colors of thread on my machine. Huh? I assign black for needle 1 because black thread is on my machine for needle 1. Etc…

IMG_8791

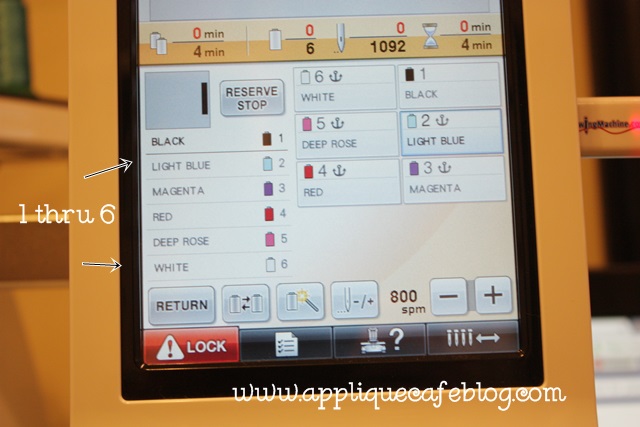
As you can see below, I’ve assigned my colors and it shows the 6 steps with needles sewing in order to test each needle, 1, 2, 3, 4, 5 & 6.

IMG_8792

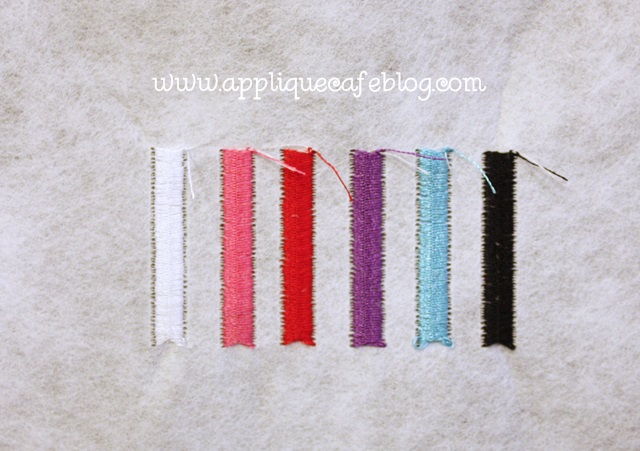
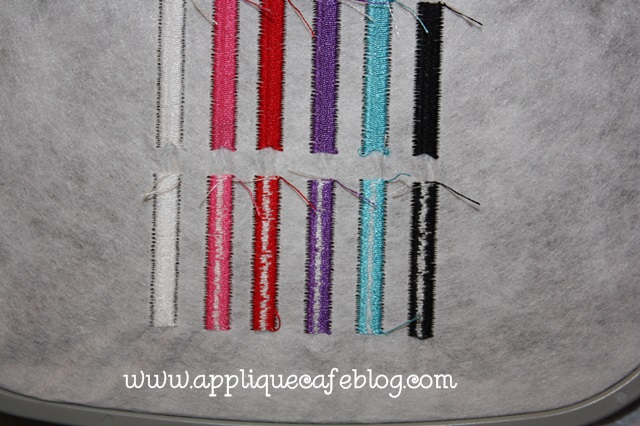
Here are the results of my first tension test. Again, no bobbin thread showing. Since all 6 rows are lacking in bobbin thread, I have to assume there’s an issue with my bobbin! Had it been only 1 needle, then I could assume there was an issue with that 1 needle and the rest were fine with no bobbin issues.

IMG_8793

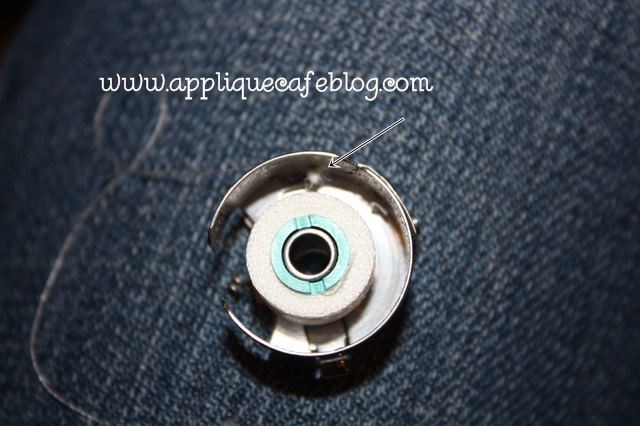
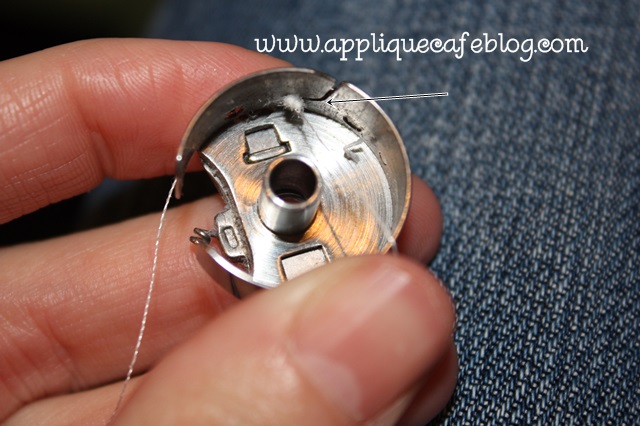
After taking my bobbin case out, I quickly found the culprit. It looks like the thread is caught and is balling up before it can come out of the bobbin case.

IMG_8794

Bingo! I removed the “knot”, re-threaded and put my bobbin case back in. I use Magna Glide Prewound L bobbins.

IMG_8795

Tension test #2 results are below, and you can see the bobbin thread. A good rule of thumb per Steve at Sewingmachine.com, is 1/3-1/3-1/3. 1/3 colored thread, 1/3 bobbin thread in the middle and 1/3 colored thread on the other side. Mine is not exactly 1/3 each but it looks much better and I can work on the tension up top!

IMG_8796

I hope that was helpful ~ both the stabilizer with the Nike shorts AND the tension test! You can find more helpful videos regarding 6 needle machines at Sewingmachine.com!

Before you go, check out Whimsical Fabric’s latest blog post! I had the pleasure of being their “Featured Customer” for February! Find out more about me and running my own business! WF has great fabric, shipping supplies and sewing patterns for those of you who sew. She also hosts a “Sew Along” each month so check out her blog to find out more. She’s also on Facebook and has a sew along Facebook group if you are interested in joining! Basically she picks a pattern to sew each month and blogs about each and every step. There are discussions on Facebook and lots of photos!

wf

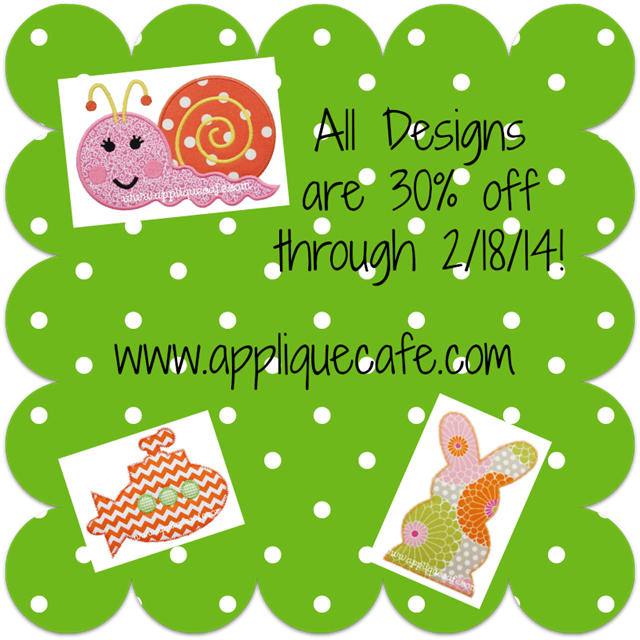
Lastly, all of our designs are on sale through Tuesday, February 18th at Applique Cafe! Below are a few new ones listed last week.
feb sale

I’m off to snuggle with my Maggie. She is scheduled for surgery in the morning to be spayed!! She has already begun her first heat cycle (eeek!!), so the timing was perfect and we’re anxious to get through tomorrow. Have a great rest of the week! We are hoping for some sunshine tomorrow!
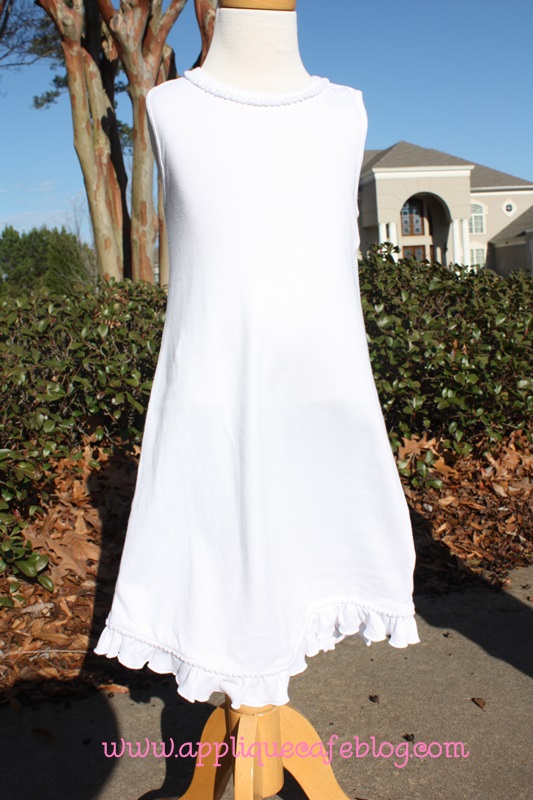
photo (58)

Sassy Kid Blanks

Happy New Year! Is it 2014 already?? Where did 2013 go? We had a great end-of-the-year and a great Christmas. We hope you did too! Over the break I received some new blanks from a new supplier, and I’ve finally been able to get outside and take some photos and share with you what they have to offer. When I first started doing embroidery, I swear you had a choice of Rabbit Skins or Monag Kids. There have been lots of new blanks suppliers “born” over the past couple of years. We definitely have a great variety of sources out there and one of the newest is Sassy Kid Blanks. They are based out of South Carolina and you can read more about them on their website.

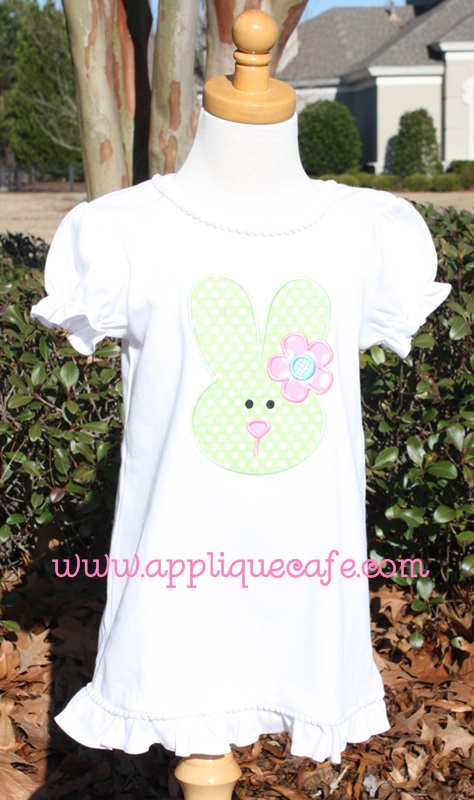
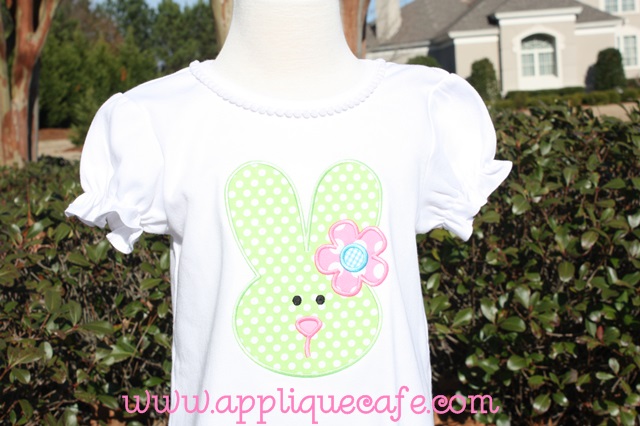
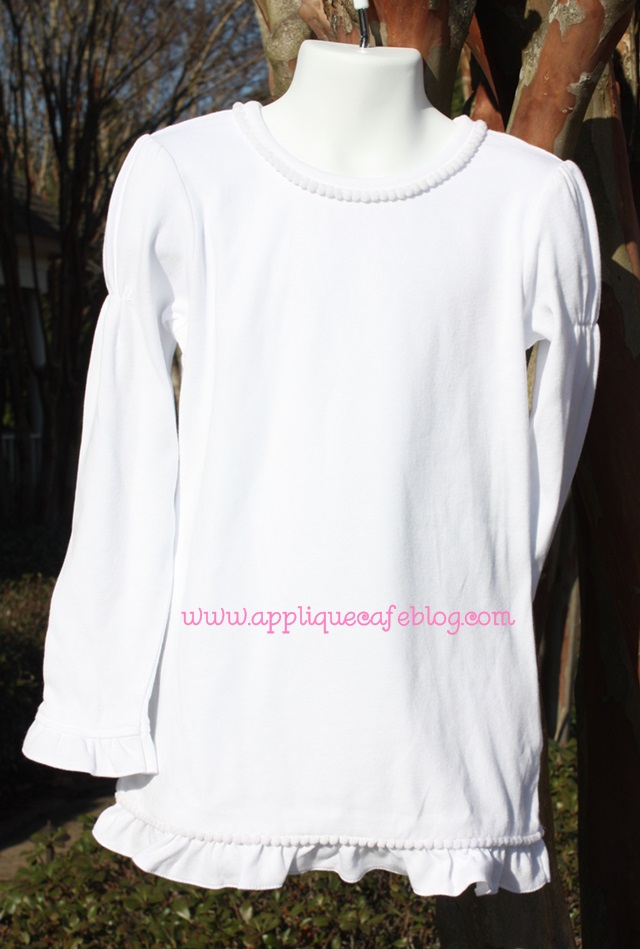
My disclaimer for 2014… I am no photographer! I do have a prop or two and the sun finally came out today, so I got my rain boots on (because my yard is a swamp) and had a little photo shoot. First off, below is their Girls Short Sleeve Shirt featuring our new Bunny 6 Applique Design. You can read a full description of their items on their website! I love the pom pom trim, the ruffle on the bottom and the puff sleeves! I love an applique design on this shirt!

IMG_8626

IMG_8627

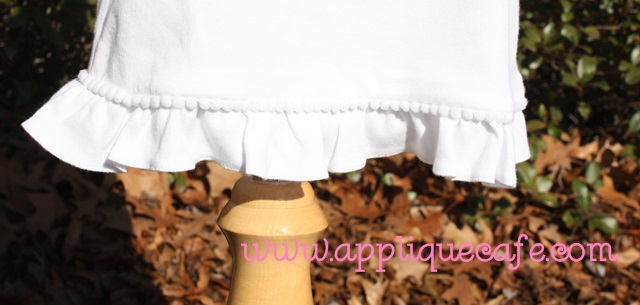
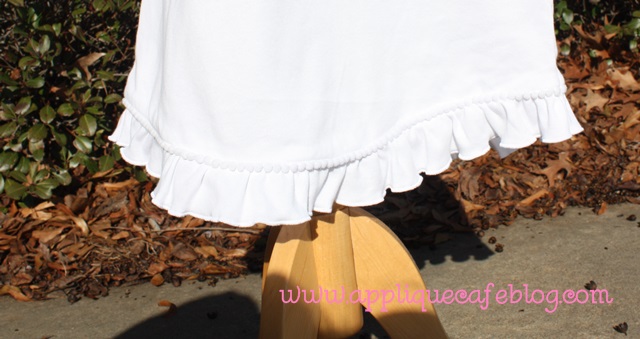
Here’s a closeup of the pom pom and ruffle on the bottom of the shirt. This is a sz 6 shirt and the Bunny design is a 5×7 hoop design (on this shirt).

IMG_8628

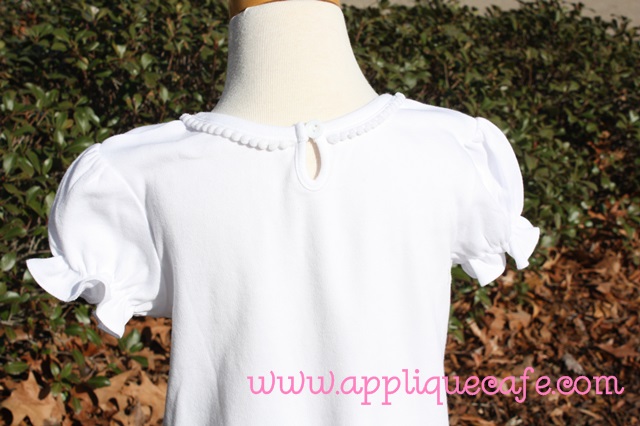
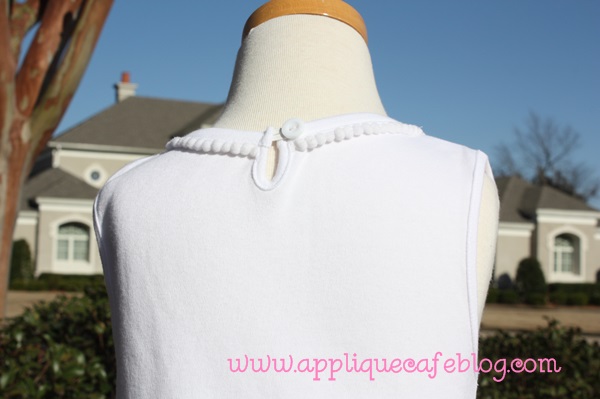
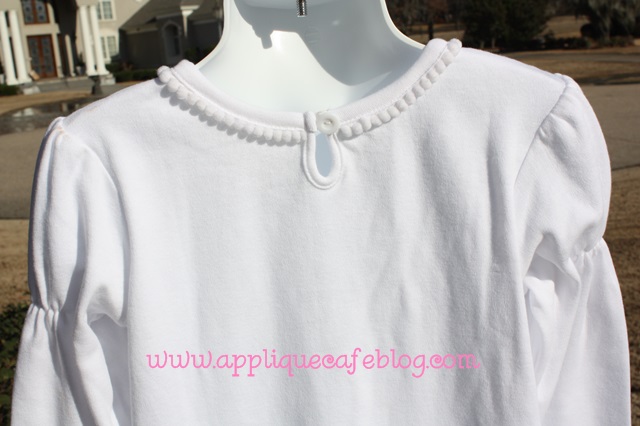
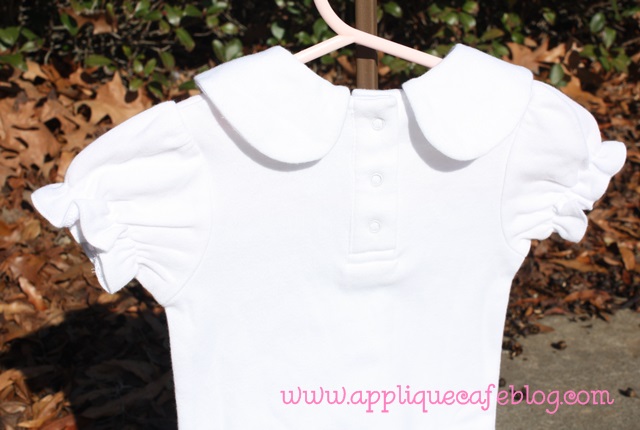
All of their items I’m showing have a button or snap closure on the back of the neck. This helps with getting the garments on and off, and it also helps with hooping and getting it on your embroidery machine (especially the single needle machines – it gives you a little extra room to get the shirt out of the way).

IMG_8629

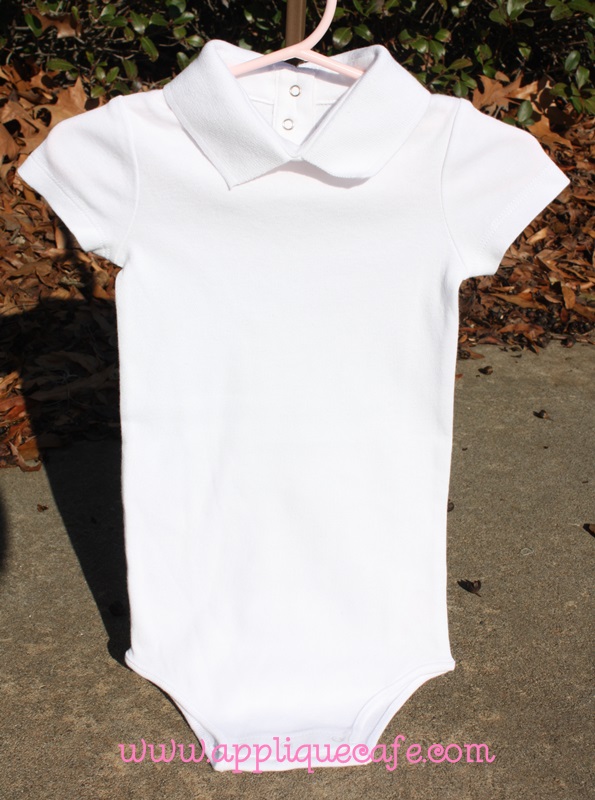
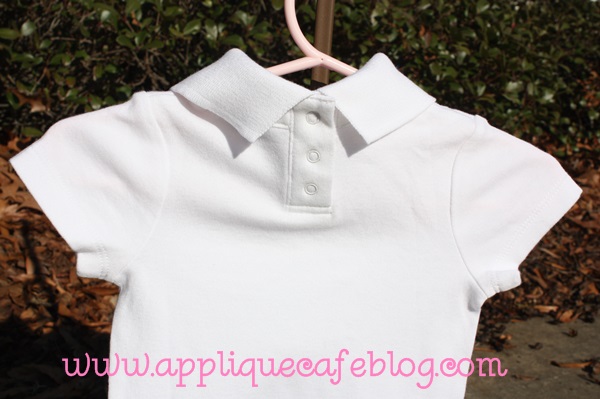
Below is their Baby Boy Short Sleeve Bodysuit. This would be precious under a little john john too with no embellishment.

IMG_8630

Snaps on the back.

IMG_8632

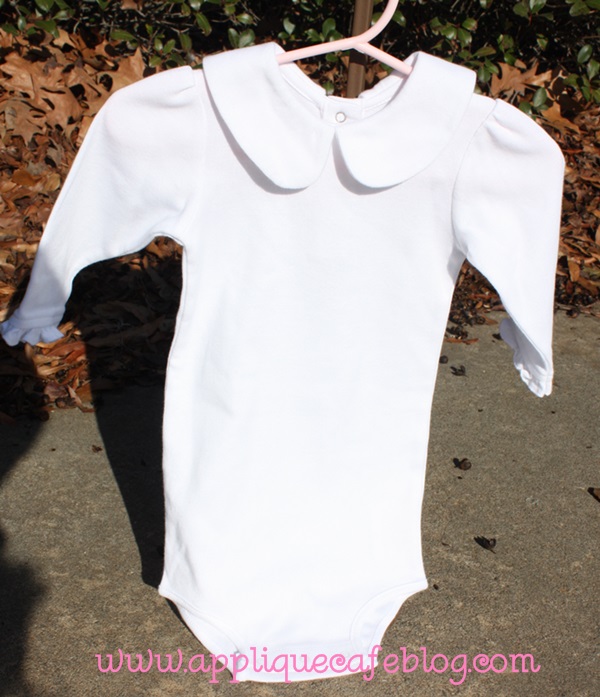
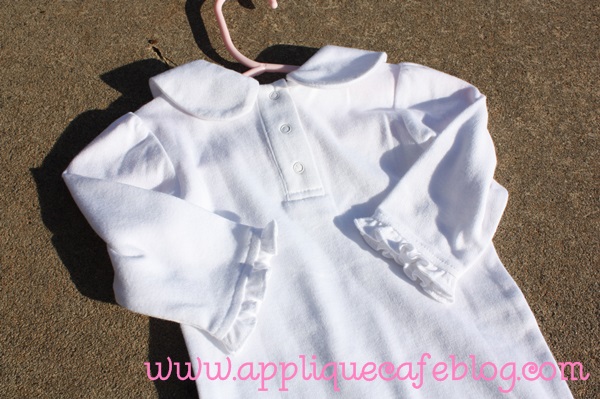
Here is their Baby Girl Long Sleeve Bodysuit. Again, this would be precious underneath a little Aline or other dress, or with a monogram or small applique or mini embroidery design.

IMG_8633

This is a shot of the back snaps and the little ruffles on the sleeves. I miss the baby clothes….

IMG_8634

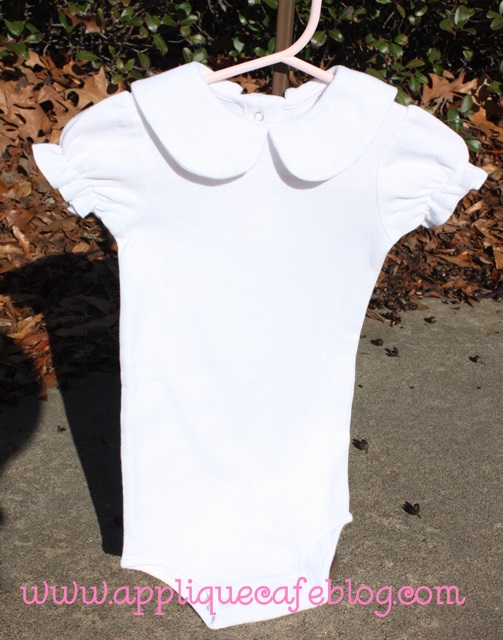
Baby Girl Short Sleeve Bodysuit… So wittle and pwecious!! 🙂 Again, sweet underneath a sleeveless outfit or one with straps, or alone with a little monogram or applique/embroidery design. It would be cute with a little pair of bloomers too.

IMG_8635

Back – snaps and ruffle sleeves

IMG_8636

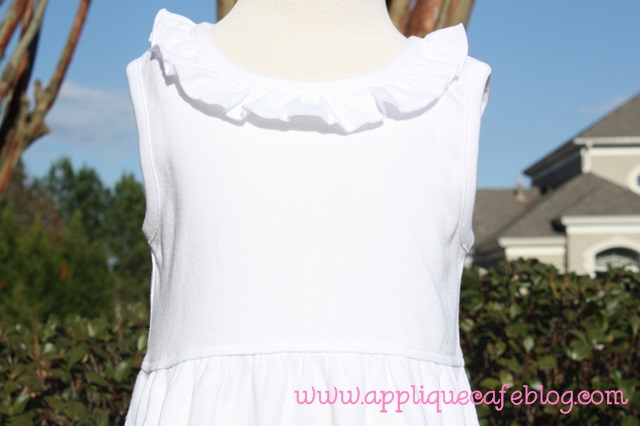
Here is their Girls Sleeveless A-line dress. This one is screaming for a cute monogram or applique design! Hopefully I can take care of that soon and I will repost!

IMG_8637

Pom pom trim and ruffle! This is a sz 6 also.

IMG_8638 IMG_8639

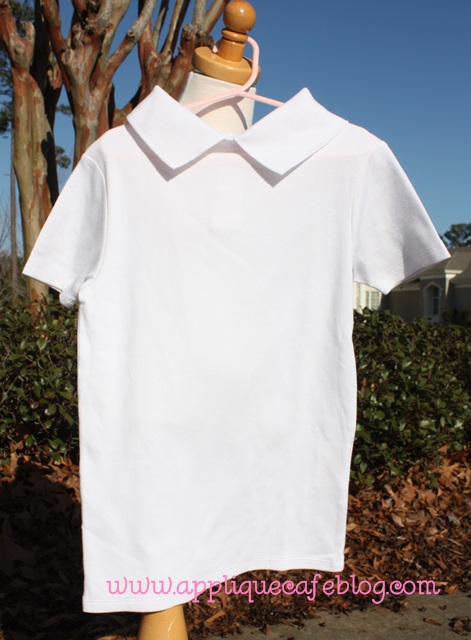
Here is their Boys Short Sleeve Shirt. This is a dressier option for a boys blank shirt ~ add a simple block or natural circle monogram and pair it with dressier pants or shorts.

IMG_8640

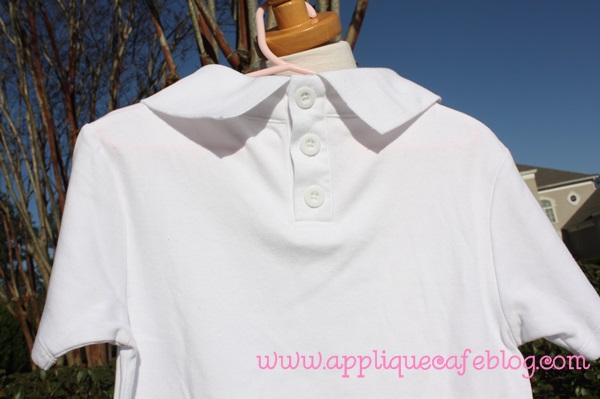
It also buttons up the back.

IMG_8642

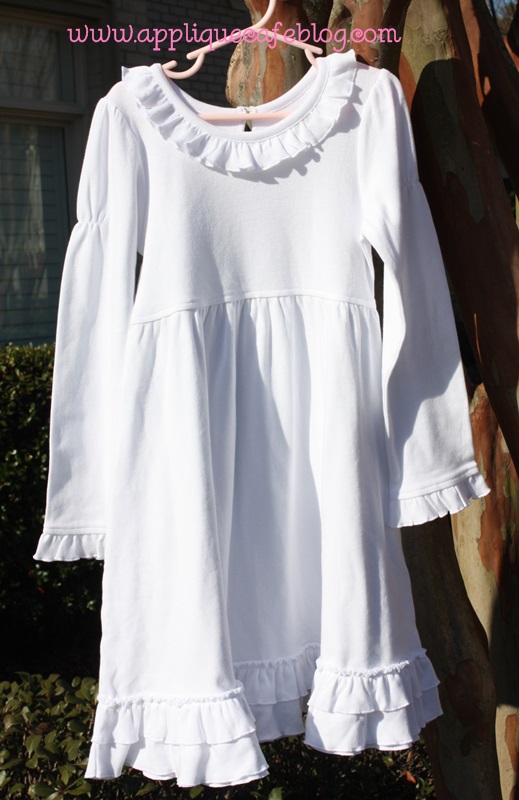
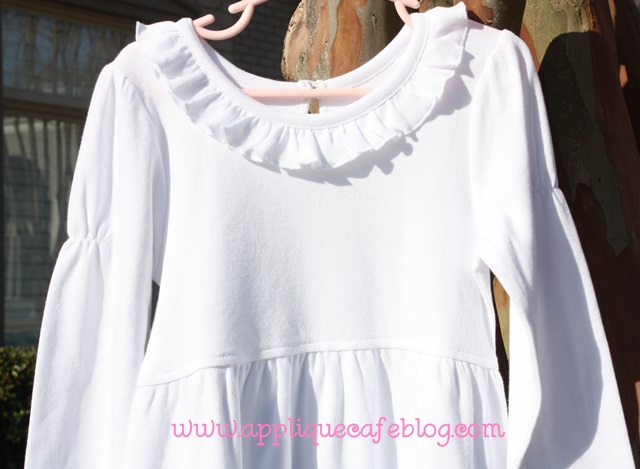
Check out their Girls Long Sleeve Empire Waist Dress. LOVE LOVE LOVE this! You will see below that a monogram is perfect on these, as to not take away from all the adorable ruffles. All of these items are 100% interlock cotton knit, which means nice and thick to hold a monogram or applique/embroidery design!

IMG_8643

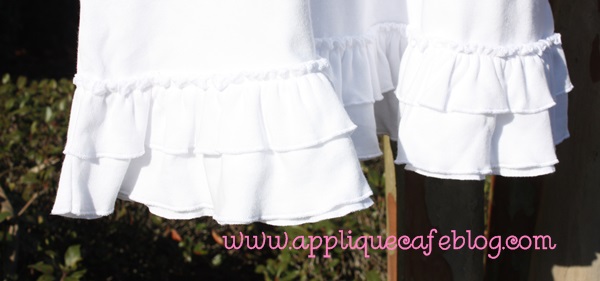
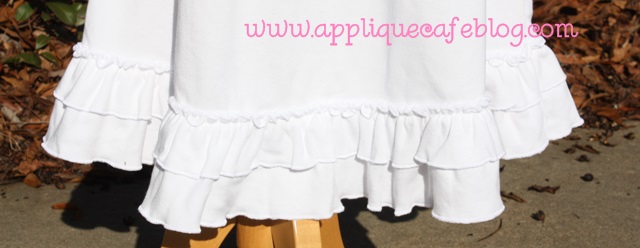
A closeup of the bottom ruffles ~ 2 layers!

IMG_8644

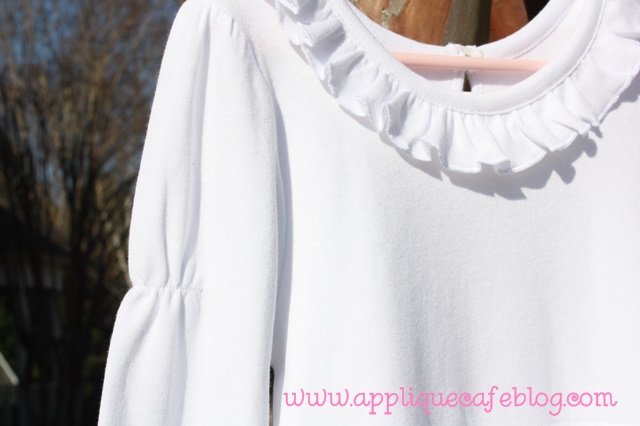
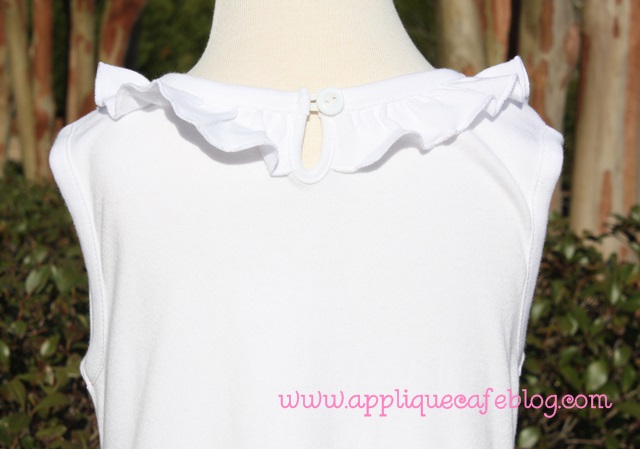
Love the collar, button closure in the back and puff style sleeve!

IMG_8645 IMG_8646

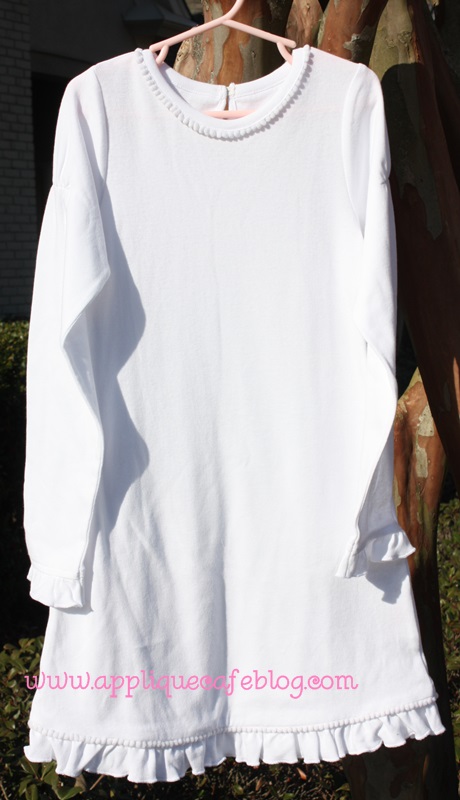
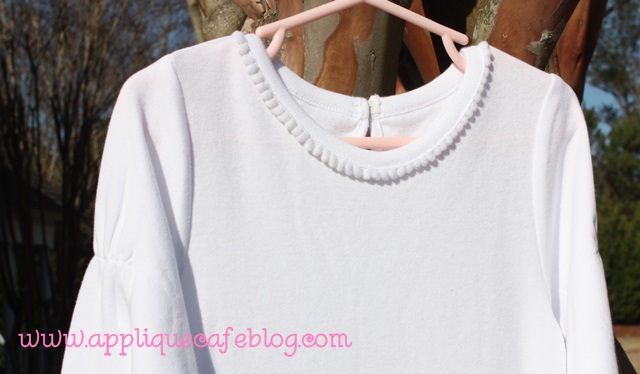
Girls Long Sleeve A-Line Dress ~ Simple and dainty with the pom pom trim! Also has the puff style sleeves.

IMG_8647 IMG_8648

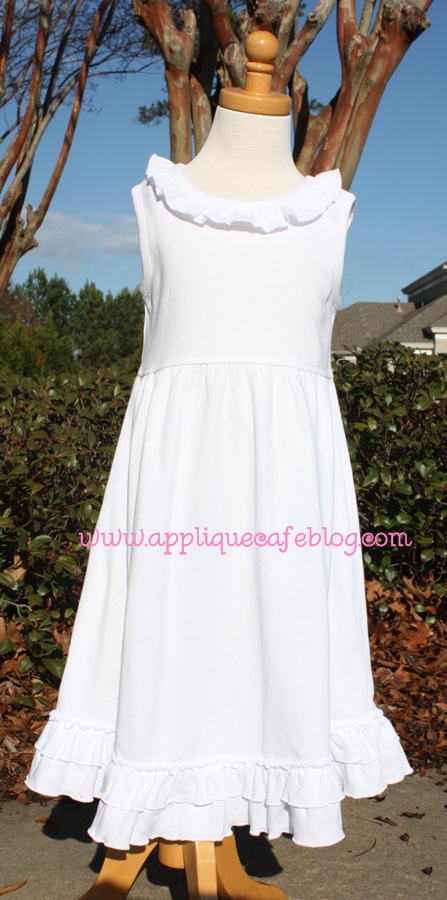
This might be my favorite! Girls Sleeveless Empire Waist Dress. This was before I added a monogram.

IMG_8649 IMG_8650

It’s screaming MONOGRAM ME!!!!!

IMG_8651 IMG_8652

Girls Long Sleeve Shirt

IMG_8653

Button closure on the back to make it easier to get it over your child’s head! It really helps with hooping too and especially with the single needle machines.

IMG_8655

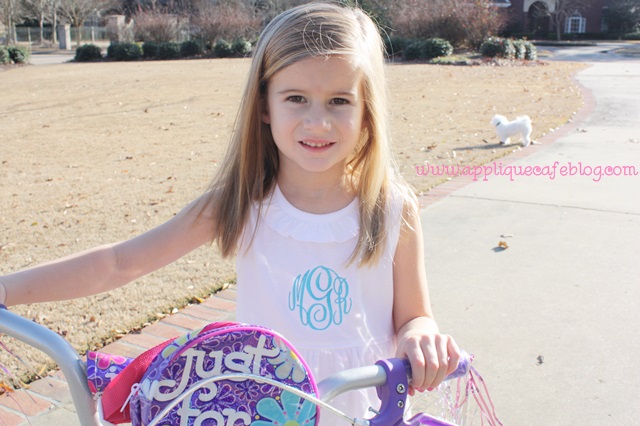
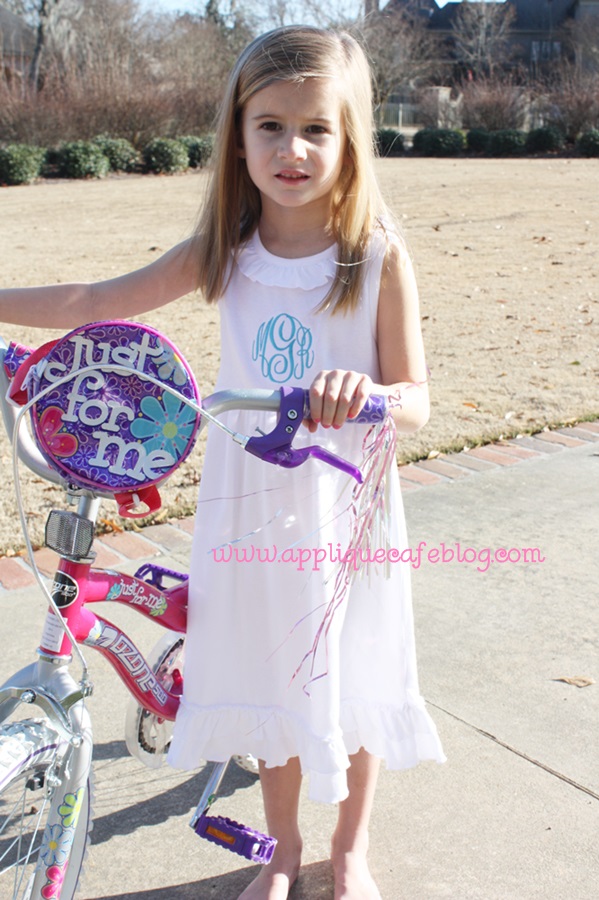
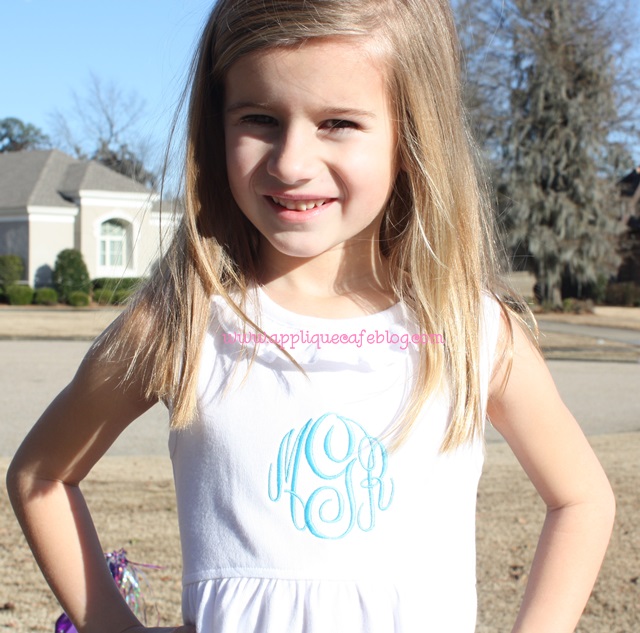
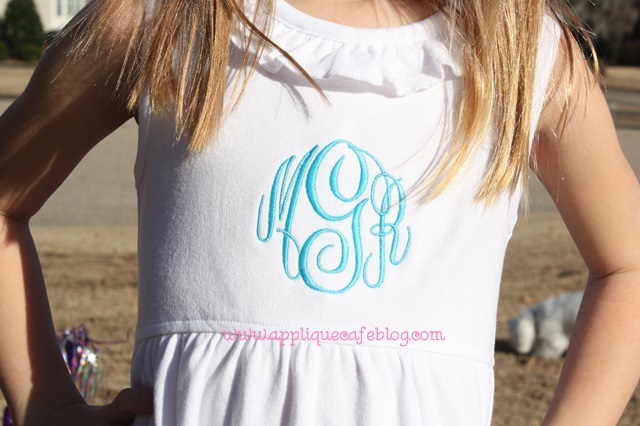
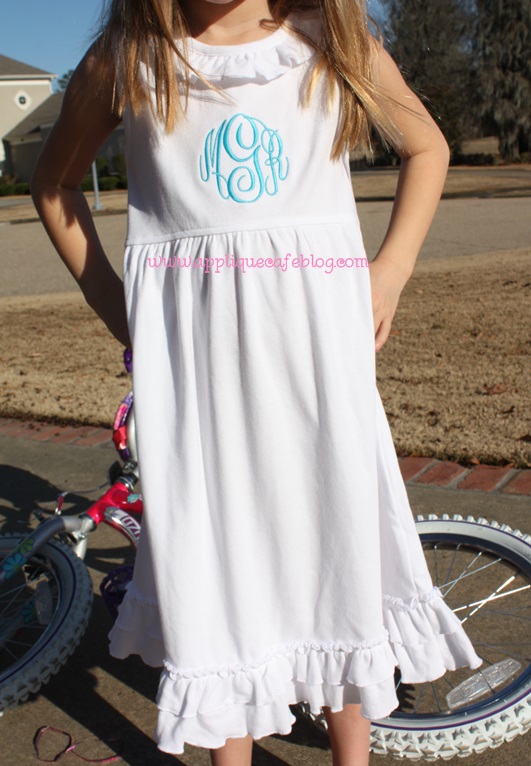
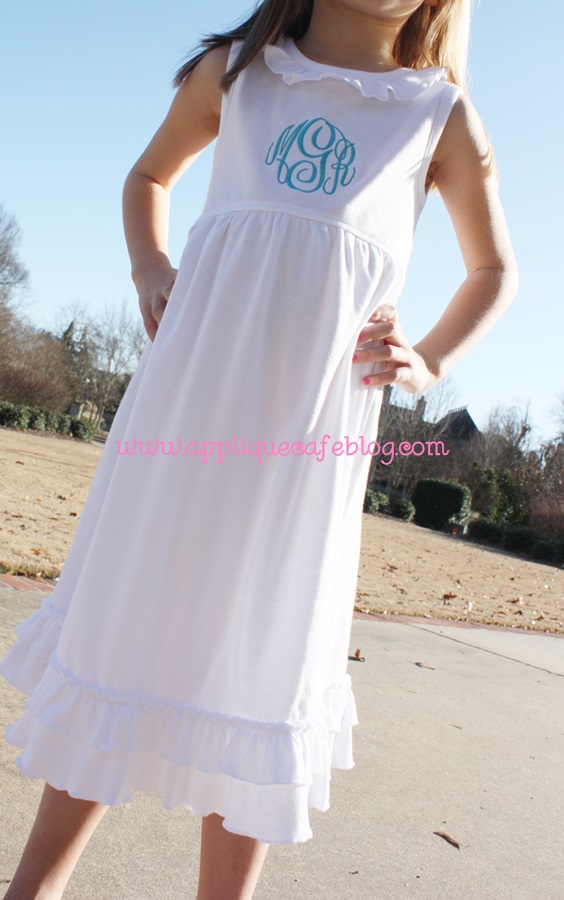
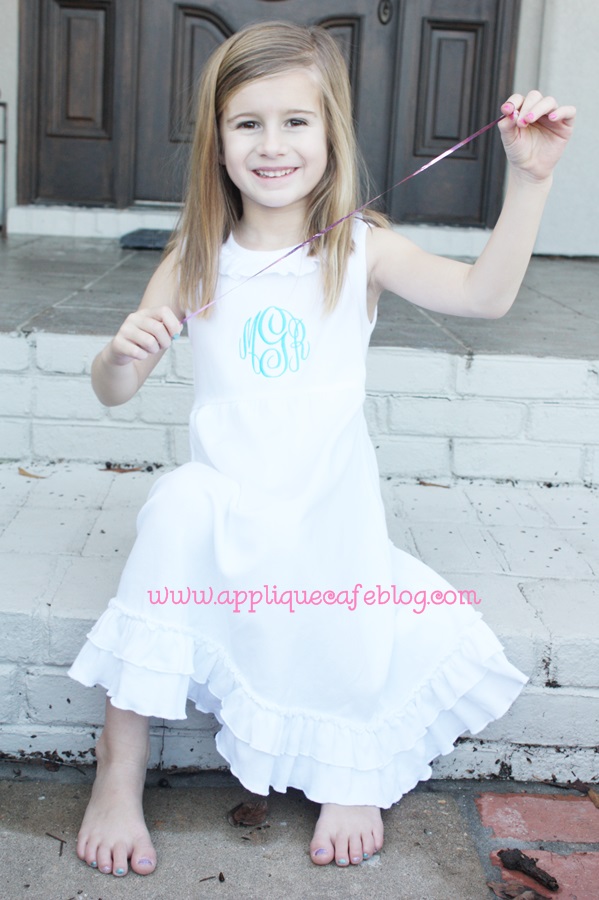
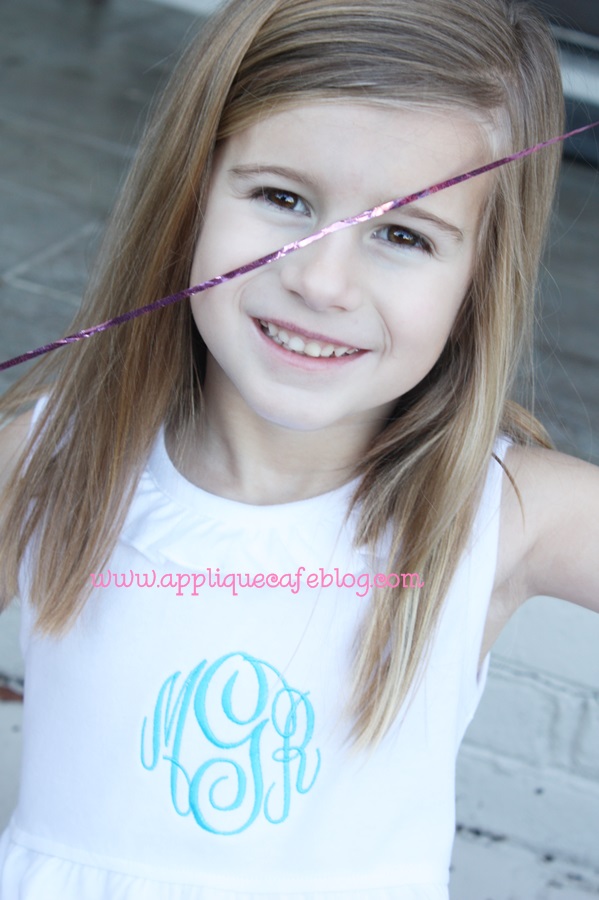
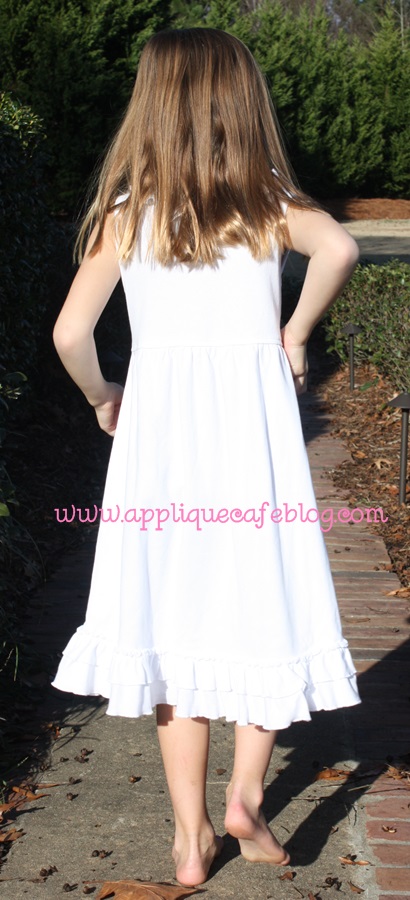
So my daughter was outside riding her bike in her Nike shorts and a long sleeve t-shirt from a bait & tackle store in Orange Beach, AL. Her hair was a mess, so I bribed her to model for me for 5 minutes in this dress. I now owe her $2. Of course the bright sun was blinding her and she usually has a better suntan for a dress like this. I managed to get a few decent shots and as you can see, Maggie photo bombed the picture too. Sissy is 5 (almost 6) and this is a size 6 dress. When I monogrammed it, I measured from the bottom of the ruffle around the neckline to the seam of the empire waist. That way the monogram was centered underneath the ruffle. This is Monogram Wizard Plus “Master Circle” font and it measured about 3.25″ tall and wide for this dress. She picked out the turquoise thread for the monogram.

IMG_8658

It was like 12 degrees earlier this week, but today it’s a balmy 68 so this worked out perfect! This is her new bike she got for Christmas!

IMG_8659

A monogram is just perfect on this dress!

IMG_8661

The space between the bottom ruffle and the empire waist is about an even 5″ on this size 6 dress. Again, this monogram was about 3.25″ tall and wide. You could do it a little bigger if you wanted to.

IMG_8662 IMG_8663

IMG_8665

The painted fingernails and toes are compliments of a birthday party she went to last night.

IMG_8667IMG_8669

This was her telling me she was done w/ my $2 “photo shoot”. As you can see, the length falls well below the knee. So cute for spring & summer! I can see a lot of these on the beach this summer { beach pics with the fam}! It would work great as a swim cover-up too.

IMG_8671

Sassy Kid Blanks has some color options as well. They have a bubblegum type lighter pink (officially called Candy Pink) and a red option for girls (High Risk Red). A light blue (Skyway Blue) for boys. Please read their FAQ about shrinking, discount codes, etc. You can also check out their sizing options {measurements after washing are located in the size chart for each item}. Looks like girl sizes range from 12M to 8. Boys are 12M to 8 as well. Baby stuff ~ 3M, 6M, 9M & 12M I believe.

**Please note, their site is PRE-ORDER right now for March delivery. If you have ANY questions, please email them at info@sassykidblanks.com or use their Contact Us tab on their website. Check out their FAQ too! I’m just showing you some of the items they are offering. They can answer any and all questions you might have!

I’ve added them to my blanks list which is located under LINKS up top. SKB is also on Facebook! Have a great week!