OK Y’all…. Christmas is right around the corner, and I have another neat embroidery machine gadget that you might want to add to your Christmas list! It’s the Durkee Cap Frame which is compatible with a variety of multi and single needle embroidery machines. Durkee has cap frames that work with Brother/Babylock 6 & 10 needle machines, Happy 360 machines, Janome MB4 machines, Tajima 360 machines as well as a single needle machine cap frame insert option. Check out THIS LINK for more information on which machines are covered, and also check out the videos on the same link for multi needle and single needle cap frames. I’m going to show you some photos, but if you want to see these hoops in action, check out the 2 videos.
Here are a couple of Durkee photos of the cap frames available. The Durkee multi needle cap frames are like your other hoops and attach to your machine as a hoop would. The sewing field for multi needle cap frames are 5″ wide X 4 1/2″ tall, which is quite a bit larger than the Brother cap frame and driver set which is 5″ wide x 2 1/2″ tall. The single needle cap frame is a 5×7 insert for your 5×7 hoop and the sewing field is 4 1/2″ x 4 1/2″.

Single needle insert: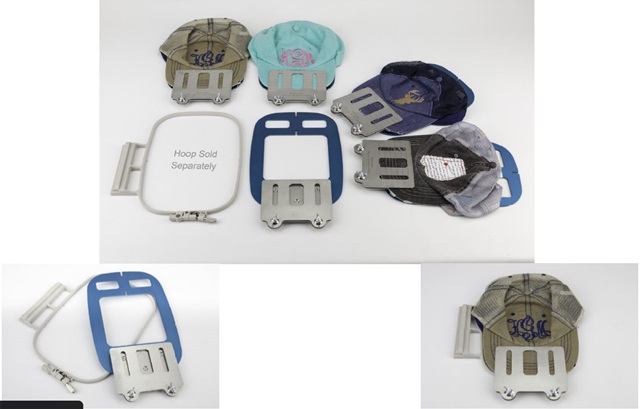
I have the Brother PR650 and here are my photos of a hat I did yesterday using the Durkee Cap Frame. All you need is sticky stabilizer, and I used a few straight pins. I use commercial sticky stabilizer from Sewingmachine.com, but any sticky will do. Someone recommended Filmoplast Sticky Backing by Gunold, but I have not tried it yet. I would love feedback if any of you have used it!
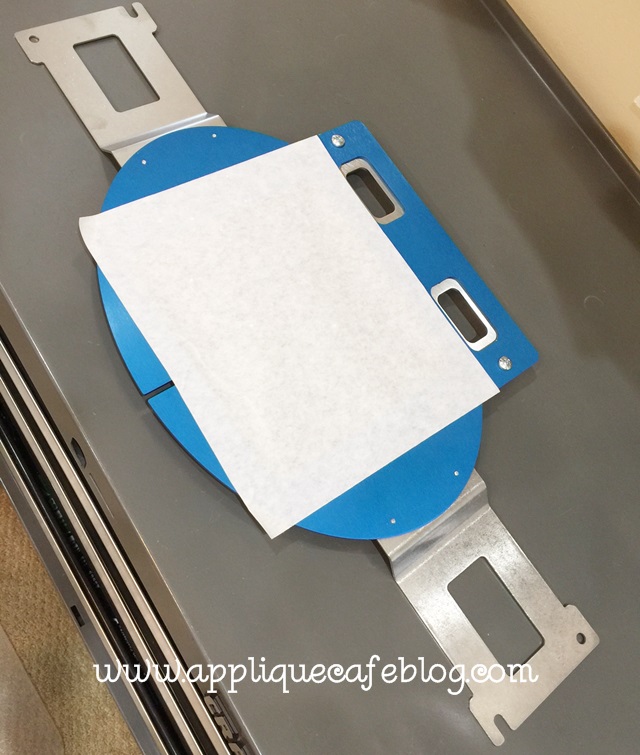
I cut a piece of sticky to cover the back of the cap frame. Peel the paper side off of course and stick it to the back of the frame.
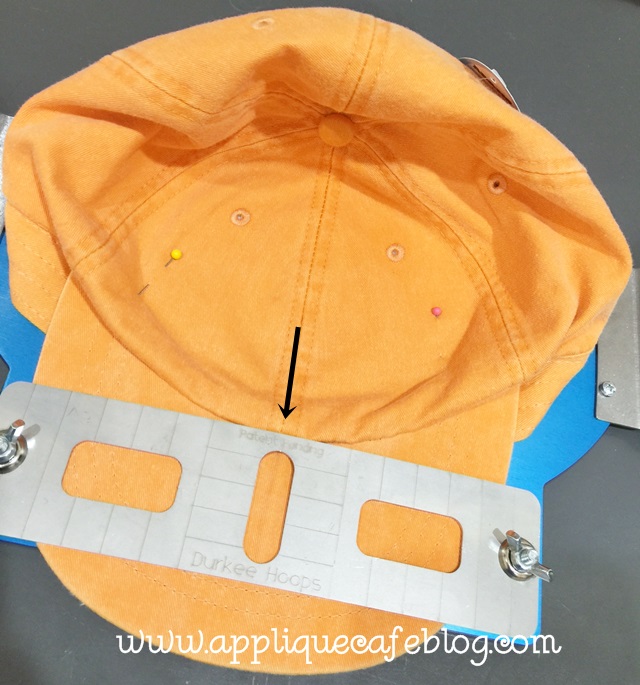
On your hat, you need to either fold the lining of the cap back to keep it out of the way, or I pinned it to the bill of the cap to keep it out of the way so I could get the hat on the frame.

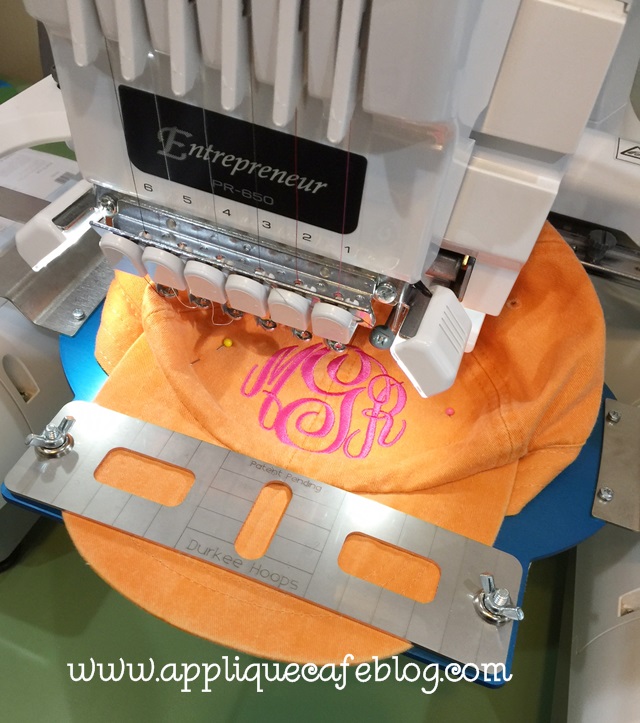
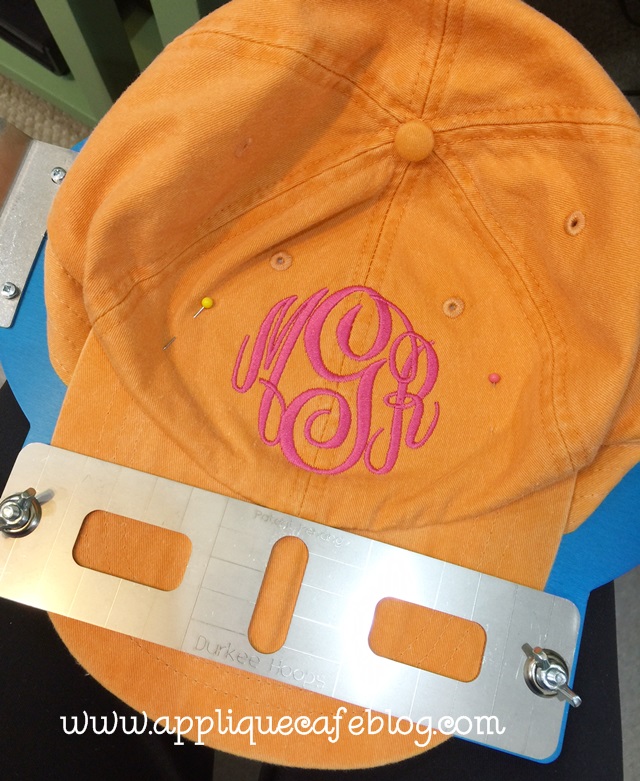
Next you unscrew the wingnuts enough to get the bill of the hat under the clamp and once in place and straight, you tighten those screws so the bill and the hat is secure. As you can see below, it’s super easy to center the hat using the center seam of the hat and the center hole of the clamp. I also placed a couple of straight pins on the hat to secure it to the sticky stabilizer. You will need to measure the space you have on the front of the hat, format your monogram to fit that space, and I made a mark (which you can’t see) of where I want the monogram to be centered. For this hat, my monogram ended up being 3.05″ tall X 3.04″ wide. Again, you have 5″ width and 4 1/2″ height to work with using this frame.
The Durkee Cap Frame fits on my machine just as my biggest hoop would. With all secondary frames (non-Brother frames or hoops), you should always check your borders to make sure your needle is not going to hit any part of the frame. Your machine thinks you have your largest hoop on the machine, so it doesn’t know it only has limited space. Check your boundaries or borders to make sure your monogram will fit! It should, unless you didn’t hoop the hat correctly.
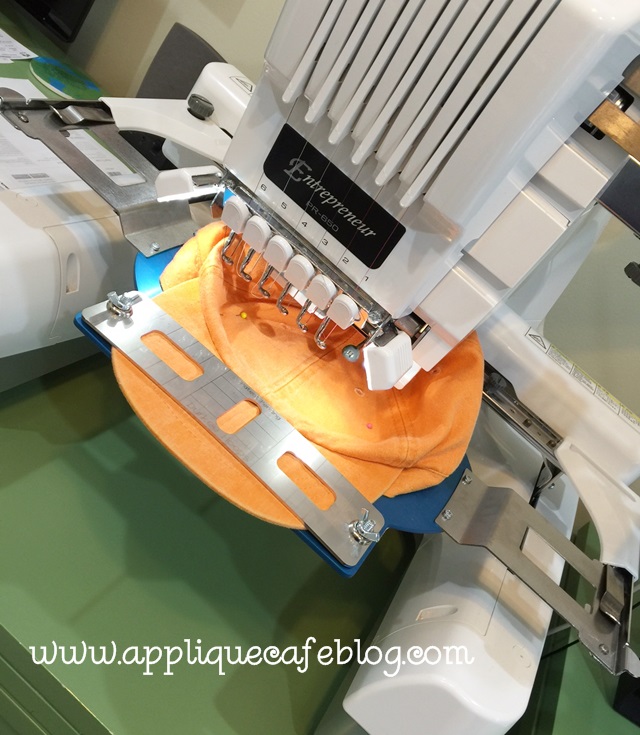
I chose a hot pink Monogram Wizard Plus “Master Circle” monogram on my orange hat. One benefit of this cap frame is that it holds the bill flat and in place for you. I used to do hats using fast frames and use chip clips to keep them flat and in place. With the Durkee cap frame, the hat is definitely secure.
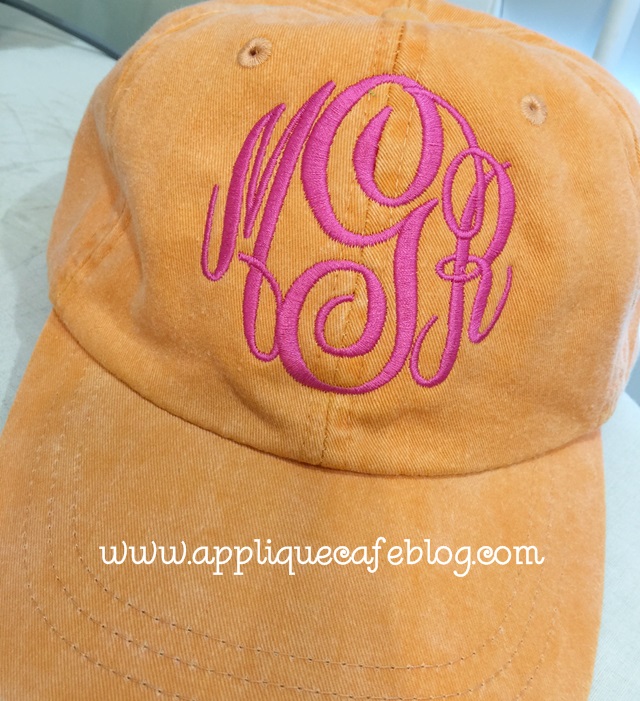
The finished hat…. Now I loosen the wingnuts to pull the hat out of the frame and pull the hat from the sticky stabilizer.
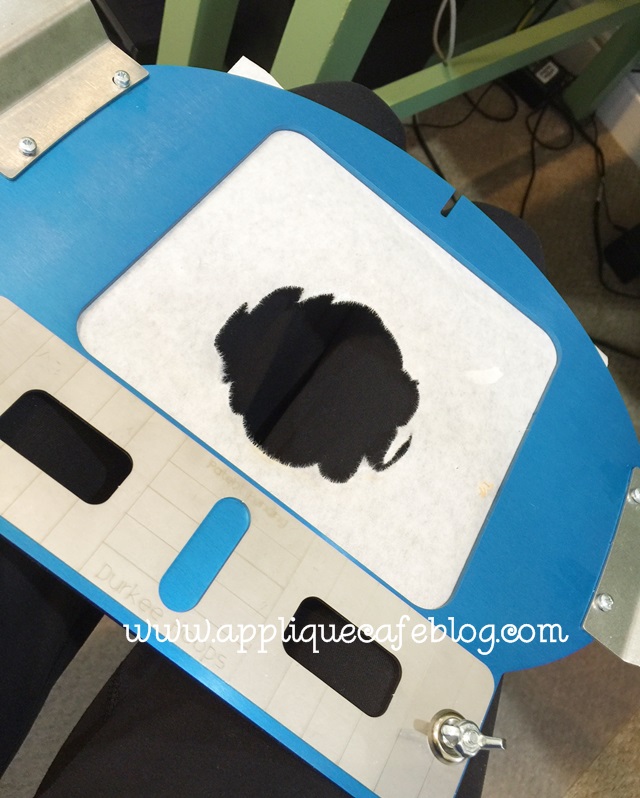
Here is the sticky stabilizer which remains on the hoop. You can actually leave this stabilizer on the frame and just “cover the hole” with a smaller piece of new stabilizer to do your next hat. You could re-use the sticky for 8-10 hats.
My finished hat!! I’m a big fan of hot pink and orange!
Some other things to note:
*You can also use this cap frame to monogram or embroider the back of a hat!
*It’s a fraction of the cost of traditional cap hooping systems ~ $195 (regular $229.50) with Free Shipping using code “NF”. $195 seems like a lot, but if hats are something you do or plan to do a lot of, it’s well worth the initial investment for something that makes your job so much easier and faster! Do 30 or so hats and you’ve paid for it!
*Click HERE to purchase for your multi needle machine, and HERE for single needle machines! Compatible machines are listed on each link.
Please comment or email me at rosemarygulledge@appliquecafe.com if you have any questions! You can also check out the Durkee Embroidery website for more information and to purchase.
Recent Comments