Good afternoon friends! Yesterday I opened the mail to find a copy of Creative Machine Embroidery magazine and was pleased to find that my BLOG was noted in the magazine as “One to Follow“!! While sometimes I struggle to find the time to blog, or struggle to come up with anything to blog about, it has always been my passion to share what I’ve learned with all of you! I know sometimes it’s boring (WAKE UP!!!) and sometimes I go a month 2 weeks with nothing posted, but please know I’m here and hope to bring you helpful info as often as I can!! Thanks for reading and thanks for the comments and encouragement! 😉
Now, as promised…. I monogrammed a hat Friday using FAST FRAMES and took some pictures to show you. I posted the other day about doing a visor on my BROTHER PR650 using the cap frame. You can do hats with the cap frame also, but if you don’t have a cap frame or want to unpack it from the box, you can use fast frames. I’m not promising this will work on all hats, but the ones I’ve done have been NOT-stiff and easy to work with.
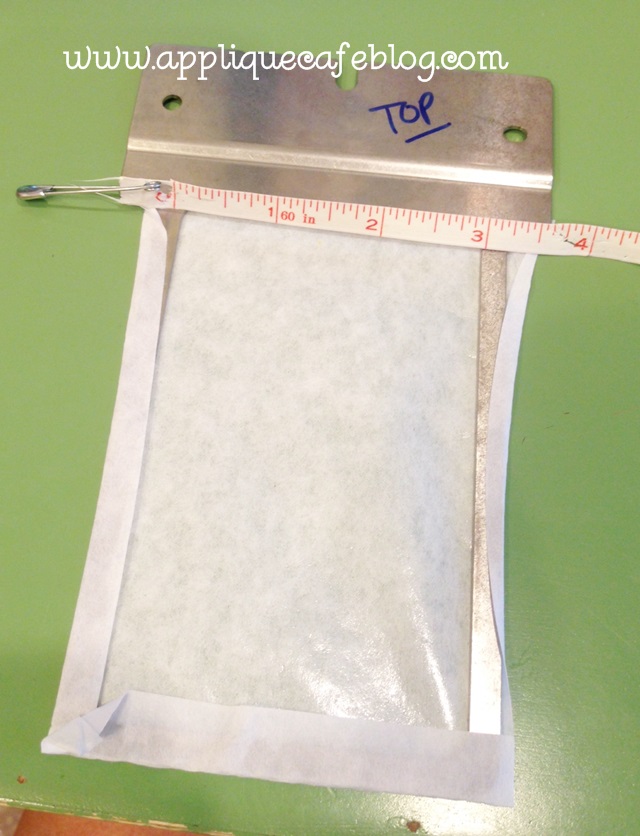
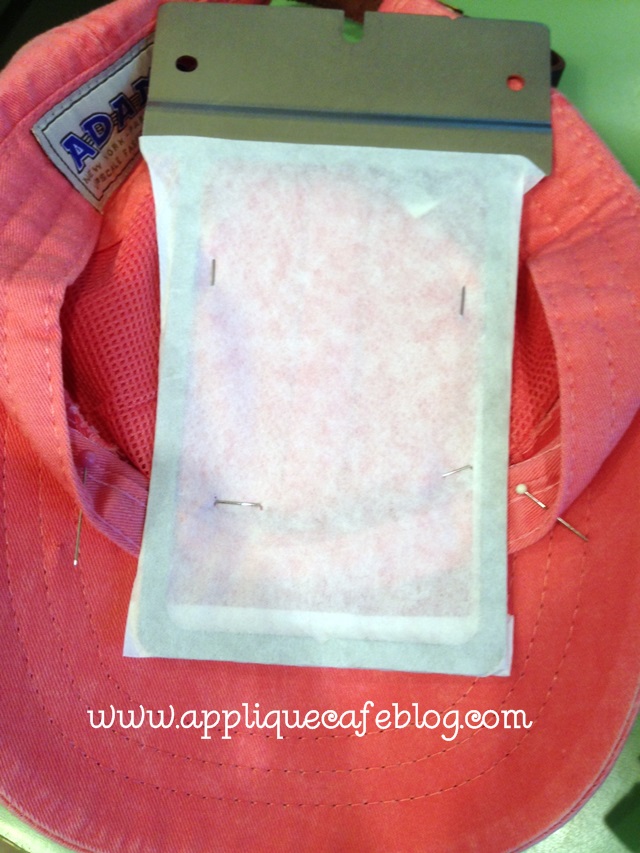
I used the below frame, as the monogram for my hat was around 2″ tall and wide. You could always do your monogram bigger. I did this hat for myself. A) I rarely wear hats but thought it might come in handy this summer {I typically wear a visor if anything on my head}. B) Being someone in the business of monogramming, I never wear anything monogrammed!!! As you can see I’ve used sticky stabilizer on my fast frame and wrapped it around the edges. Am I the only one who stares at my frames to determine which side is the top and bottom….
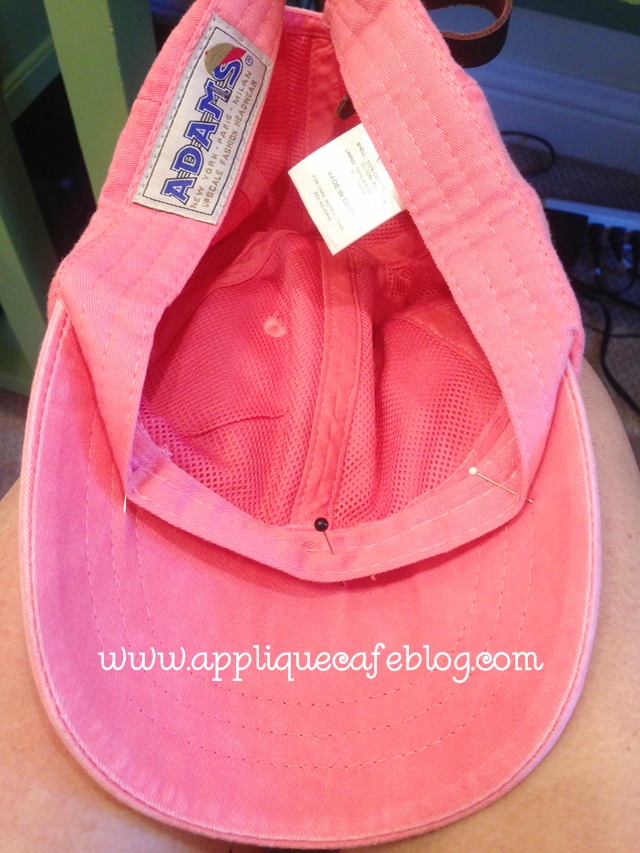
The first thing I did was get the liner out of the way so I don’t monogram it. I simply pinned it out of the way! As you can see, this is one of those cute “pigment dyed” hats that are so popular right now (like the Comfort Colors tees). It’s ADAMS brand and I got this from a friend, but have recently discovered Apparel N Bags website where you can buy the Comfort Colors tees, these hats and other cute things!
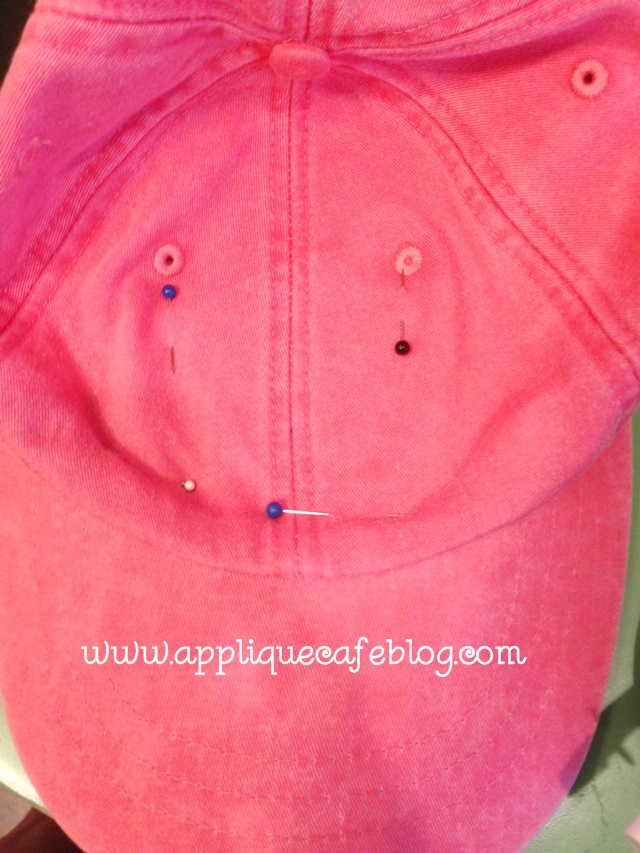
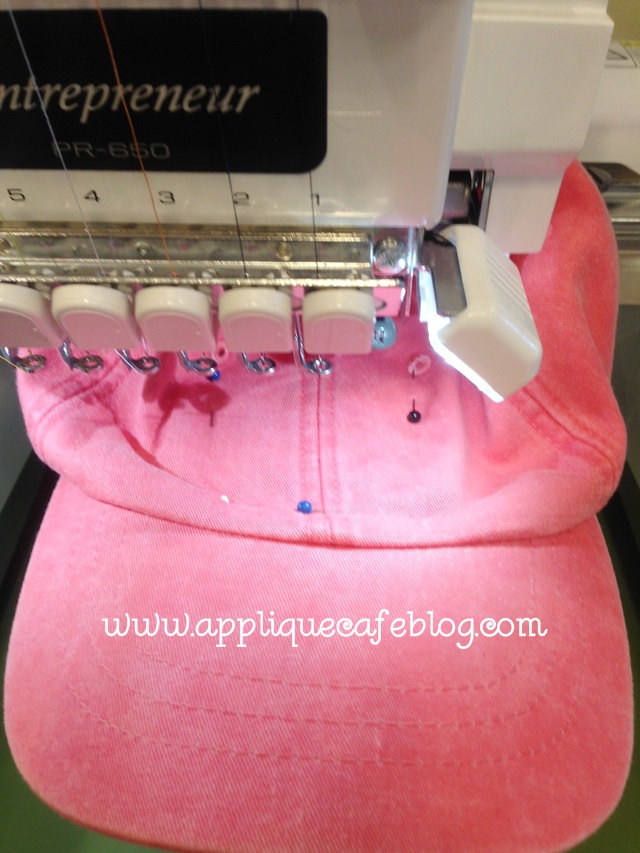
I flattened the bill of the hat out so that I could attach the face of the hat {where the monogram will go} to the fast frame and sticky stabilizer. As you can see below, I pinned my monogram area in place and tried to line up the center seam of the hat with the center of the fast frame. This takes some practice and I had to adjust and move the hat several times to get it right. As I said, my monogram is only around 2″ so I didn’t need much space.
This is what it looks like underneath. My lining is pinned down, and the face of the hat is also pinned in place.
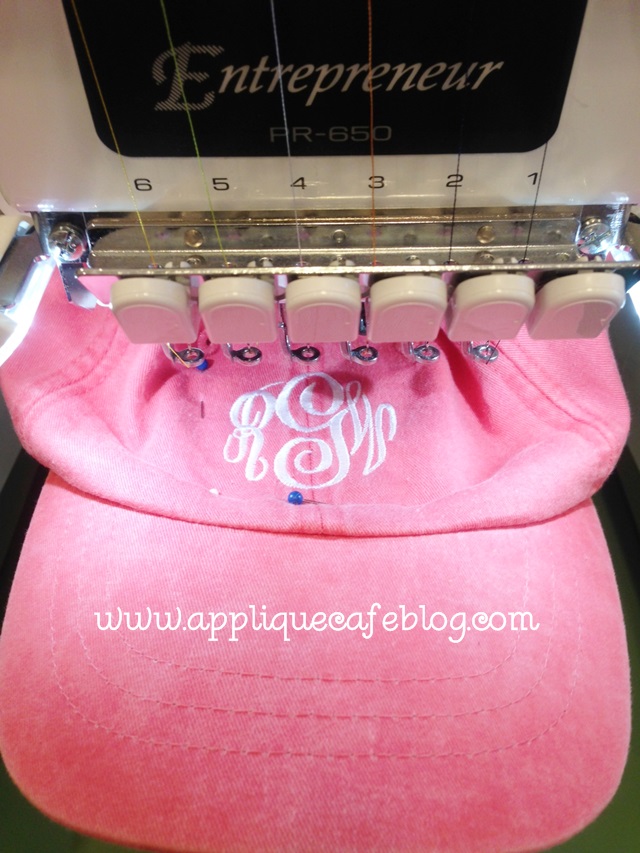
My hat is on the machine now ready to sew. Just make sure the excess hat is out of the way on all sides! Also, since this is a FAST FRAME and my machine doesn’t recognize it as any particular hoop, I checked my borders to make sure my monogram would fit INSIDE the area on the face of the hat. You don’t want your needle to hit the frame on either side!! I lined my lead needle up with the center seam on the hat.
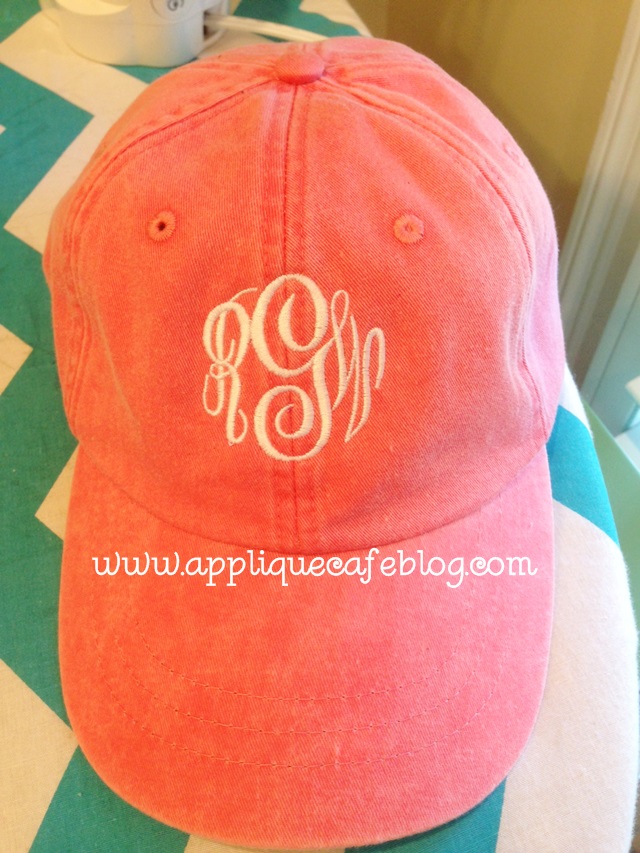
My monogram is complete. I used Monogram Wizard Plus “Master Circle” font.
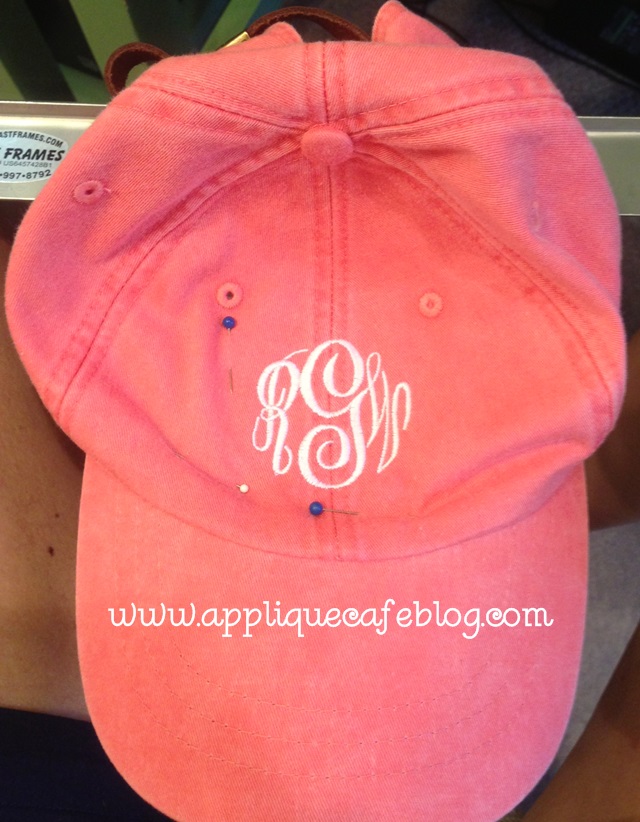
When done I remove the hat and frame from my machine, unpin it and remove the hat from the sticky stabilizer. I then remove any sticky stabilizer from inside the hat, unpin the liner and it’s ready to wear! Again, some hats have seams like the one below which shows you where to center the design!
Here’s the finished product!
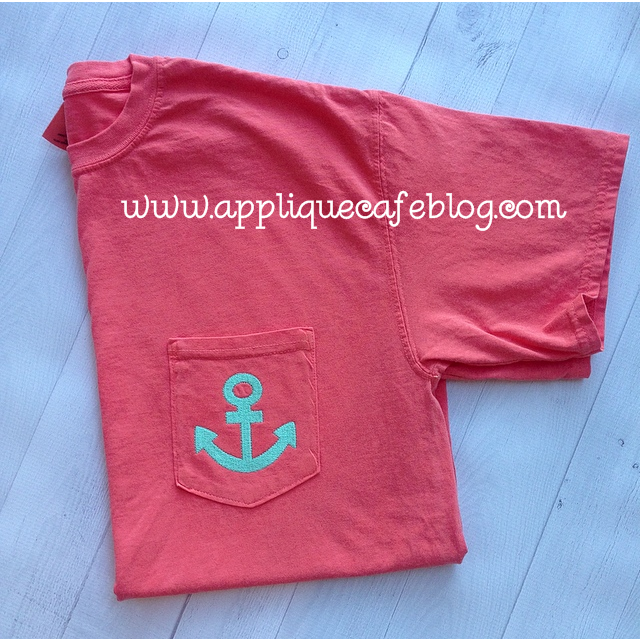
I am a little obsessed with the color of the hat and the below T-shirt, which is Comfort Colors Bright Salmon! The hat may be Poppy or Nautical Red (Adams brand)? These are all samples for my upcoming class at Ruthie’s Notions {this coming weekend!!}. In lieu of initials, I put our 3″ Mini Embroidery Anchor on the below Comfort Colors tee. I’m also using my vinyl backdrop I got recently from Bubble Gum Backdrops on Etsy! This is a 36″ X 36″ pale wood vinyl backdrop. It really makes the t-shirt pop!
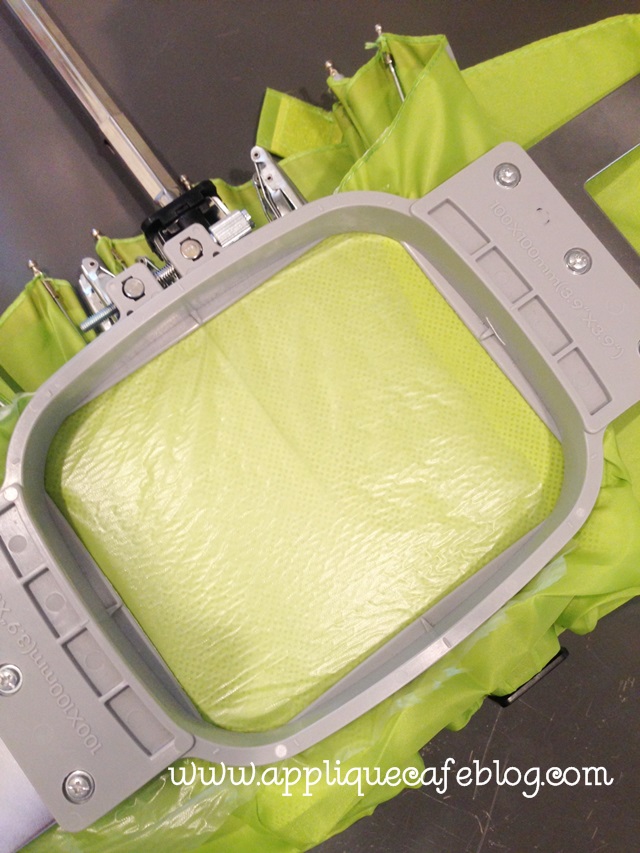
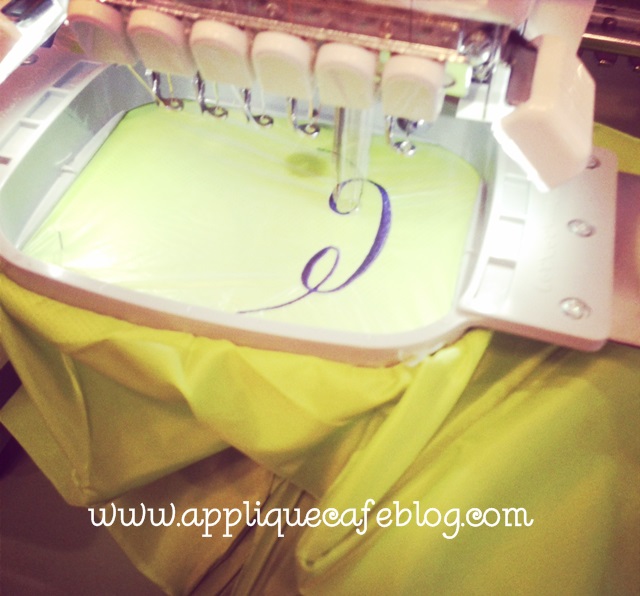
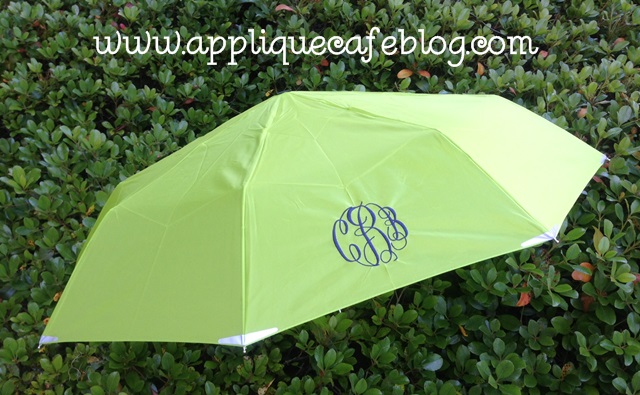
Also this week, I monogrammed a few UMBRELLAS! EEEekkkk!! Scary I know! They were really pretty easy to do and I took pictures along the way! First of all, I did use my 4×4 hoop as opposed to fast frames. The material of an umbrella is so thin that I was afraid sticky stabilizer would not come off easily or cause the umbrella fabric to tear in the process of removing it. I used waffle tearaway and water soluble “solvy” stabilizer on top.
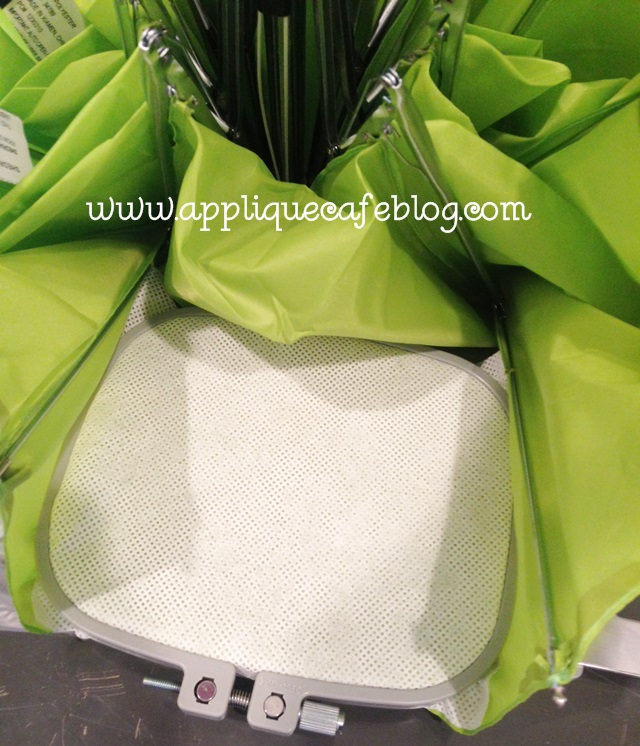
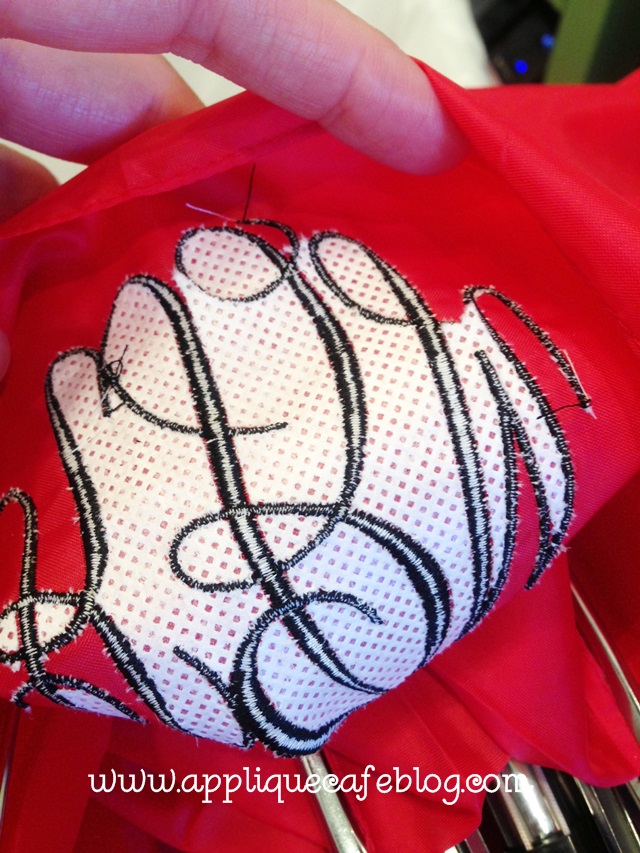
Here’s what it looks like from the inside. I love the waffle tearaway when I need a little more substance than regular iron on tearaway! I “stuck” it in place with a little temporary spray adhesive (Sulky KK2000).
I put the hoop on the machine and rotated the design upside down so it would sew correctly. Again, I used Monogram Wizard Plus “Master Circle” font.
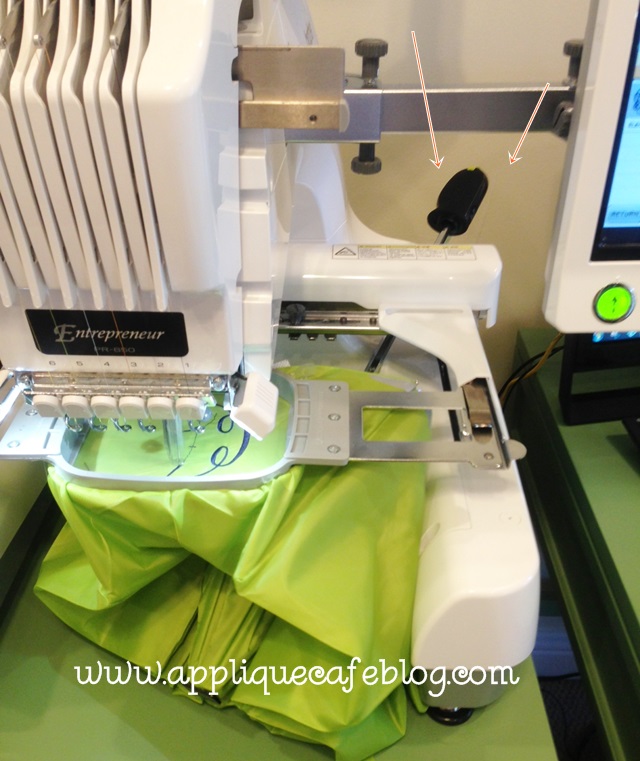
As you can see below, the handle of the umbrella simply rested underneath the arm. I kept an eye on it so it didn’t hit anything causing the machine to mess up.
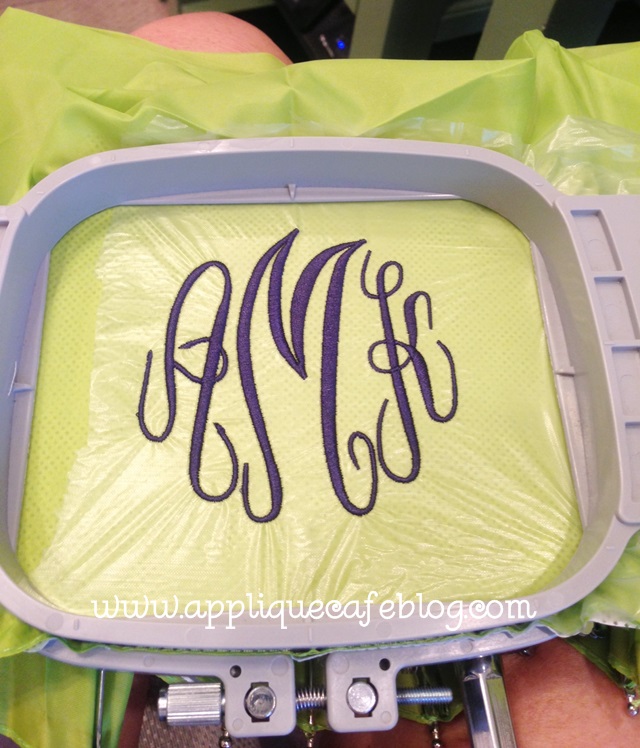
This is what it looked like when I was done. I did 3, so these pictures have different initials on them. I removed the hoop and stabilizer from both sides, including inside the letters.
The waffle stabilizer is very easy to pick off. {I think I need some lotion!!!!}
Finished product! This would make a great personalized gift!!
I hope this is helpful! Please have a blessed week and live each day to the fullest!
Recent Comments